
MASTER CLOSET + LAUNDRY REVEAL
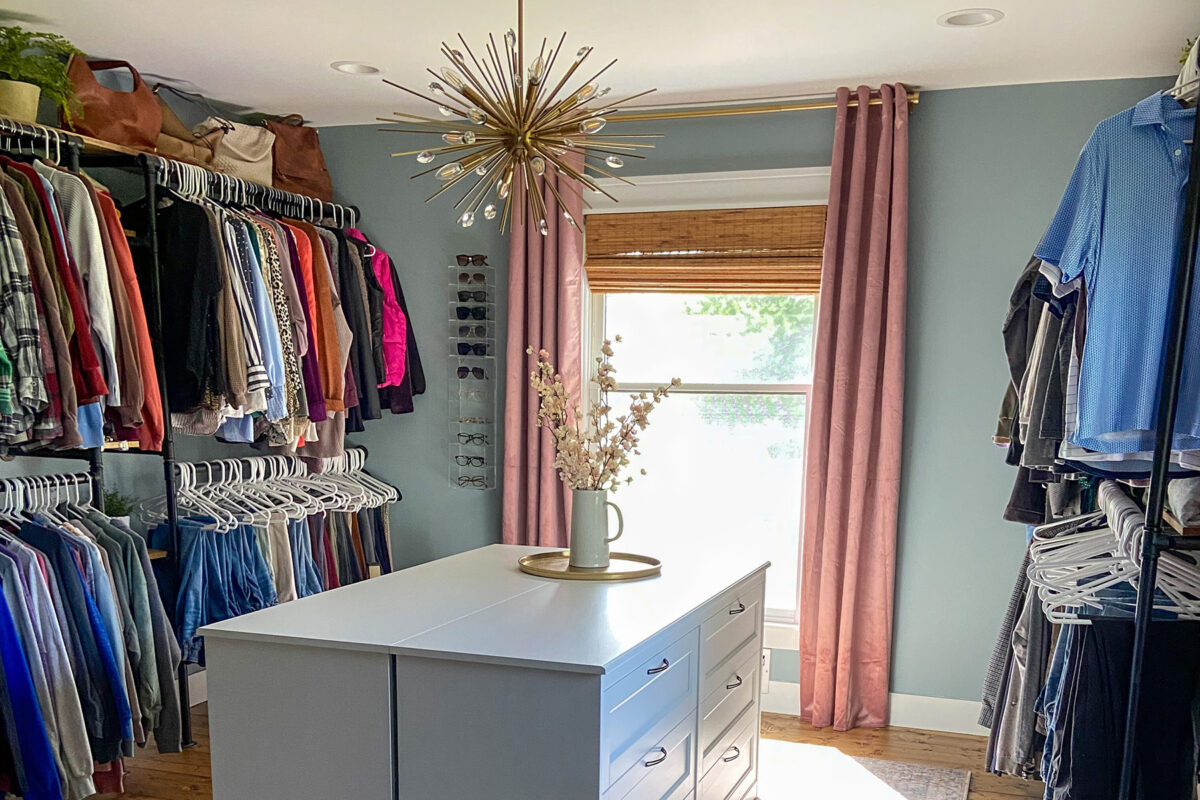
04/09/2024Eight months ago we began one of my favorite remodels in this home to date. We turned an extra bedroom across the hall into my dream master closet complete with washer and dryer.
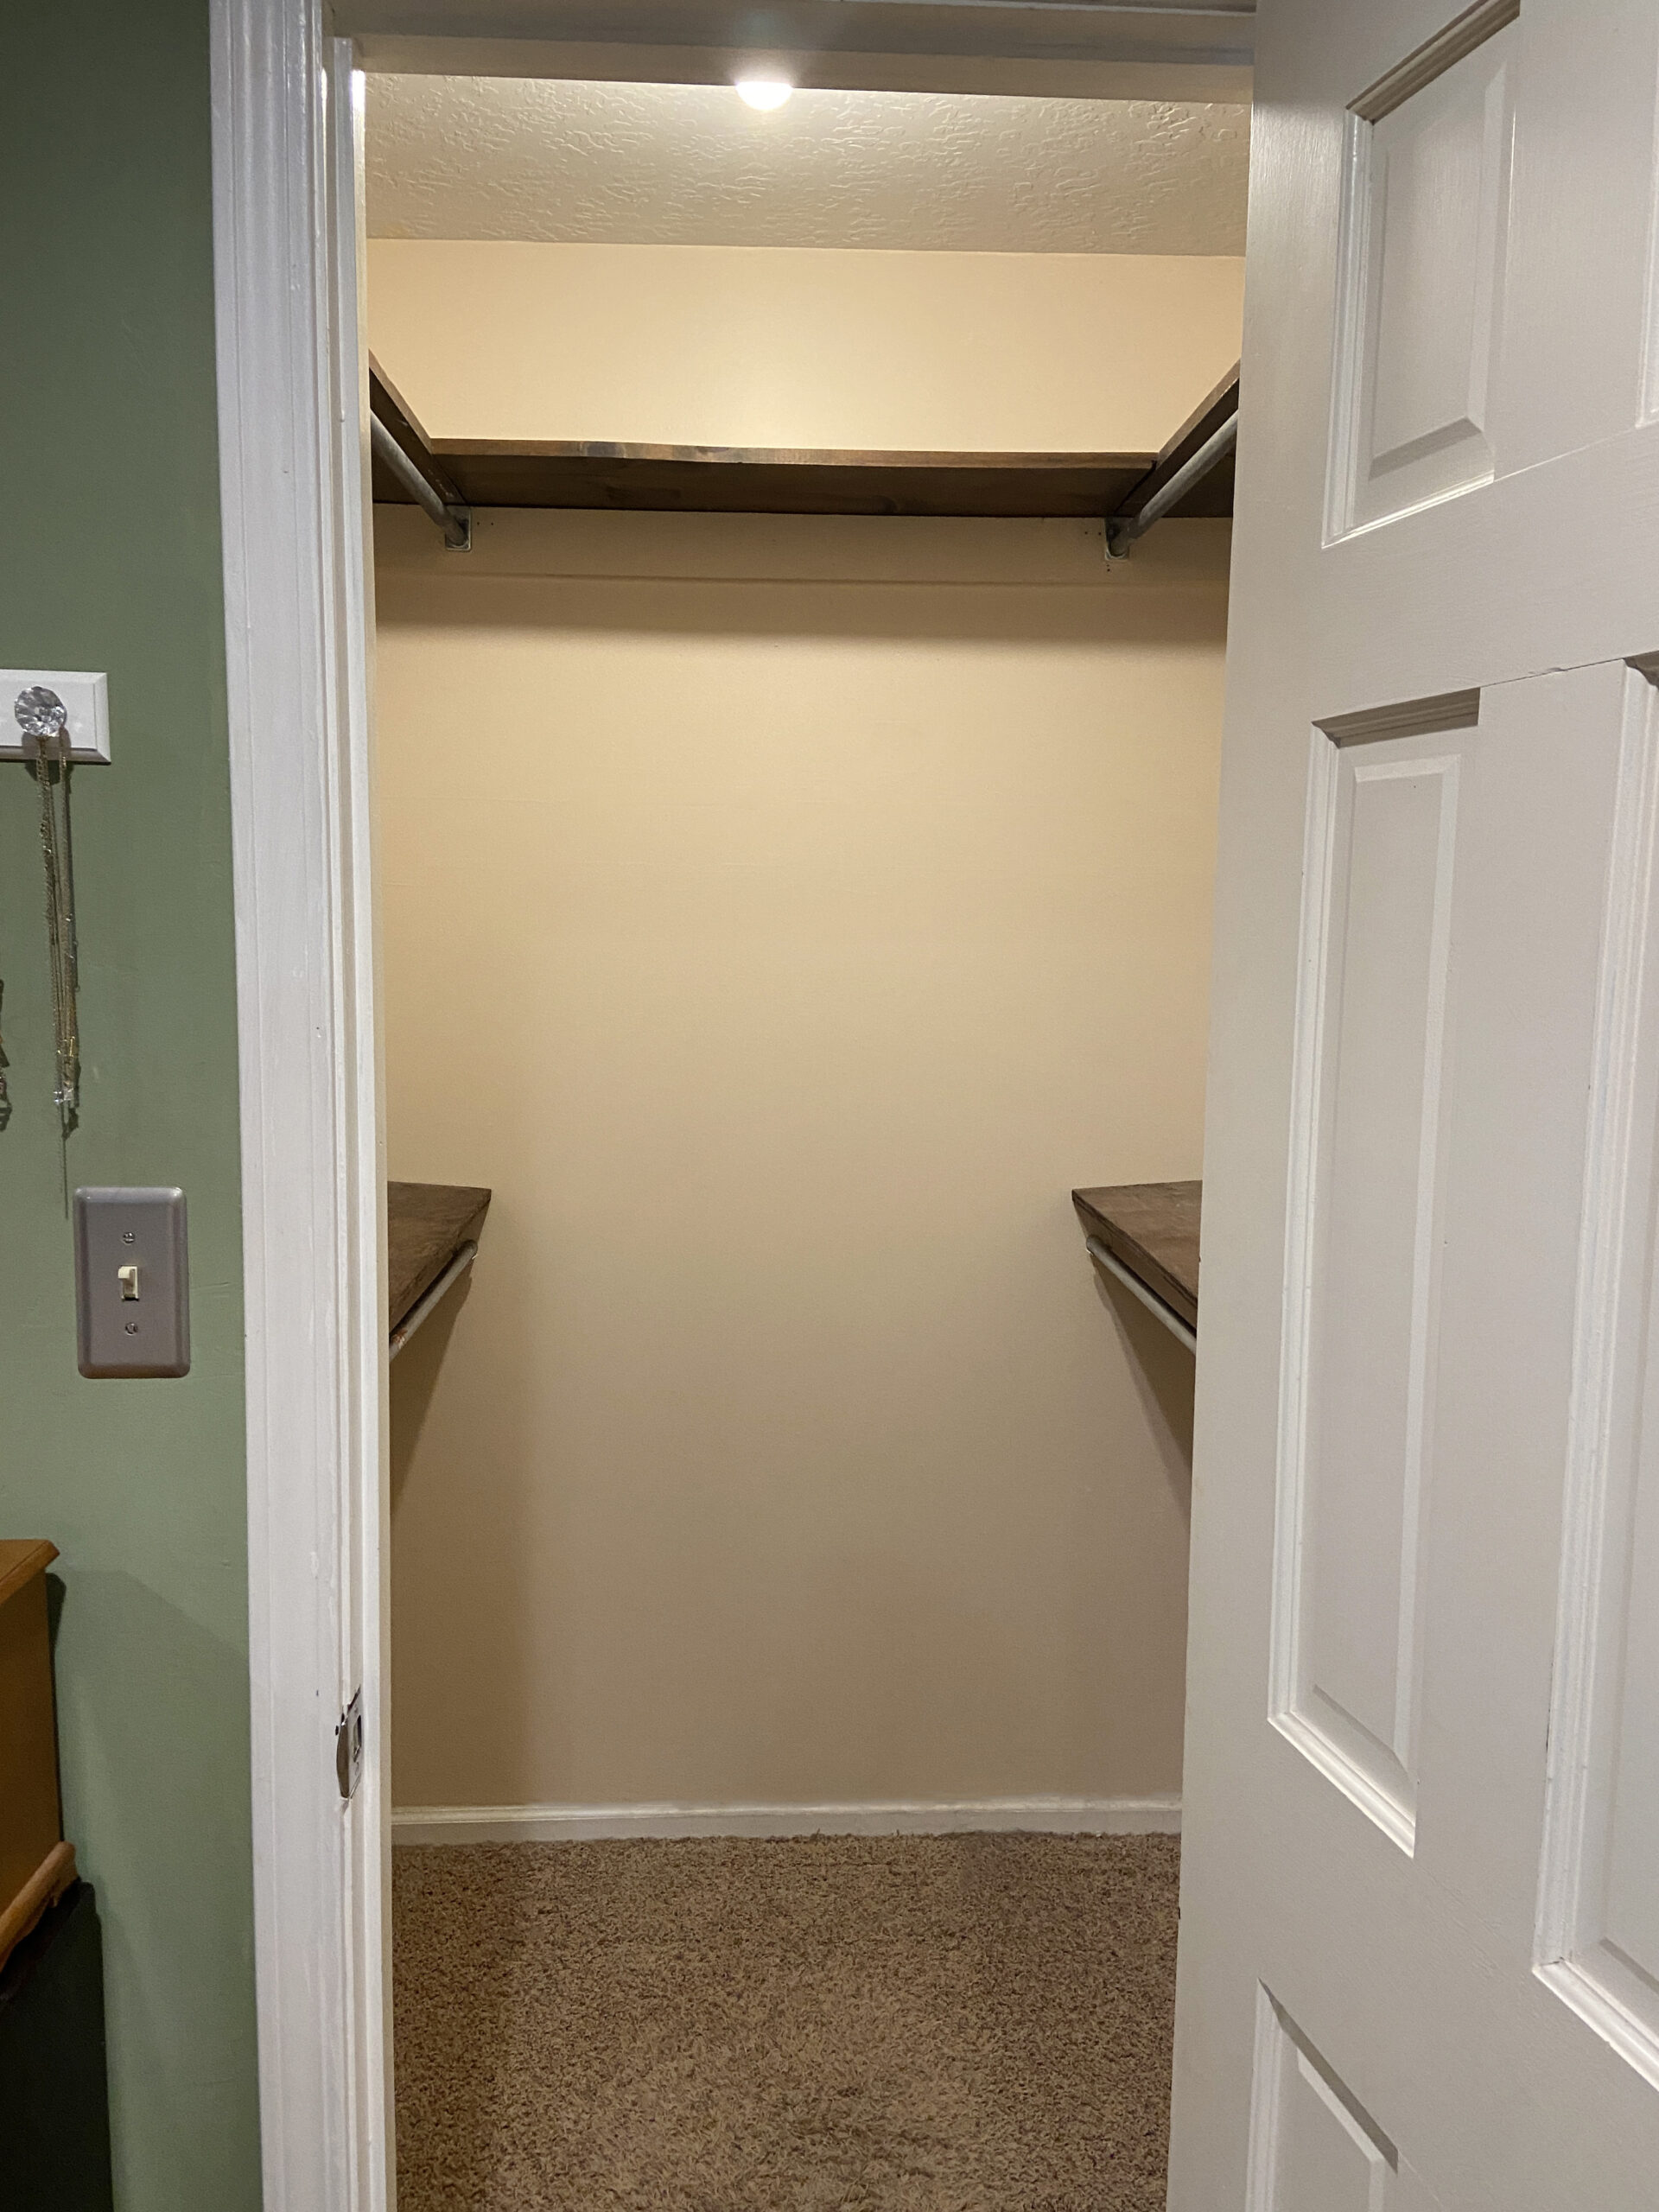
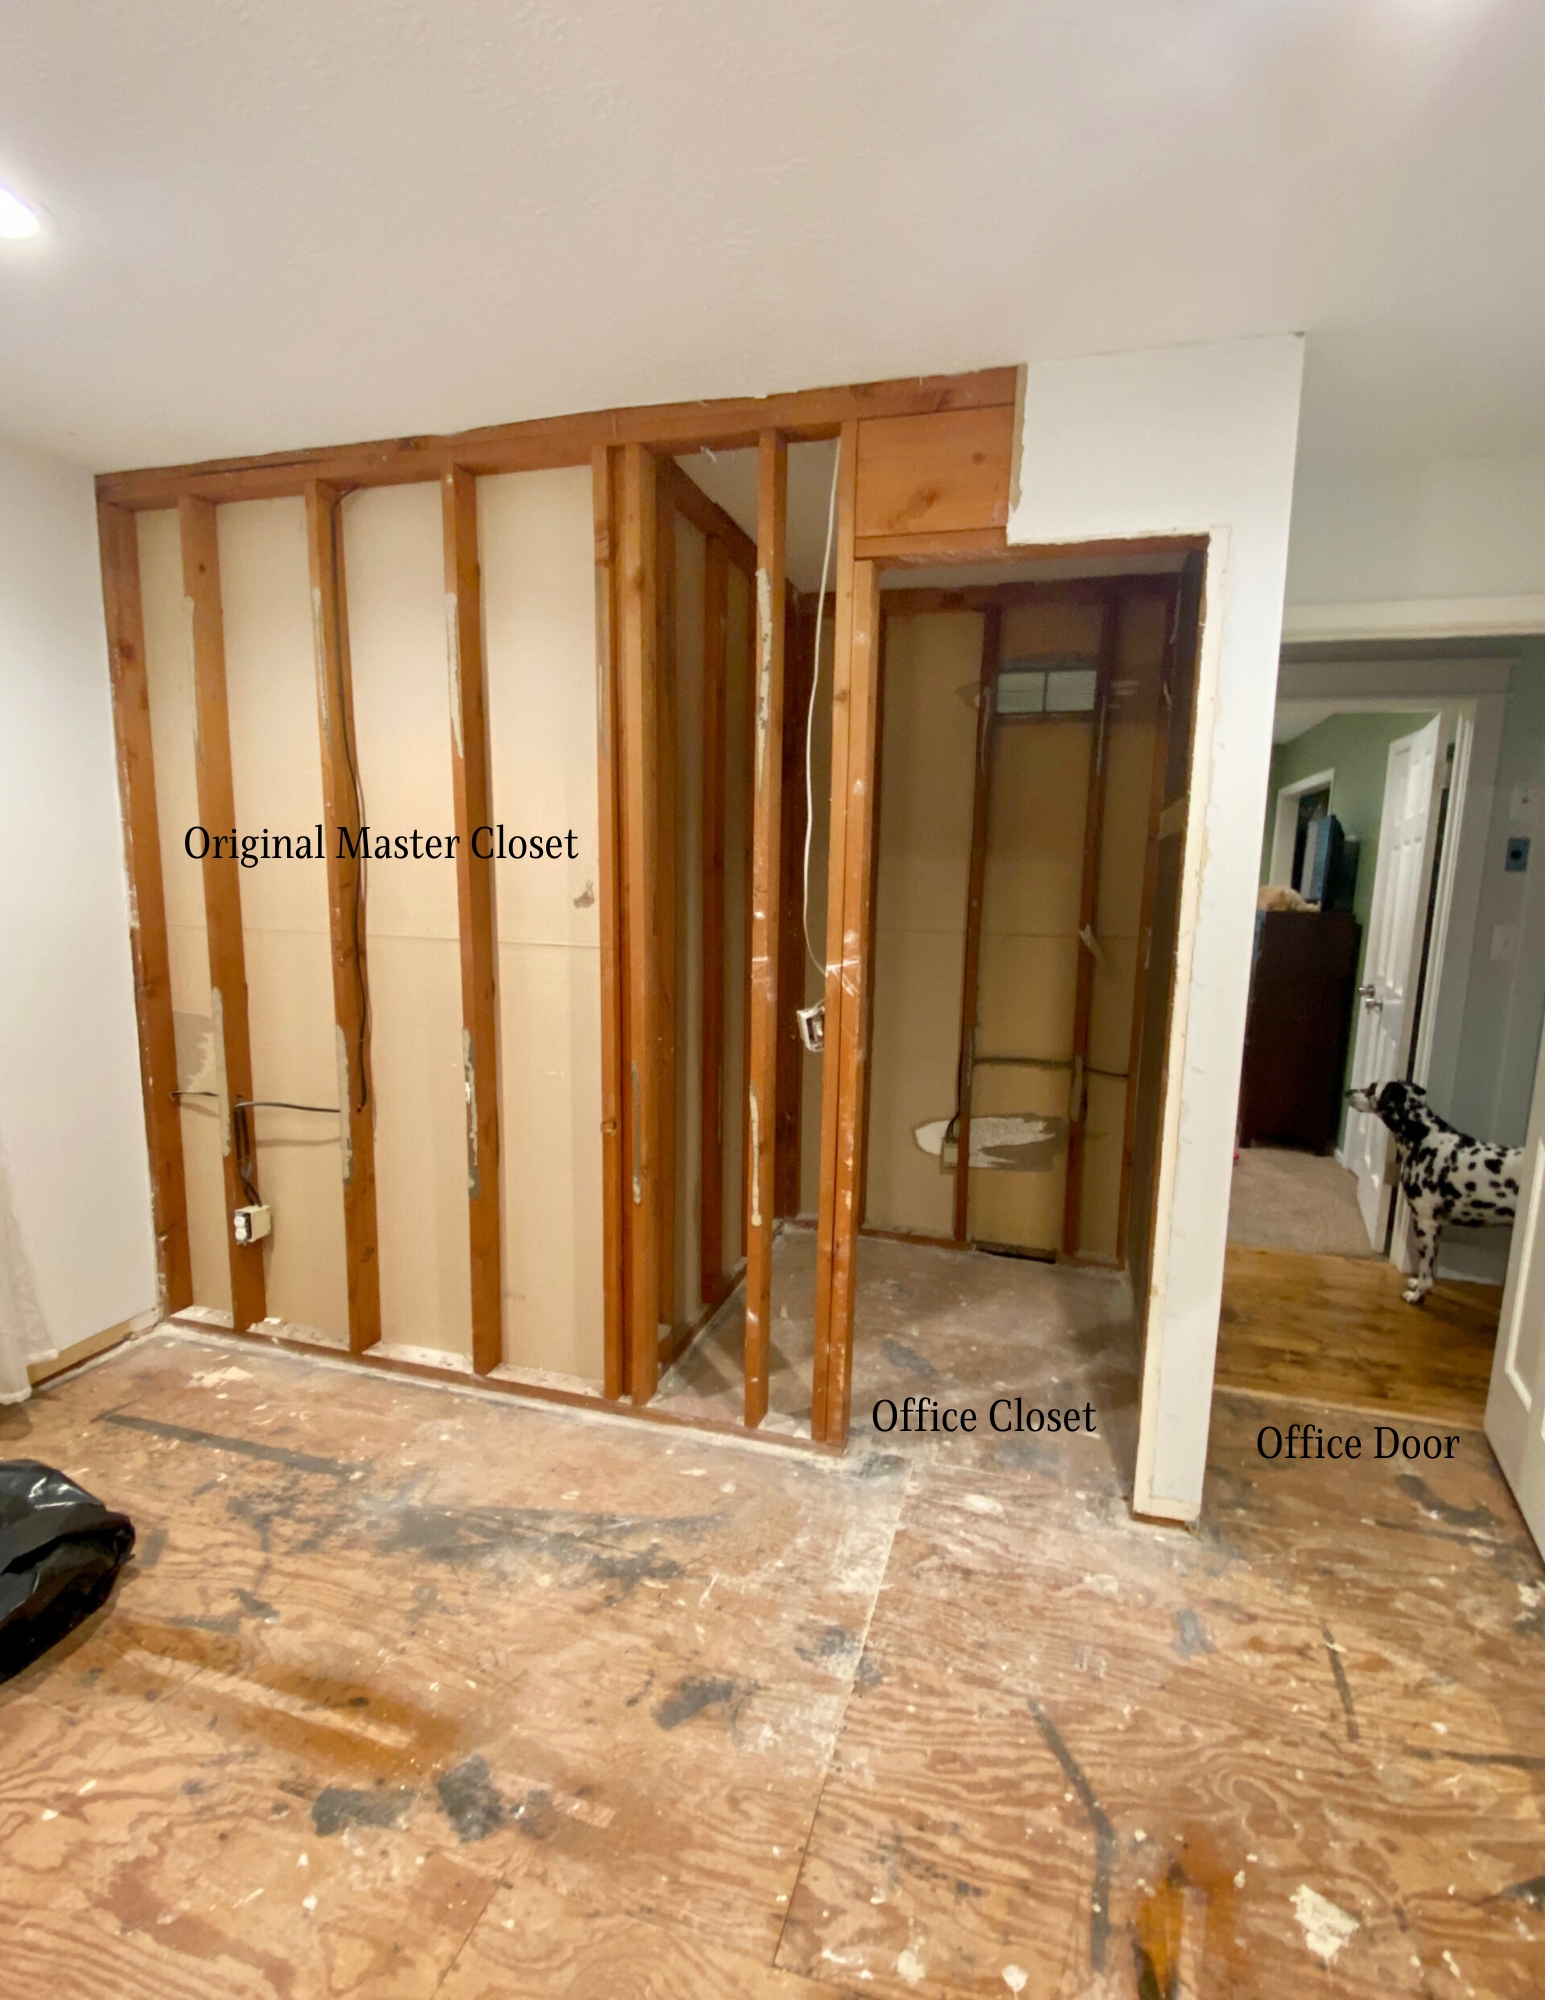
Let’s take a walk down memory lane to where it all started. This was the original 6′ x 5′ master closet when we moved into this house. On the other side of that wall was a bedroom.
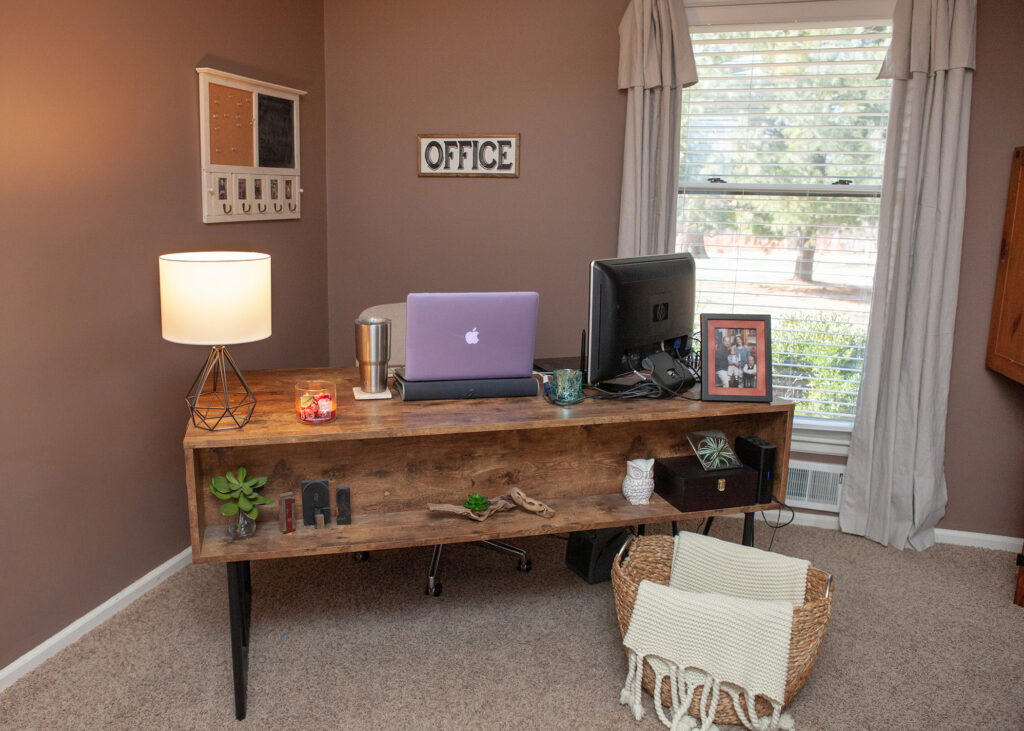
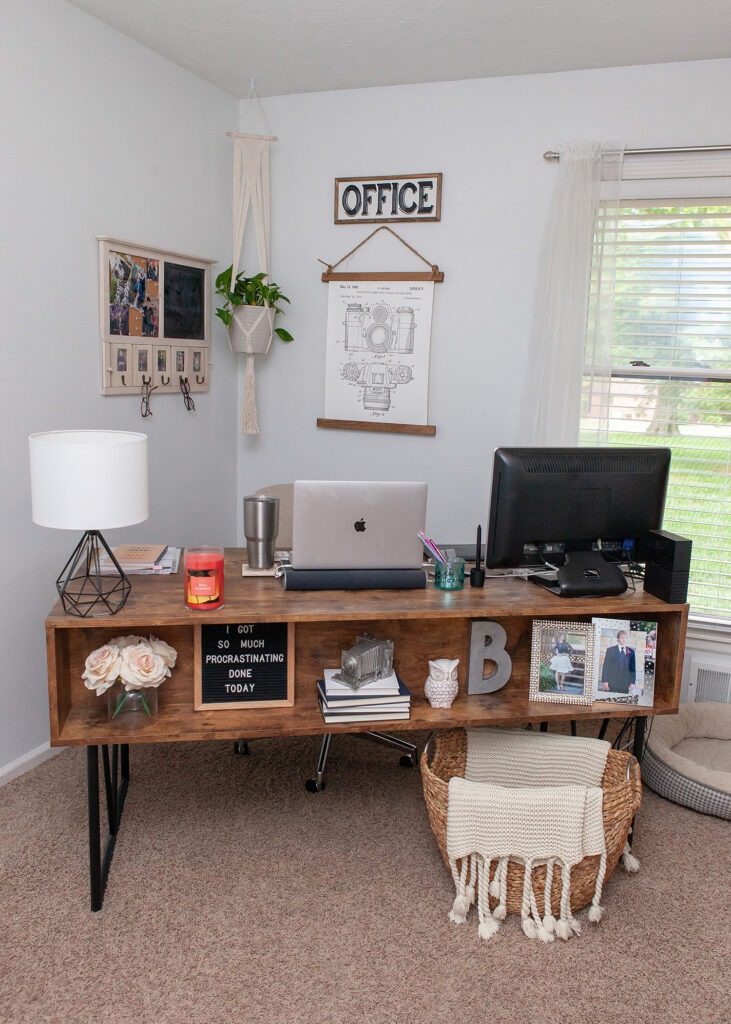
The bedroom across the hall from the master was originally used as an office when we moved in. There were 5 bedrooms in the house – three downstairs and two upstairs. When my son bought his own house after college, we moved the office into his old bedroom on the main level and turned my dreams of a large walk-in master closet into a reality in the bedroom across the hall.
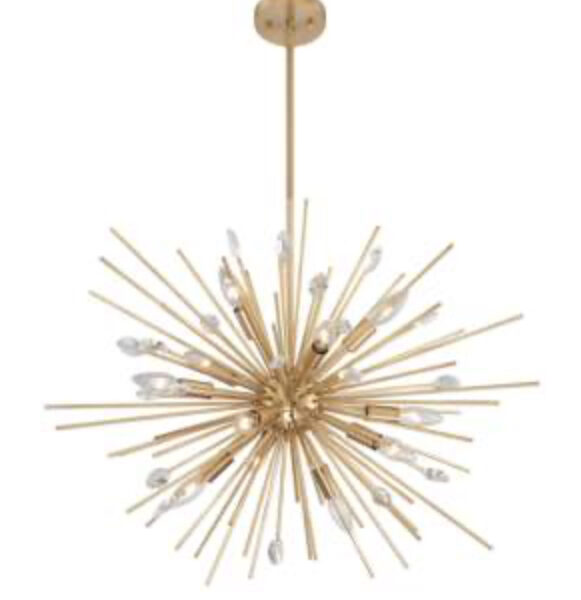
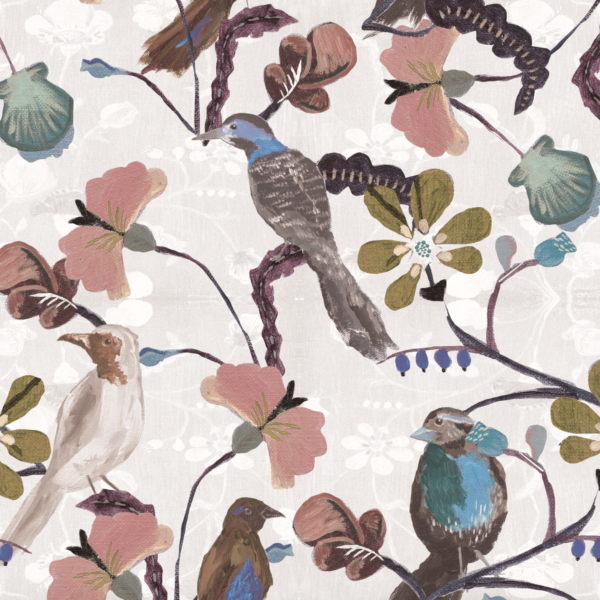
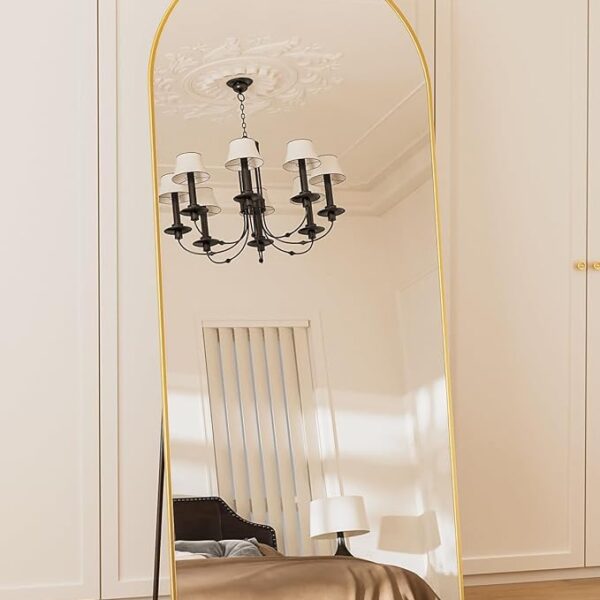
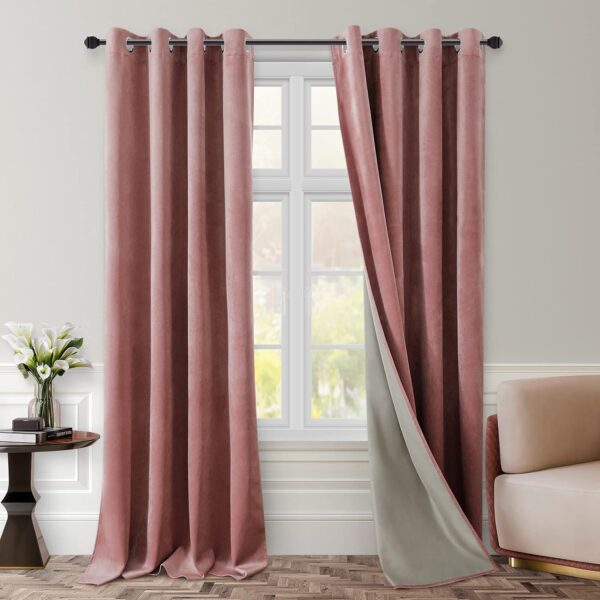
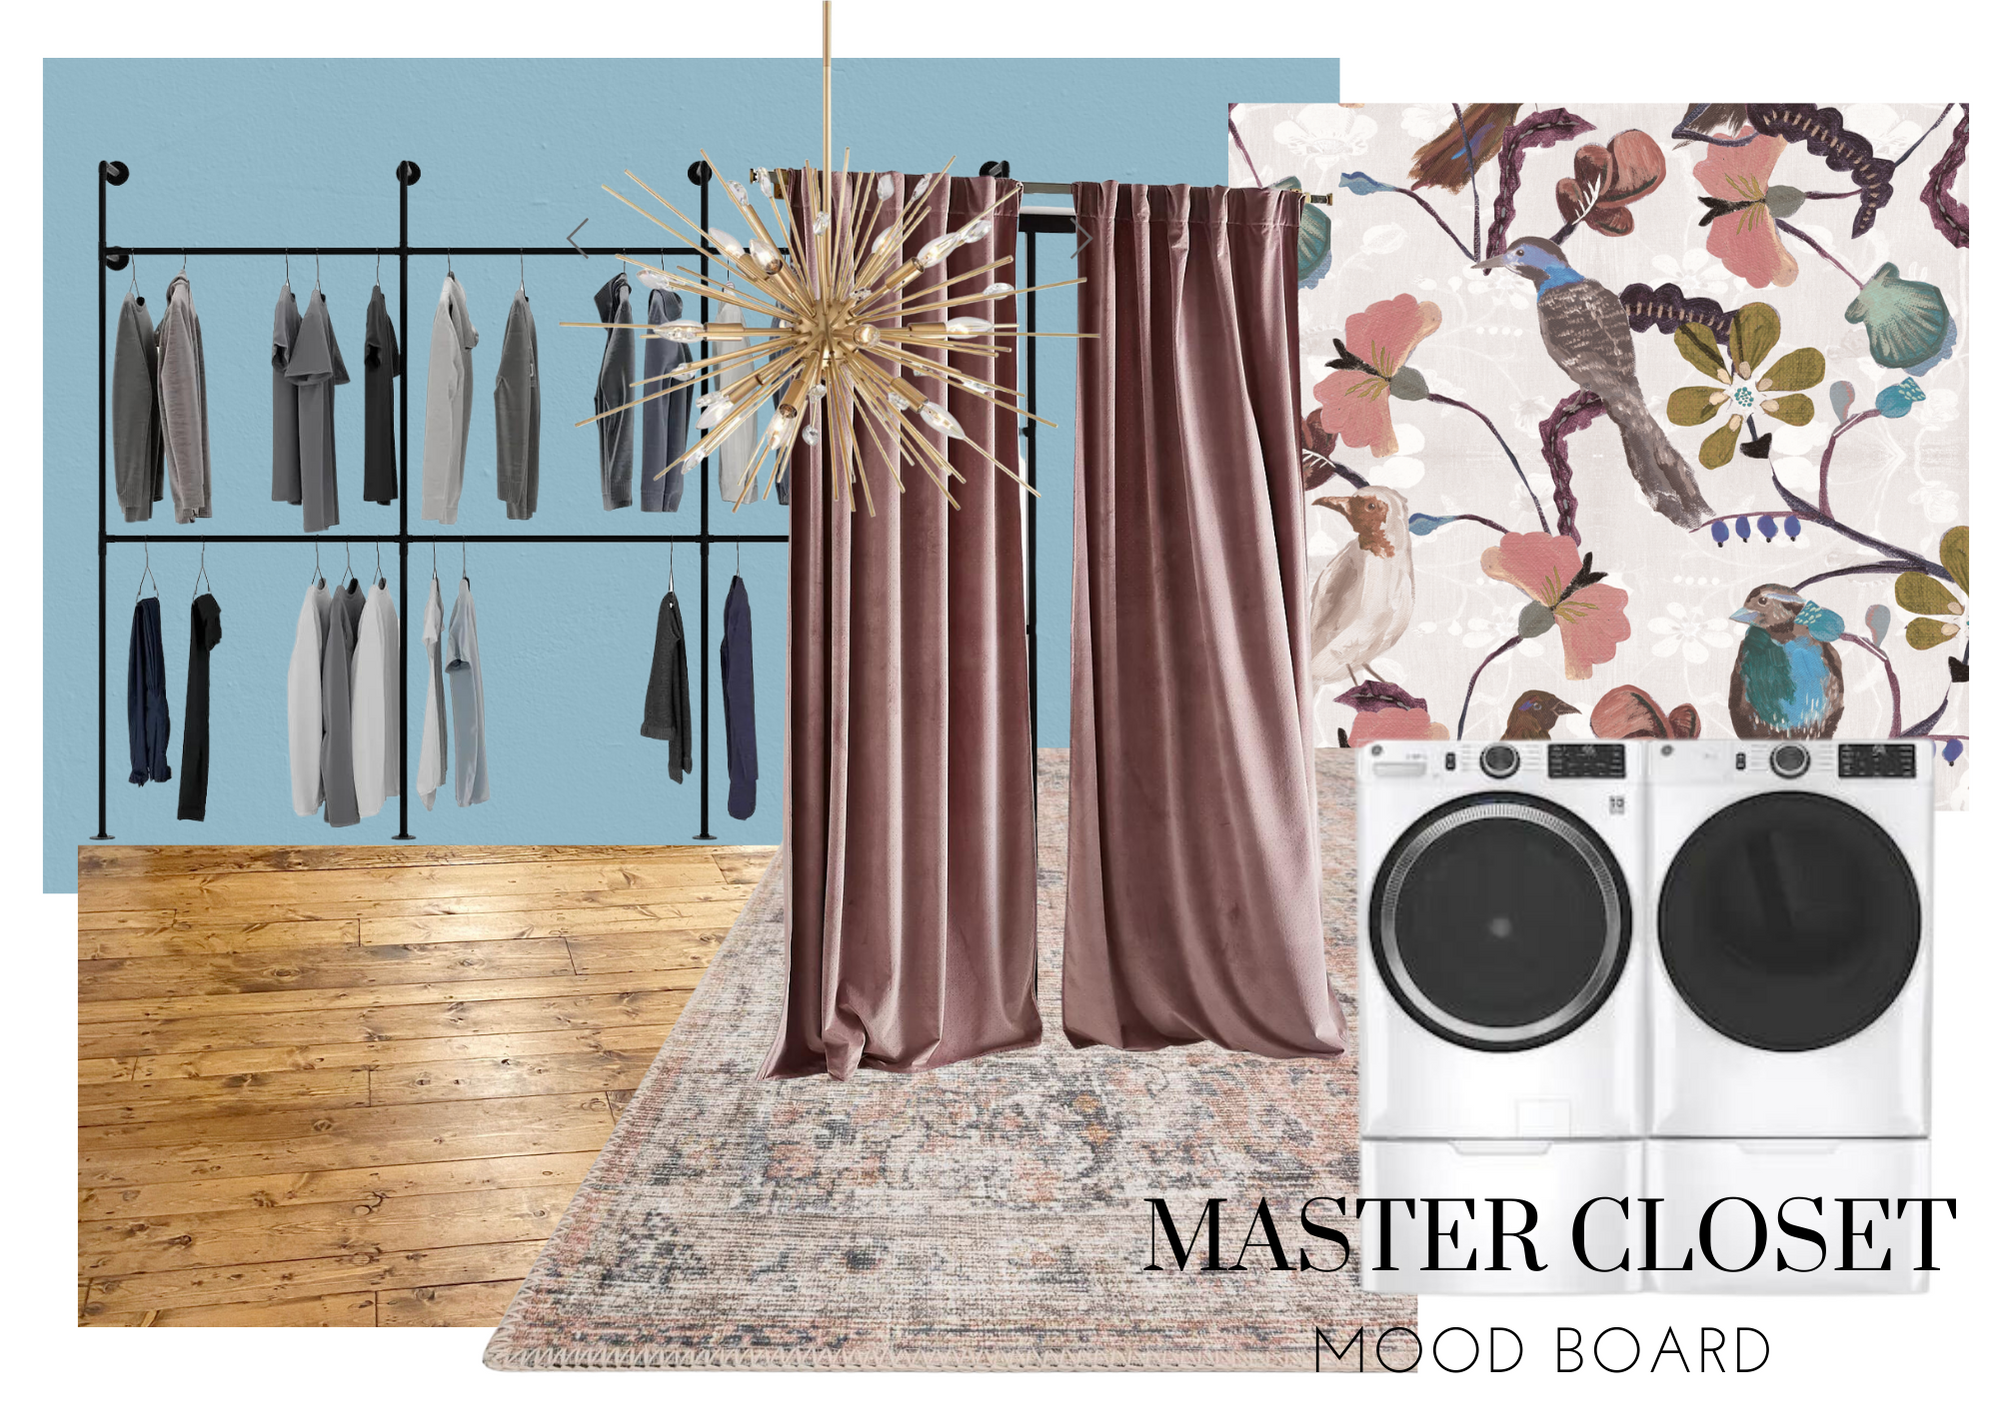
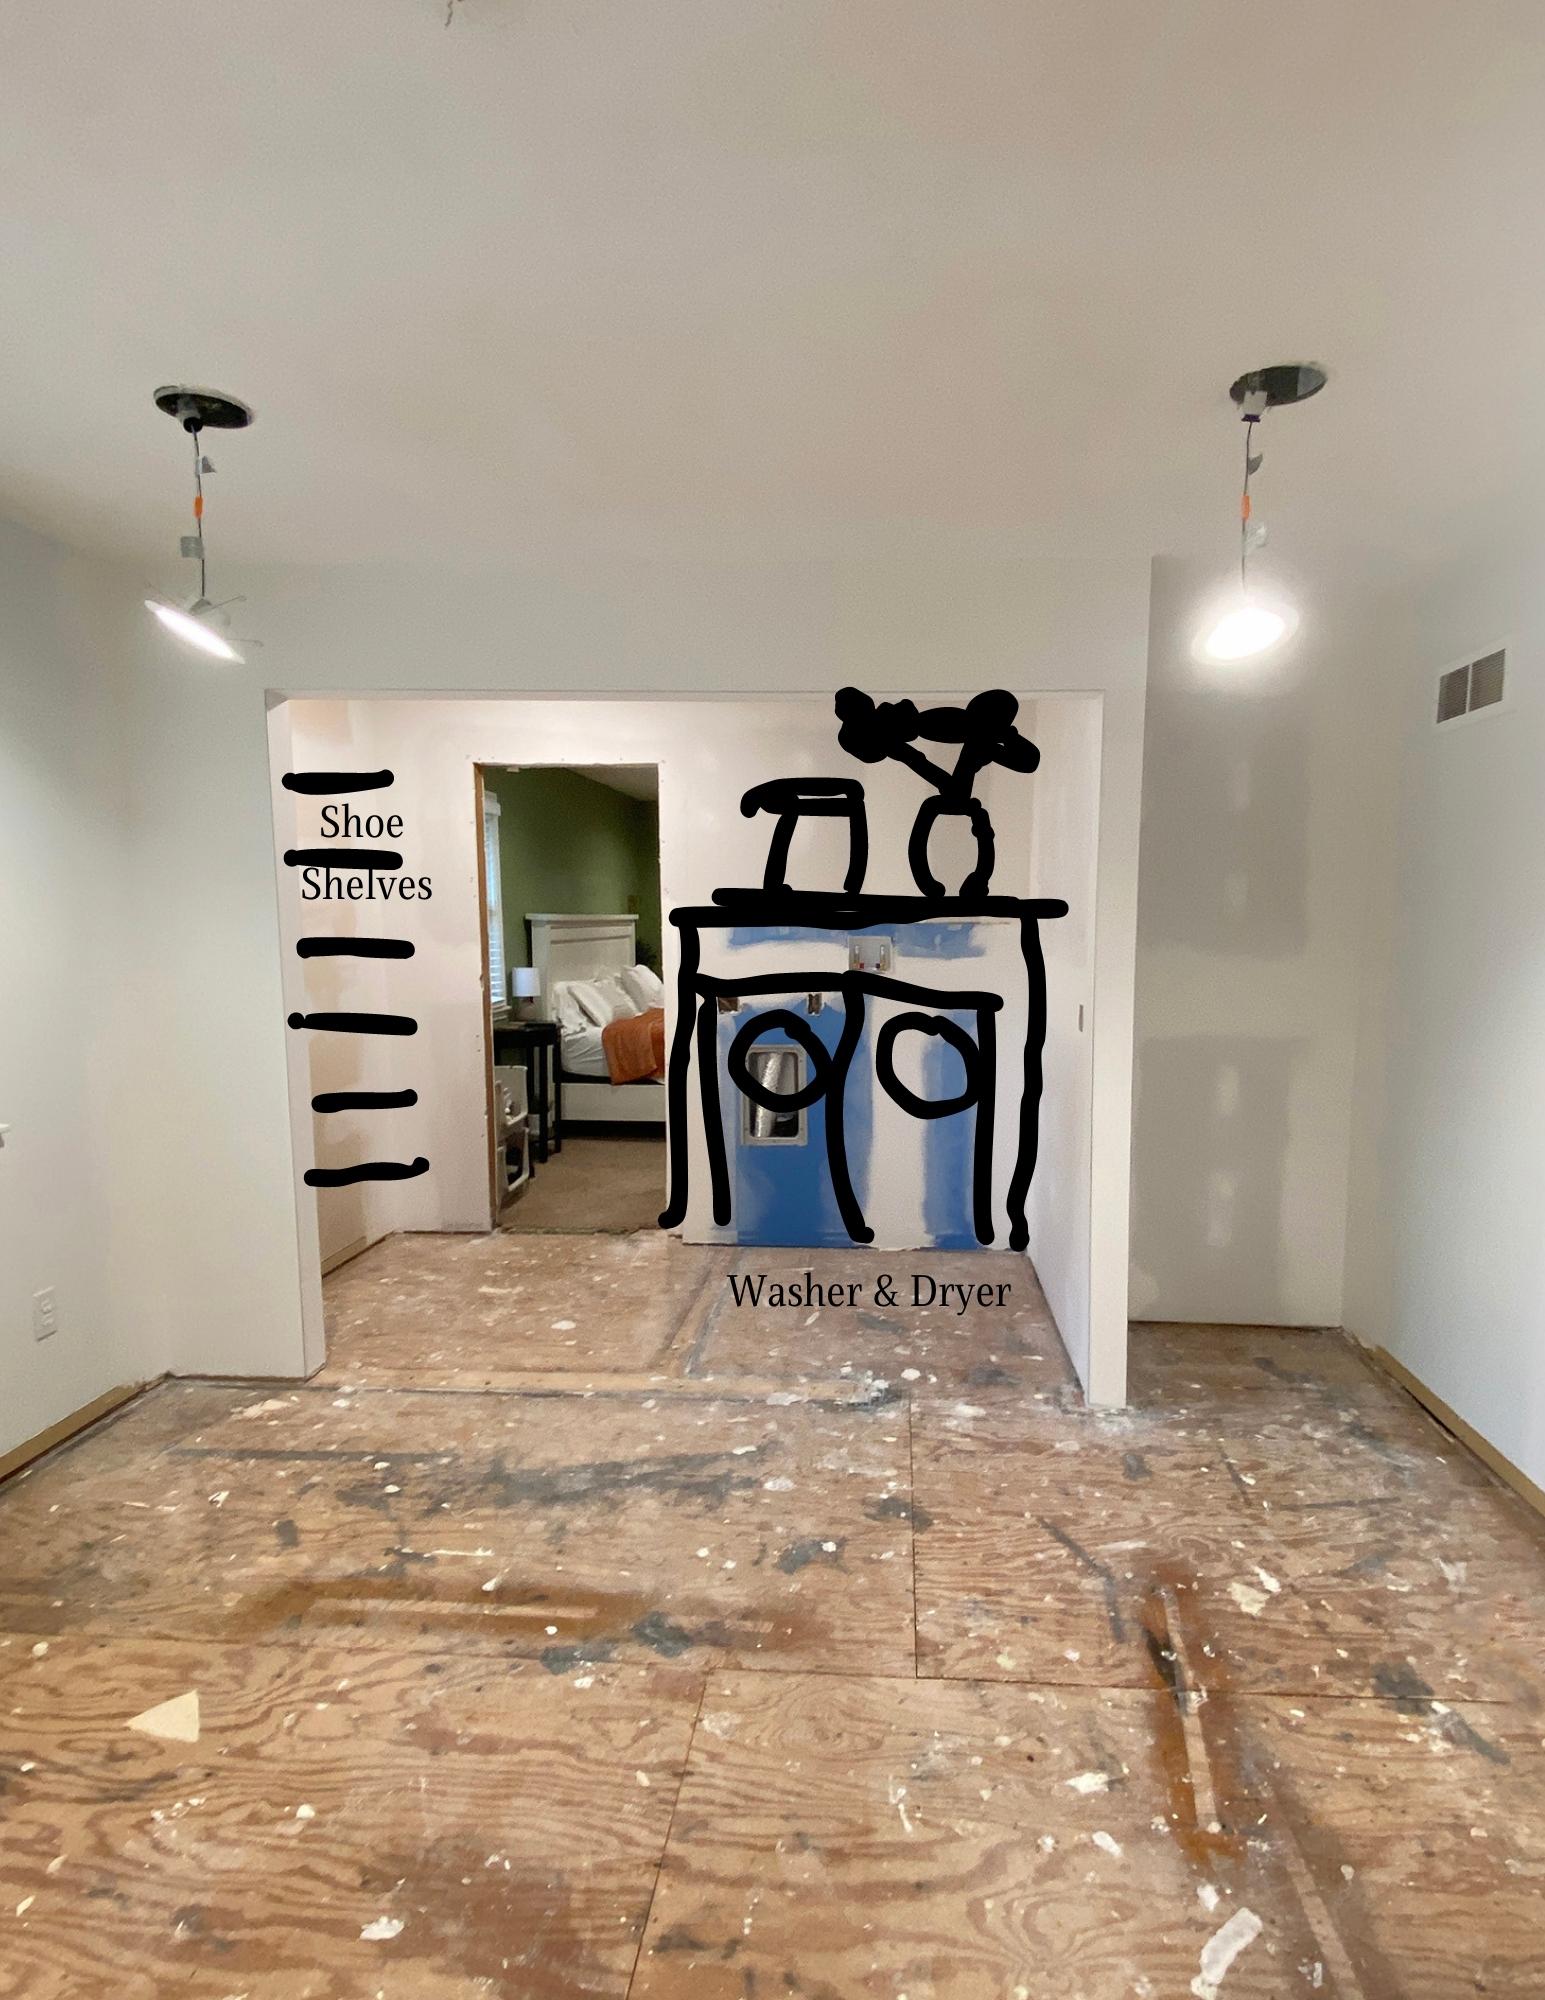
This was the mood board I shared when we began construction – black iron piping for clothes racks, a pretty light fixture, fun colorful wallpaper, velvet curtains. more DIY pine wood floors, an area rug and most importantly, move the washer and dryer from the mud room at the other end of the house into the master closet.
On the left you can see the old bedroom/office with its original closet and the original master closet. The master bedroom is across the hall. On the right, the closets removed.
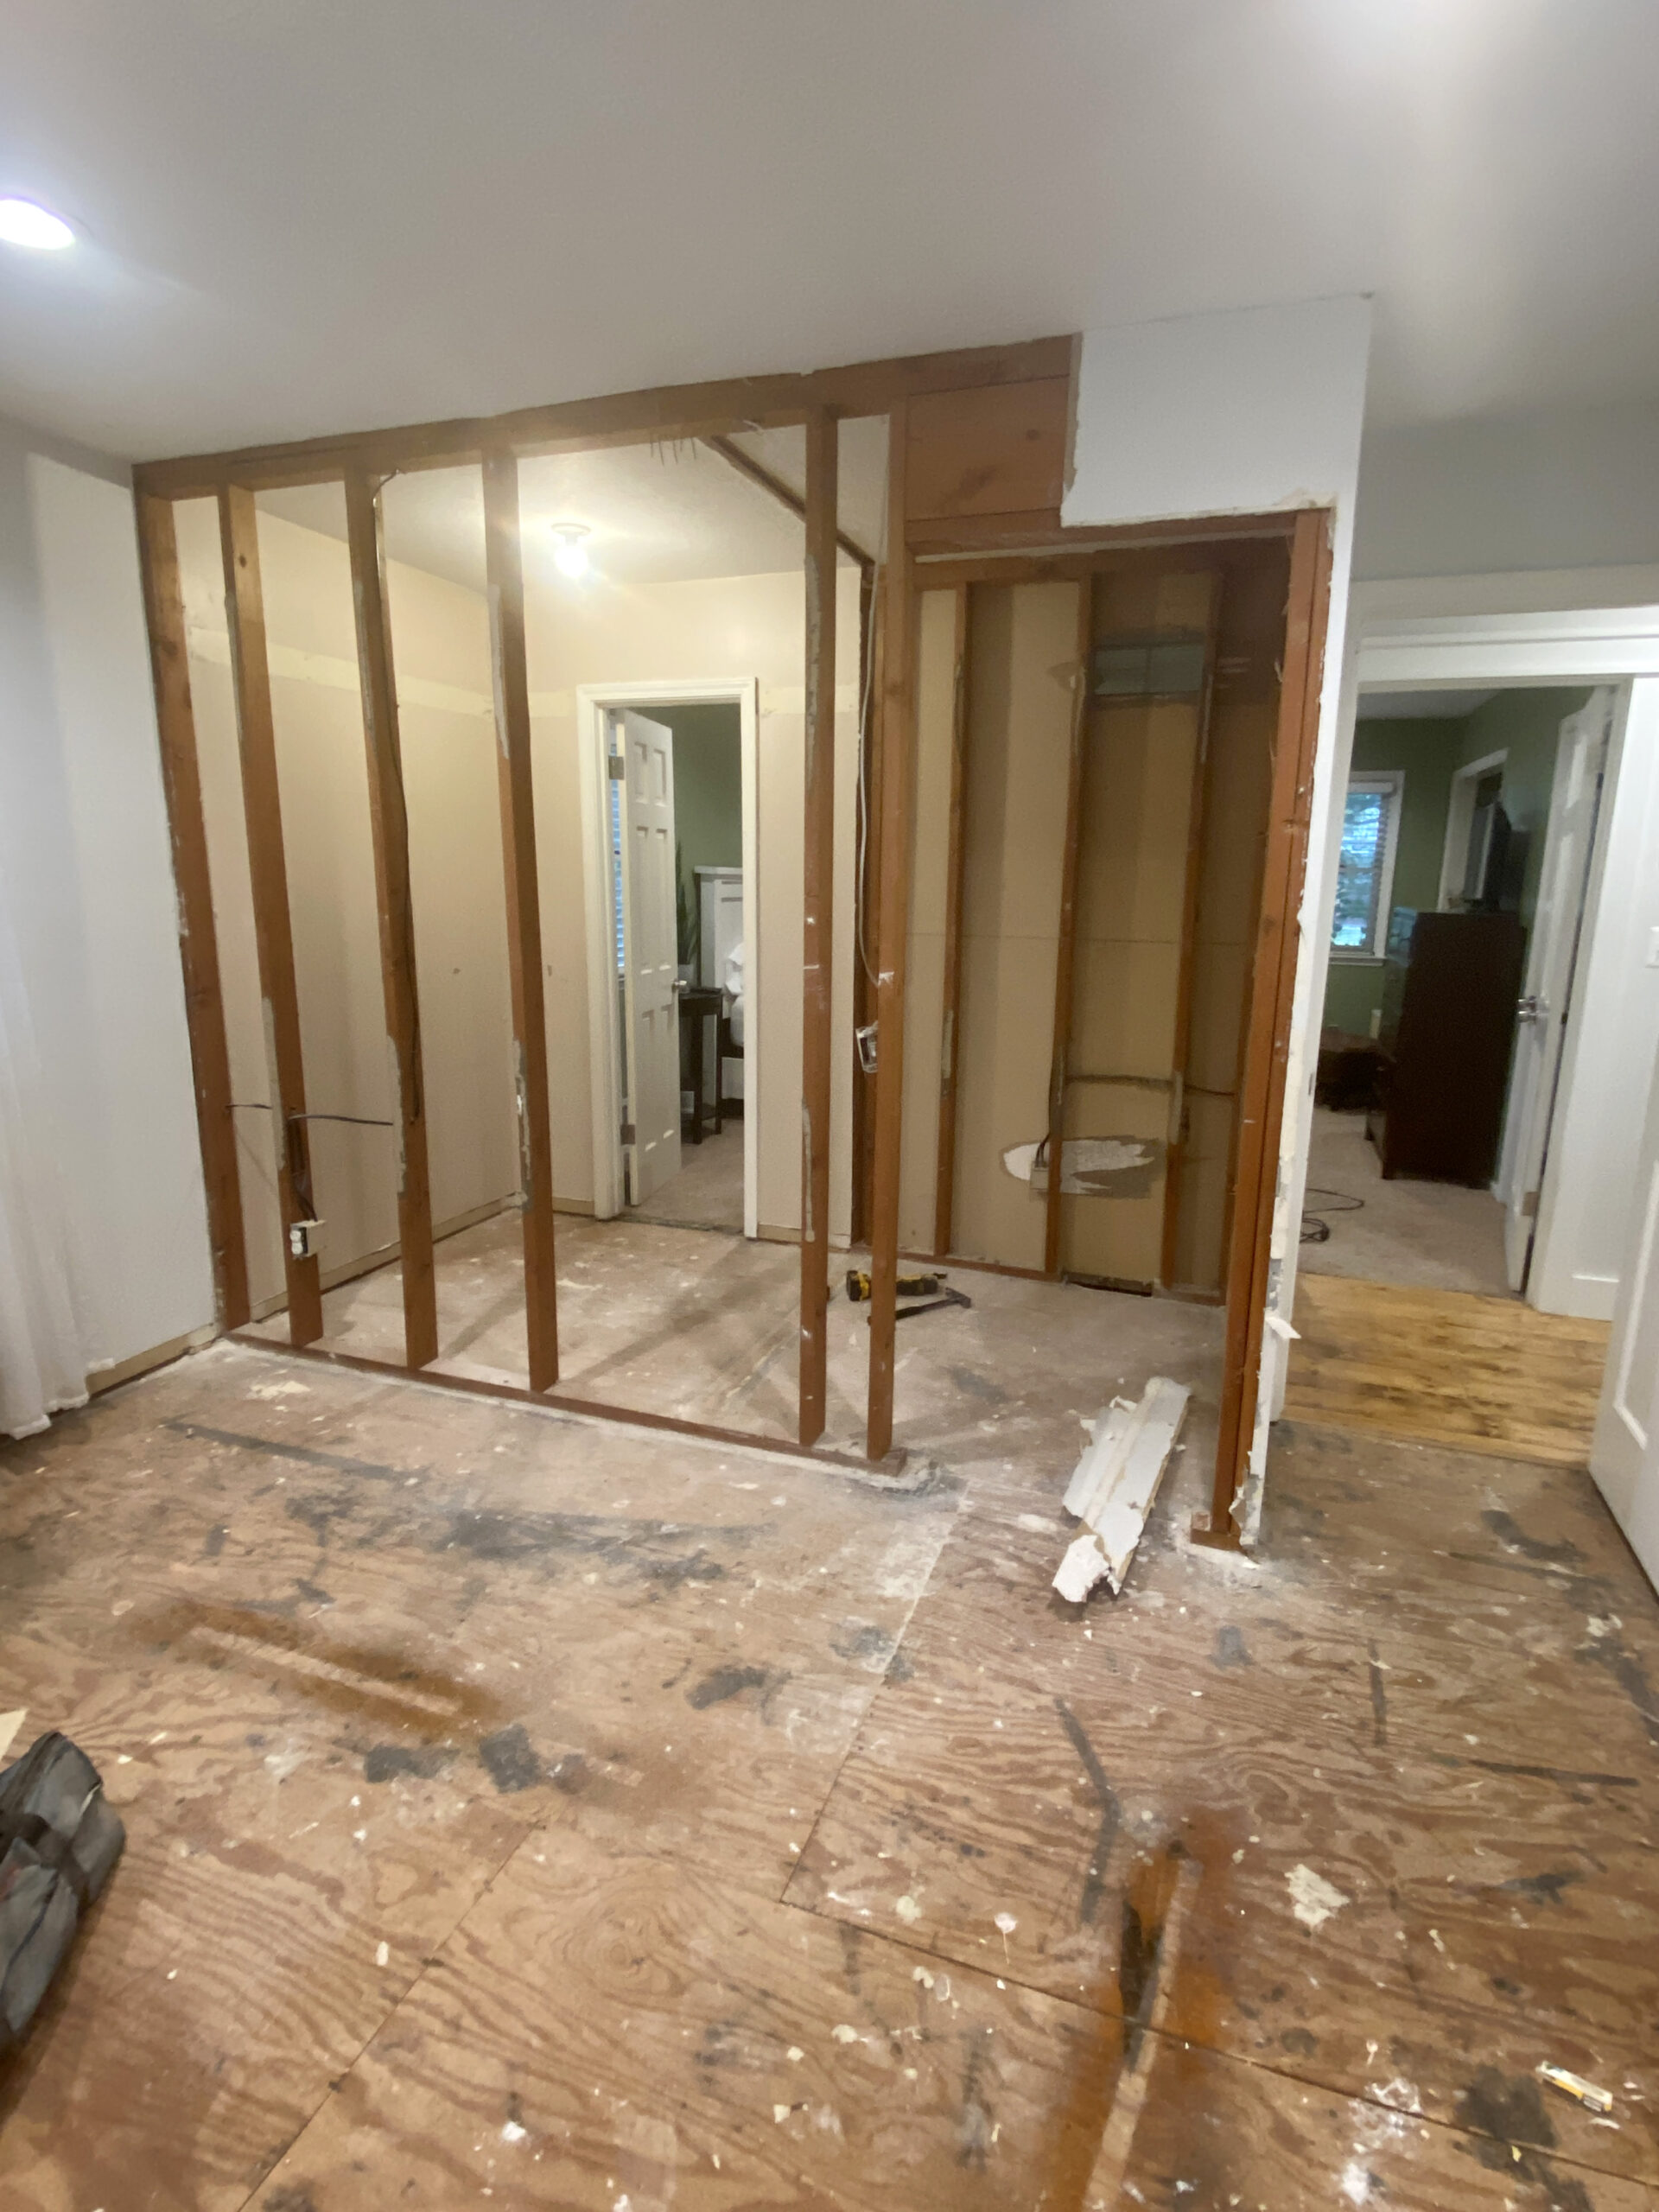
My vision coming to life.
It took many long months of working on the weekends and going upstairs to the spare bedroom for our clothes each day but the master closet is now a reality.
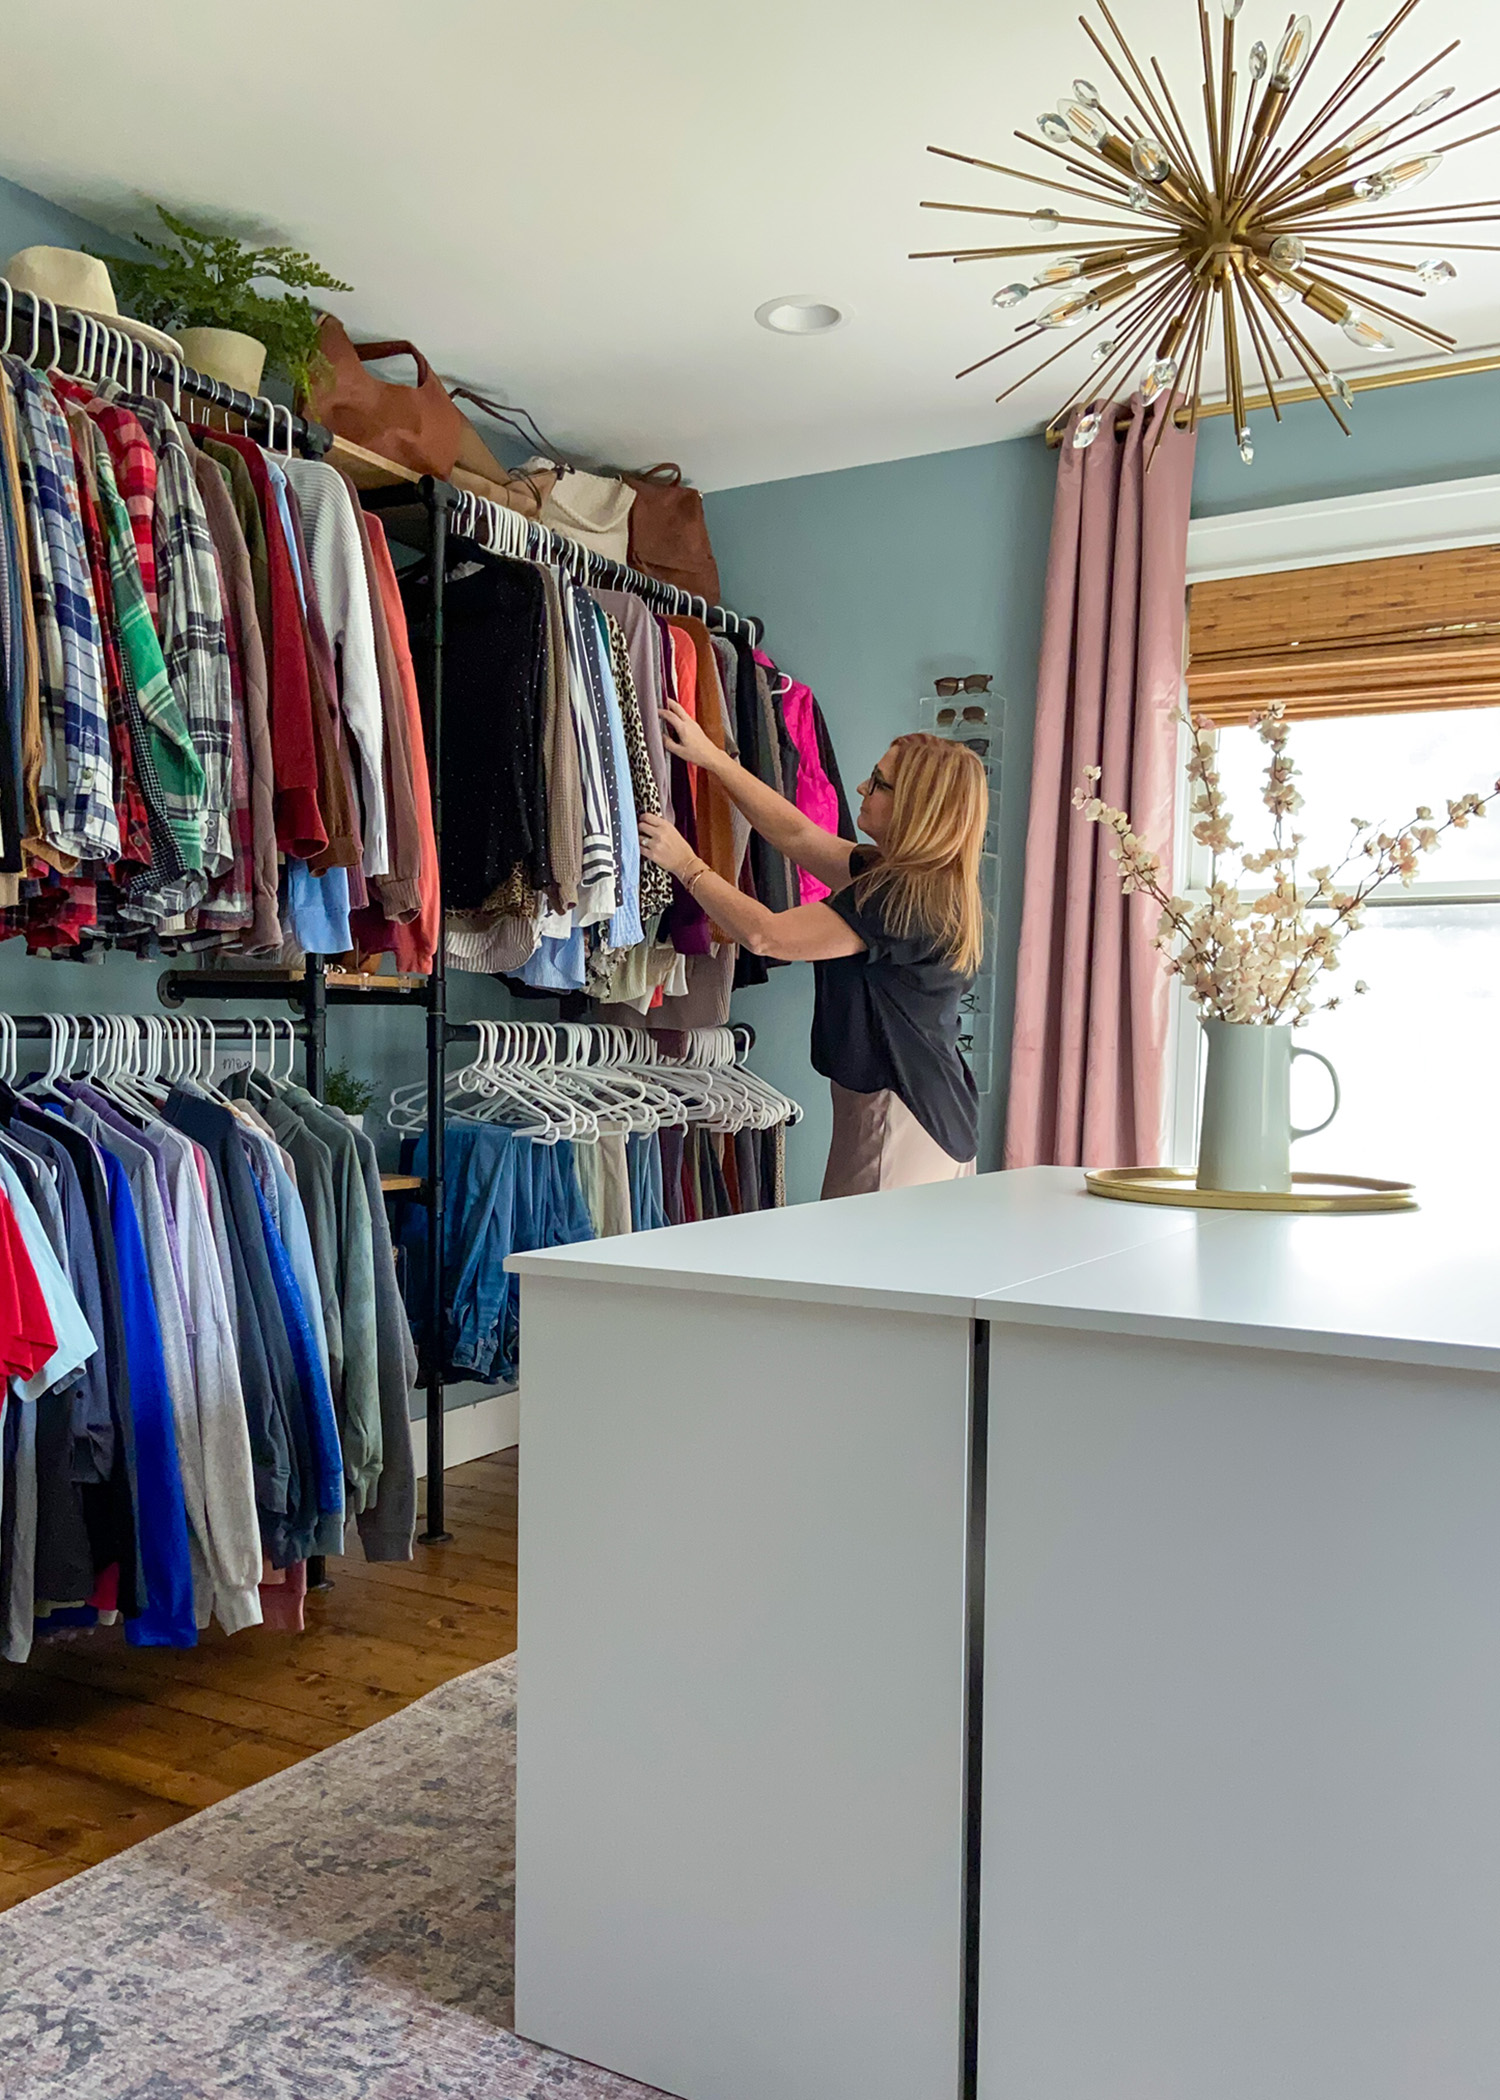
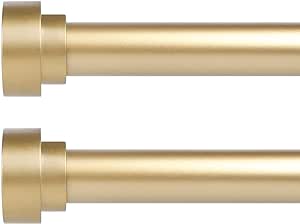
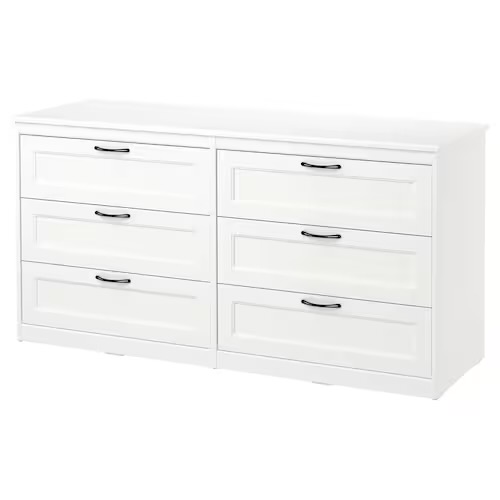
True to fashion, the room is currently 98% complete. The island in the middle is two Ikea dressers back to back. I still have plans to change out the hardware to gold to coordinate with the light and potentially complete a DIY “marble” waterfall countertop to hide the small gap between the dressers. It’s yet to be determined if/when that will be completed. Nonetheless, I absolutely love the new master closet!
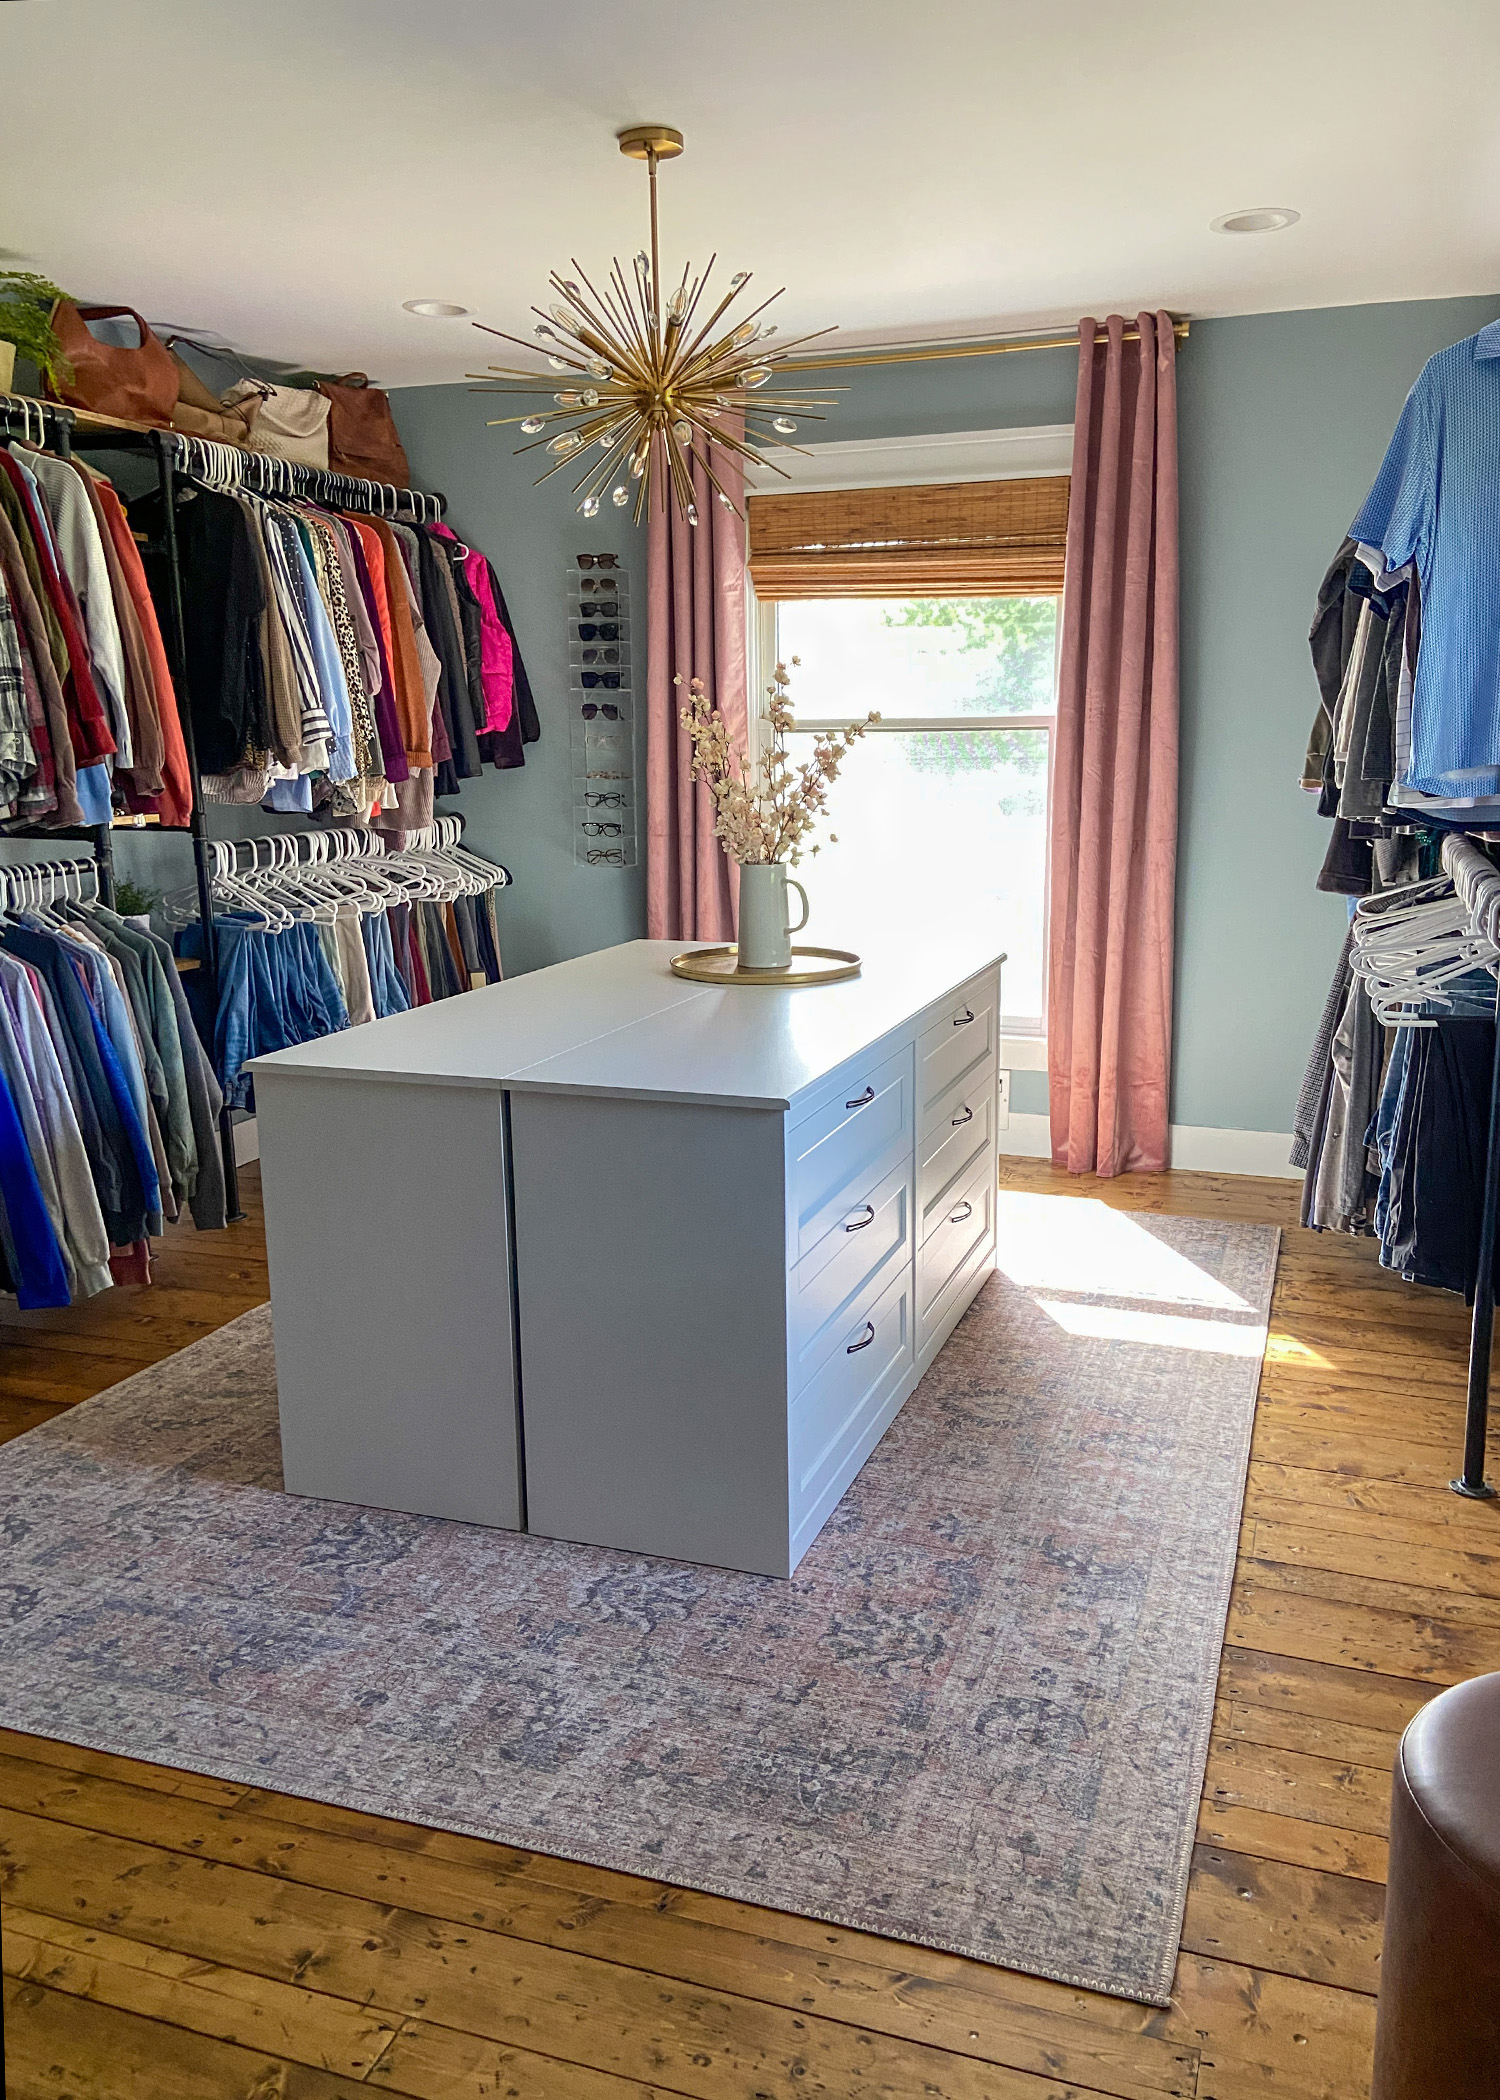
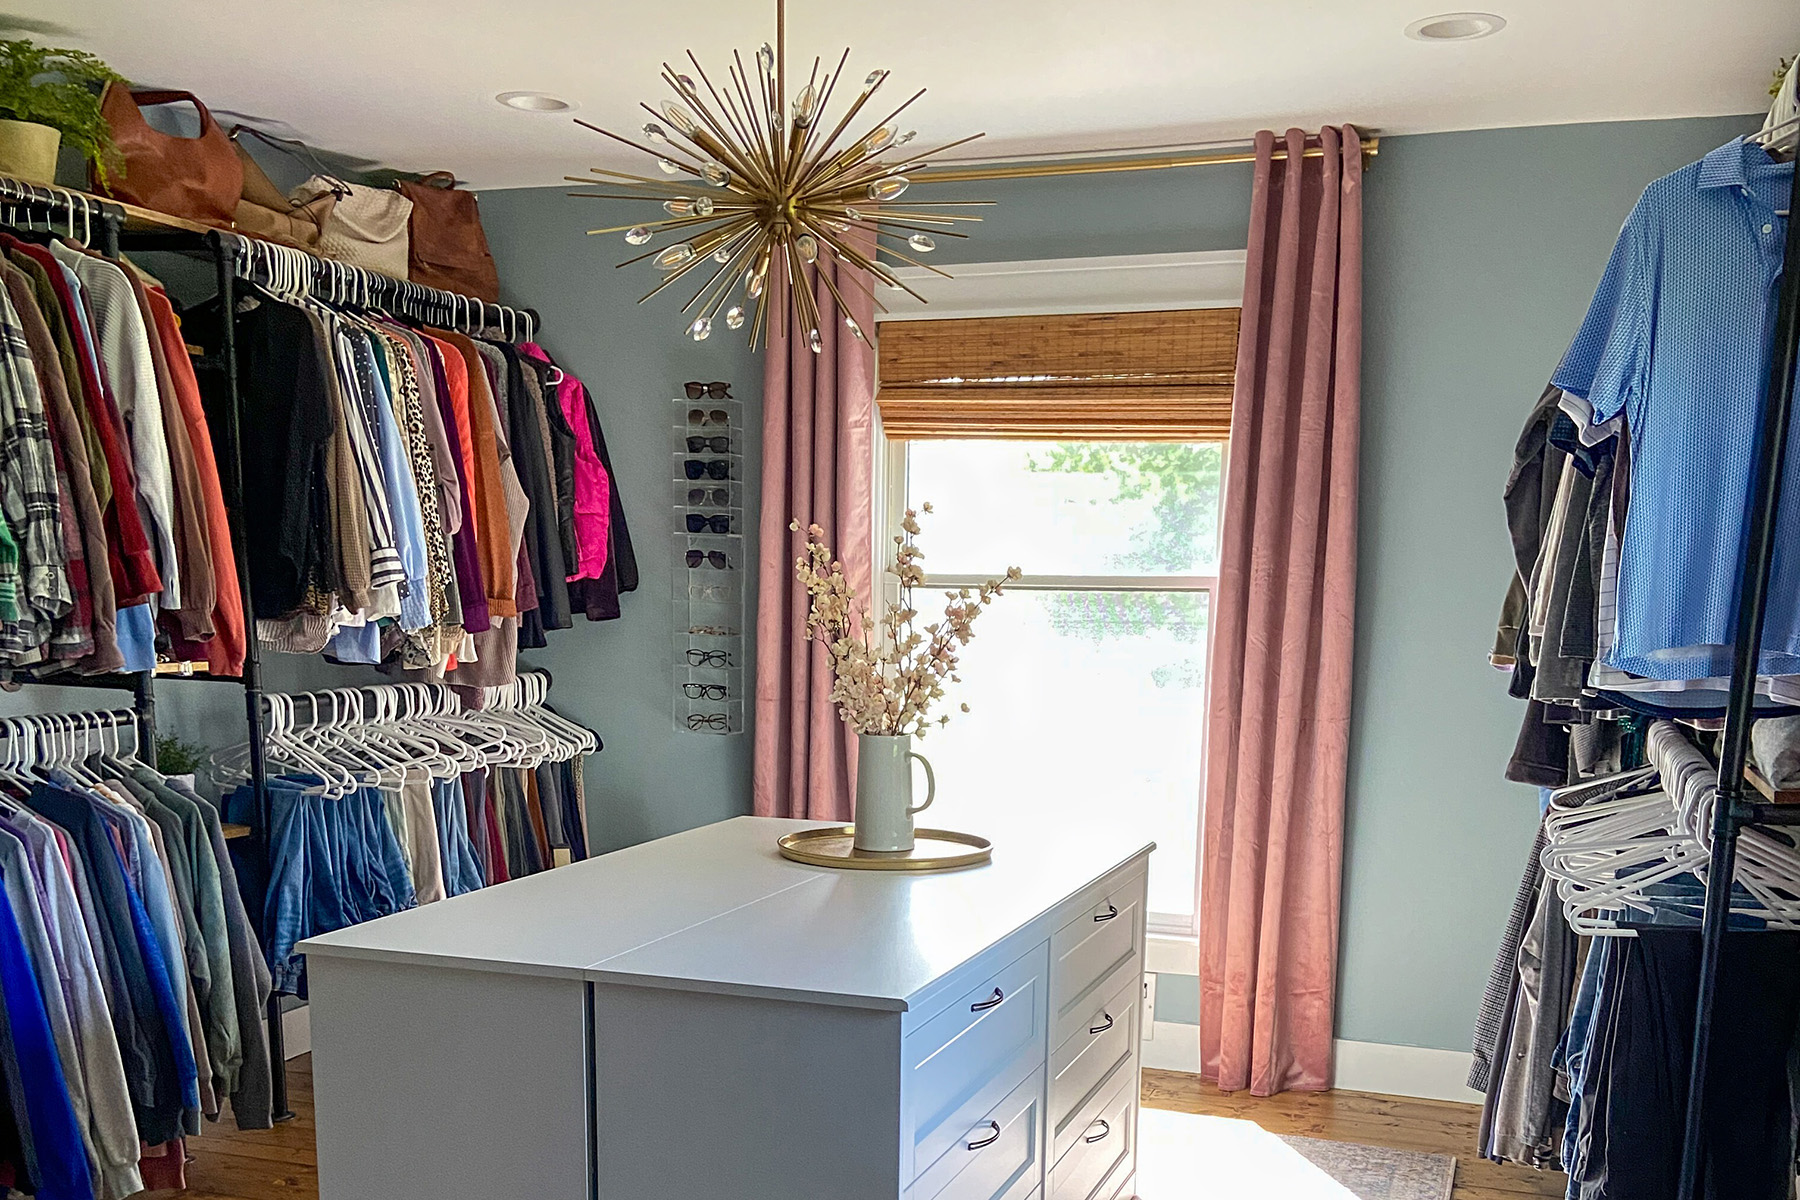
My husband is an electrician who believes can lights are the only lights needed. You have no idea how excited I am about this light fixture.
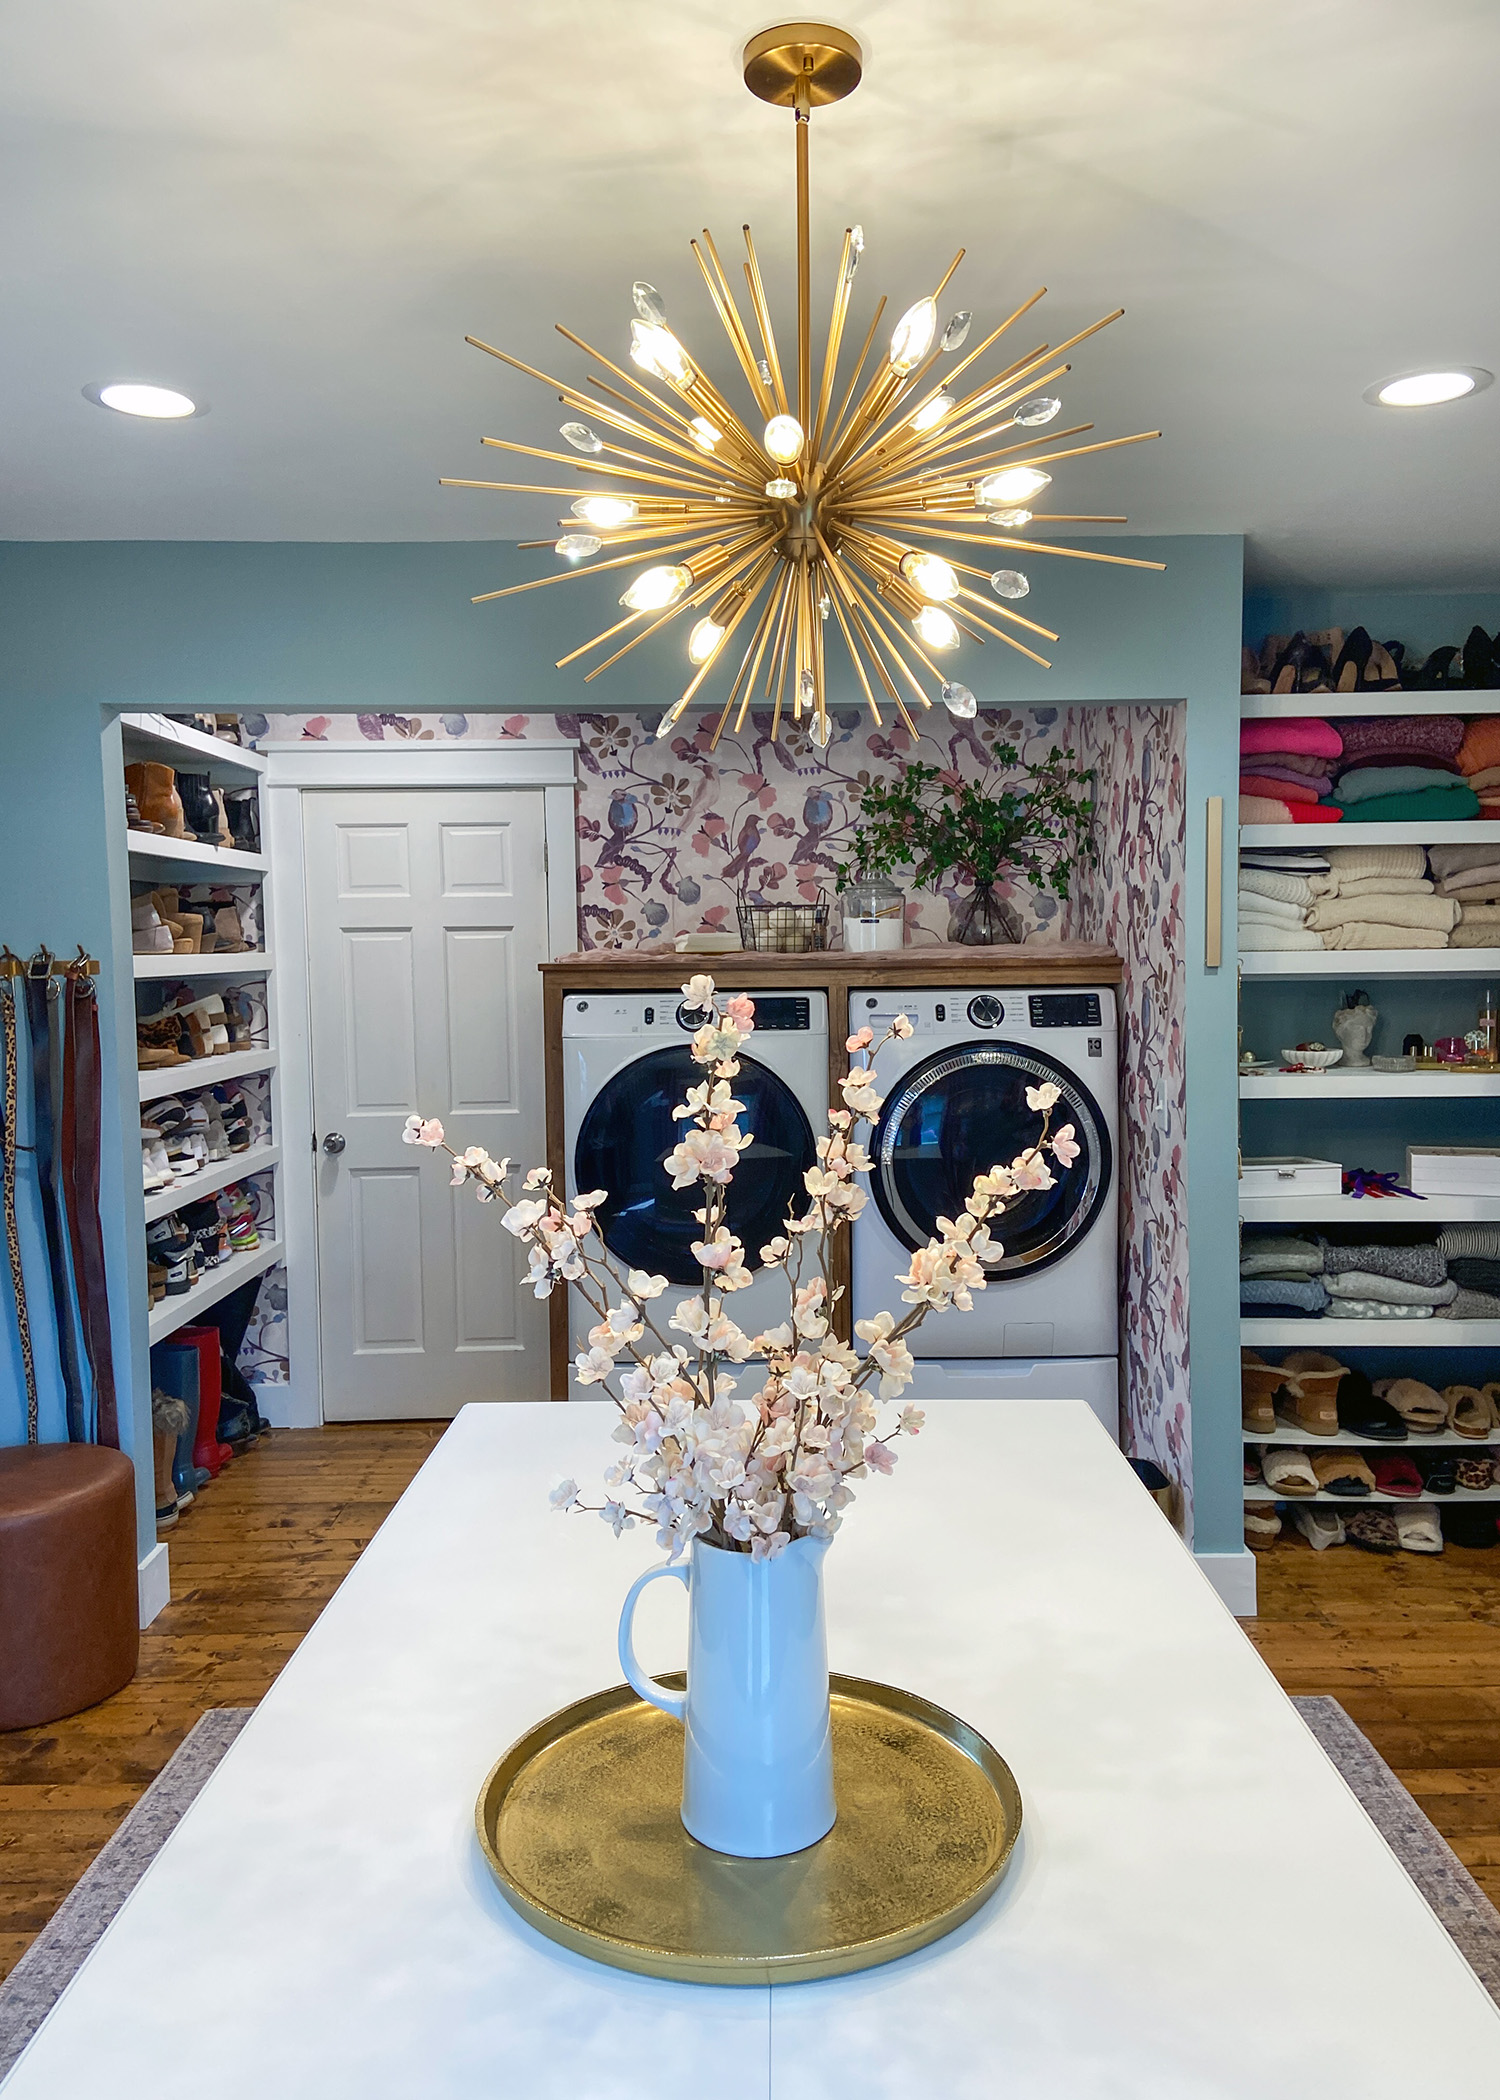
The light fixture is a close second to the excitement of having the washer and dryer in the master closet.
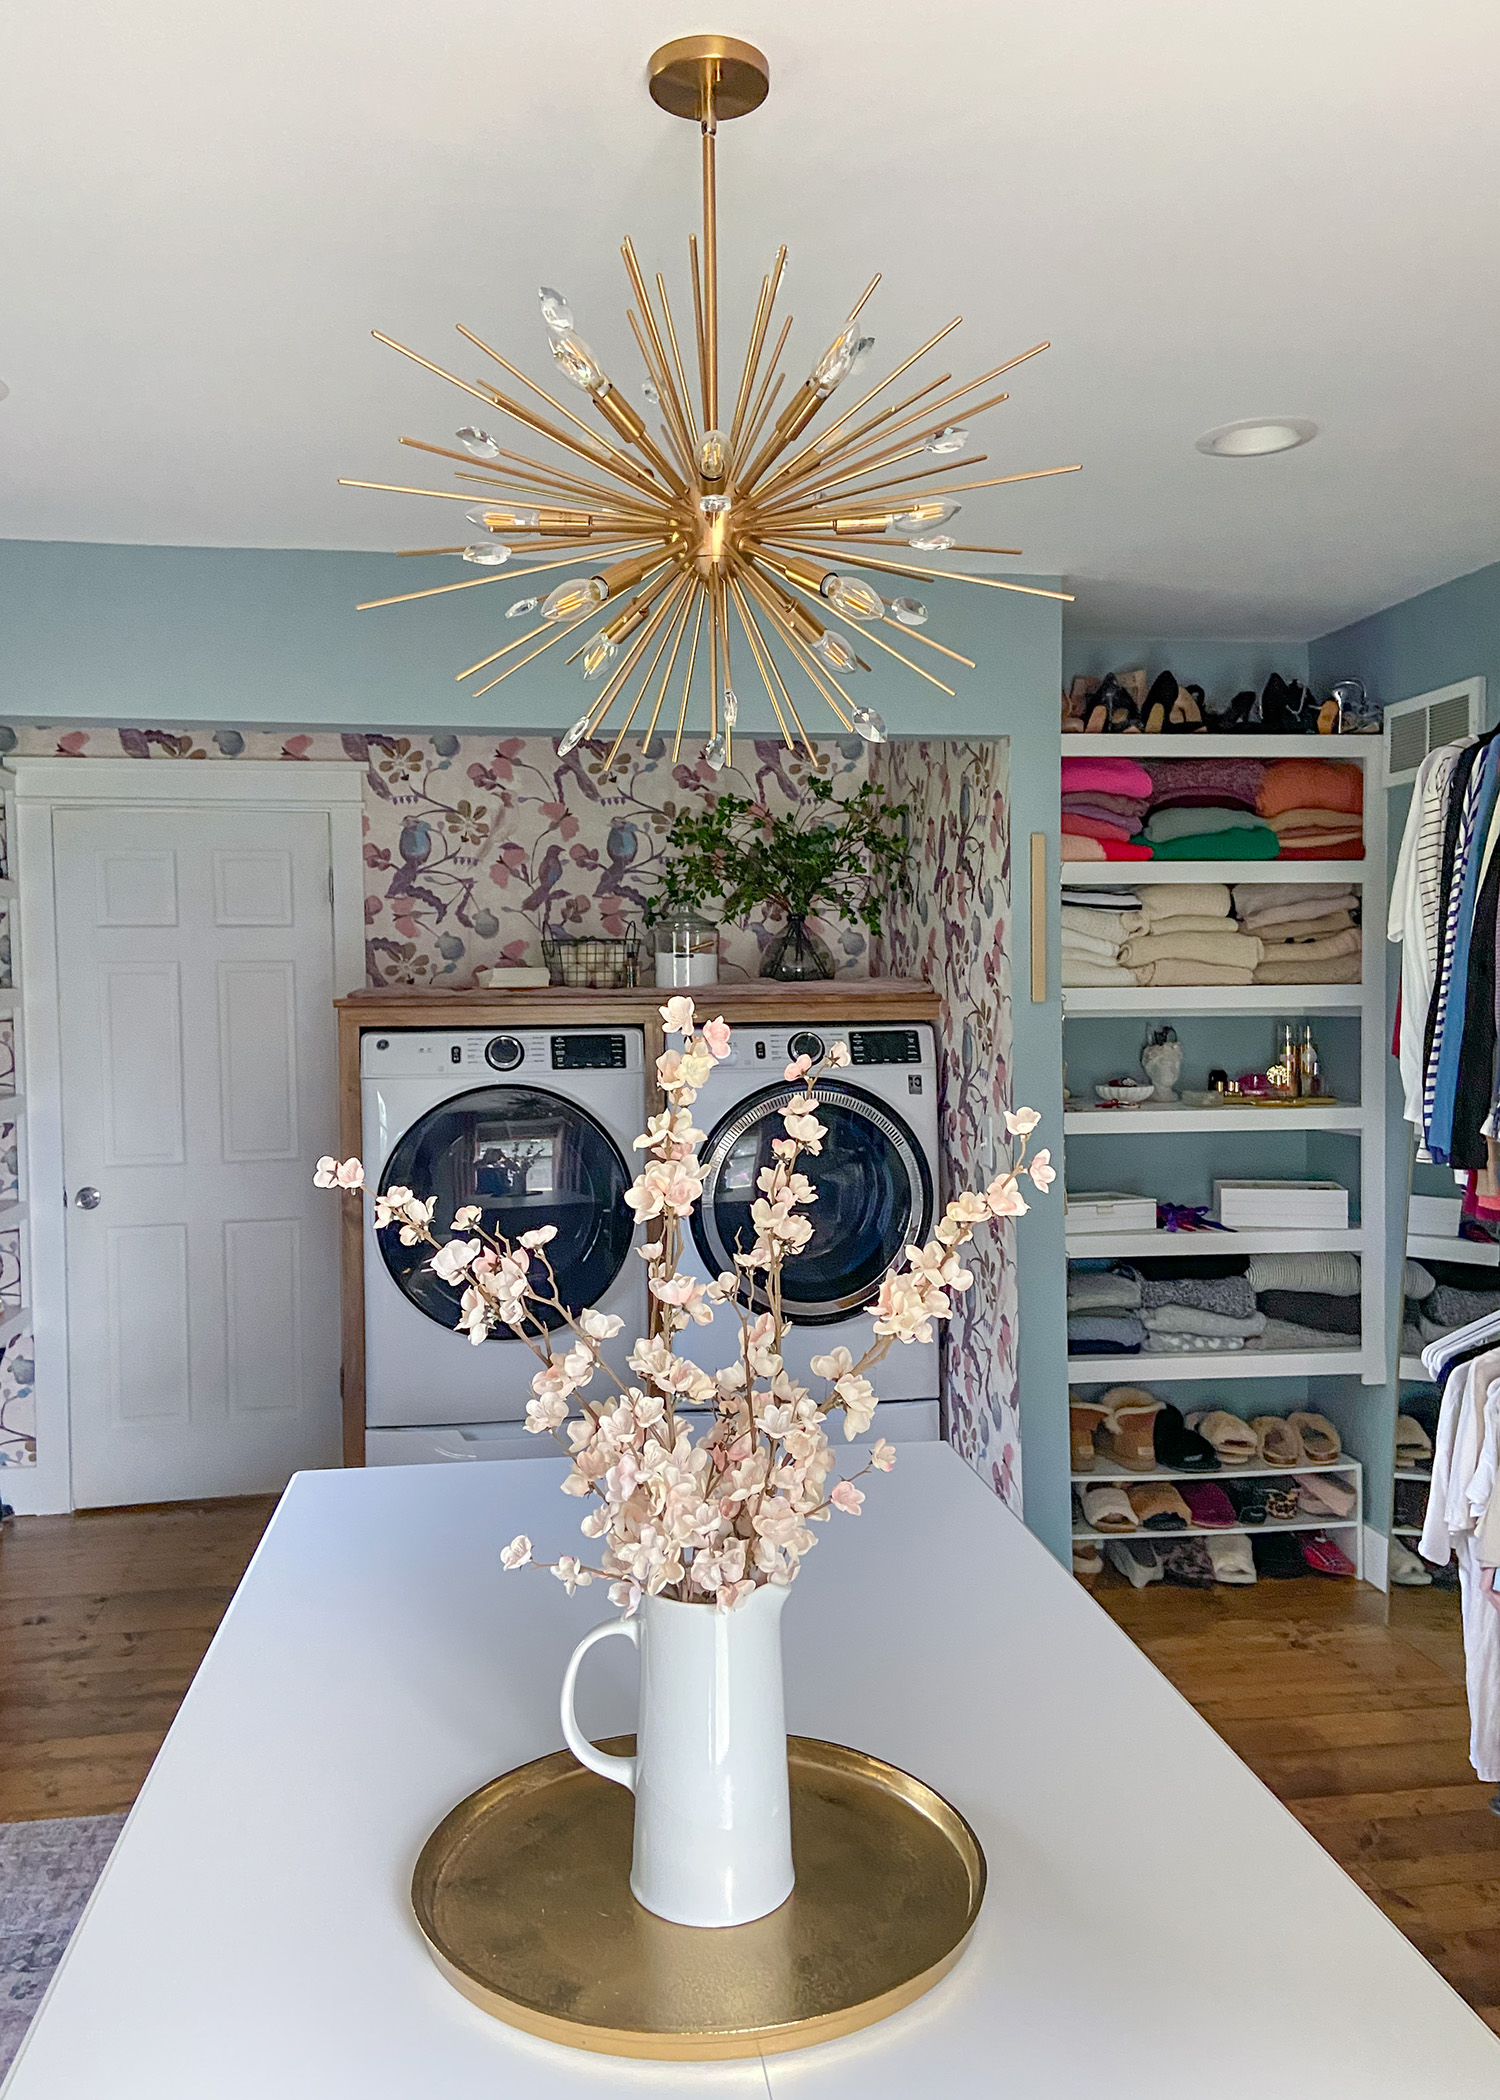
We added the pedestal drawers found on Facebook Marketplace to the washer and dryer when we moved them to the closet. I admit, I do like how much easier it is to get the clothes in and out with them up higher. And I love that the drawers keep random laundry supplies easily accessible yet out of sight.
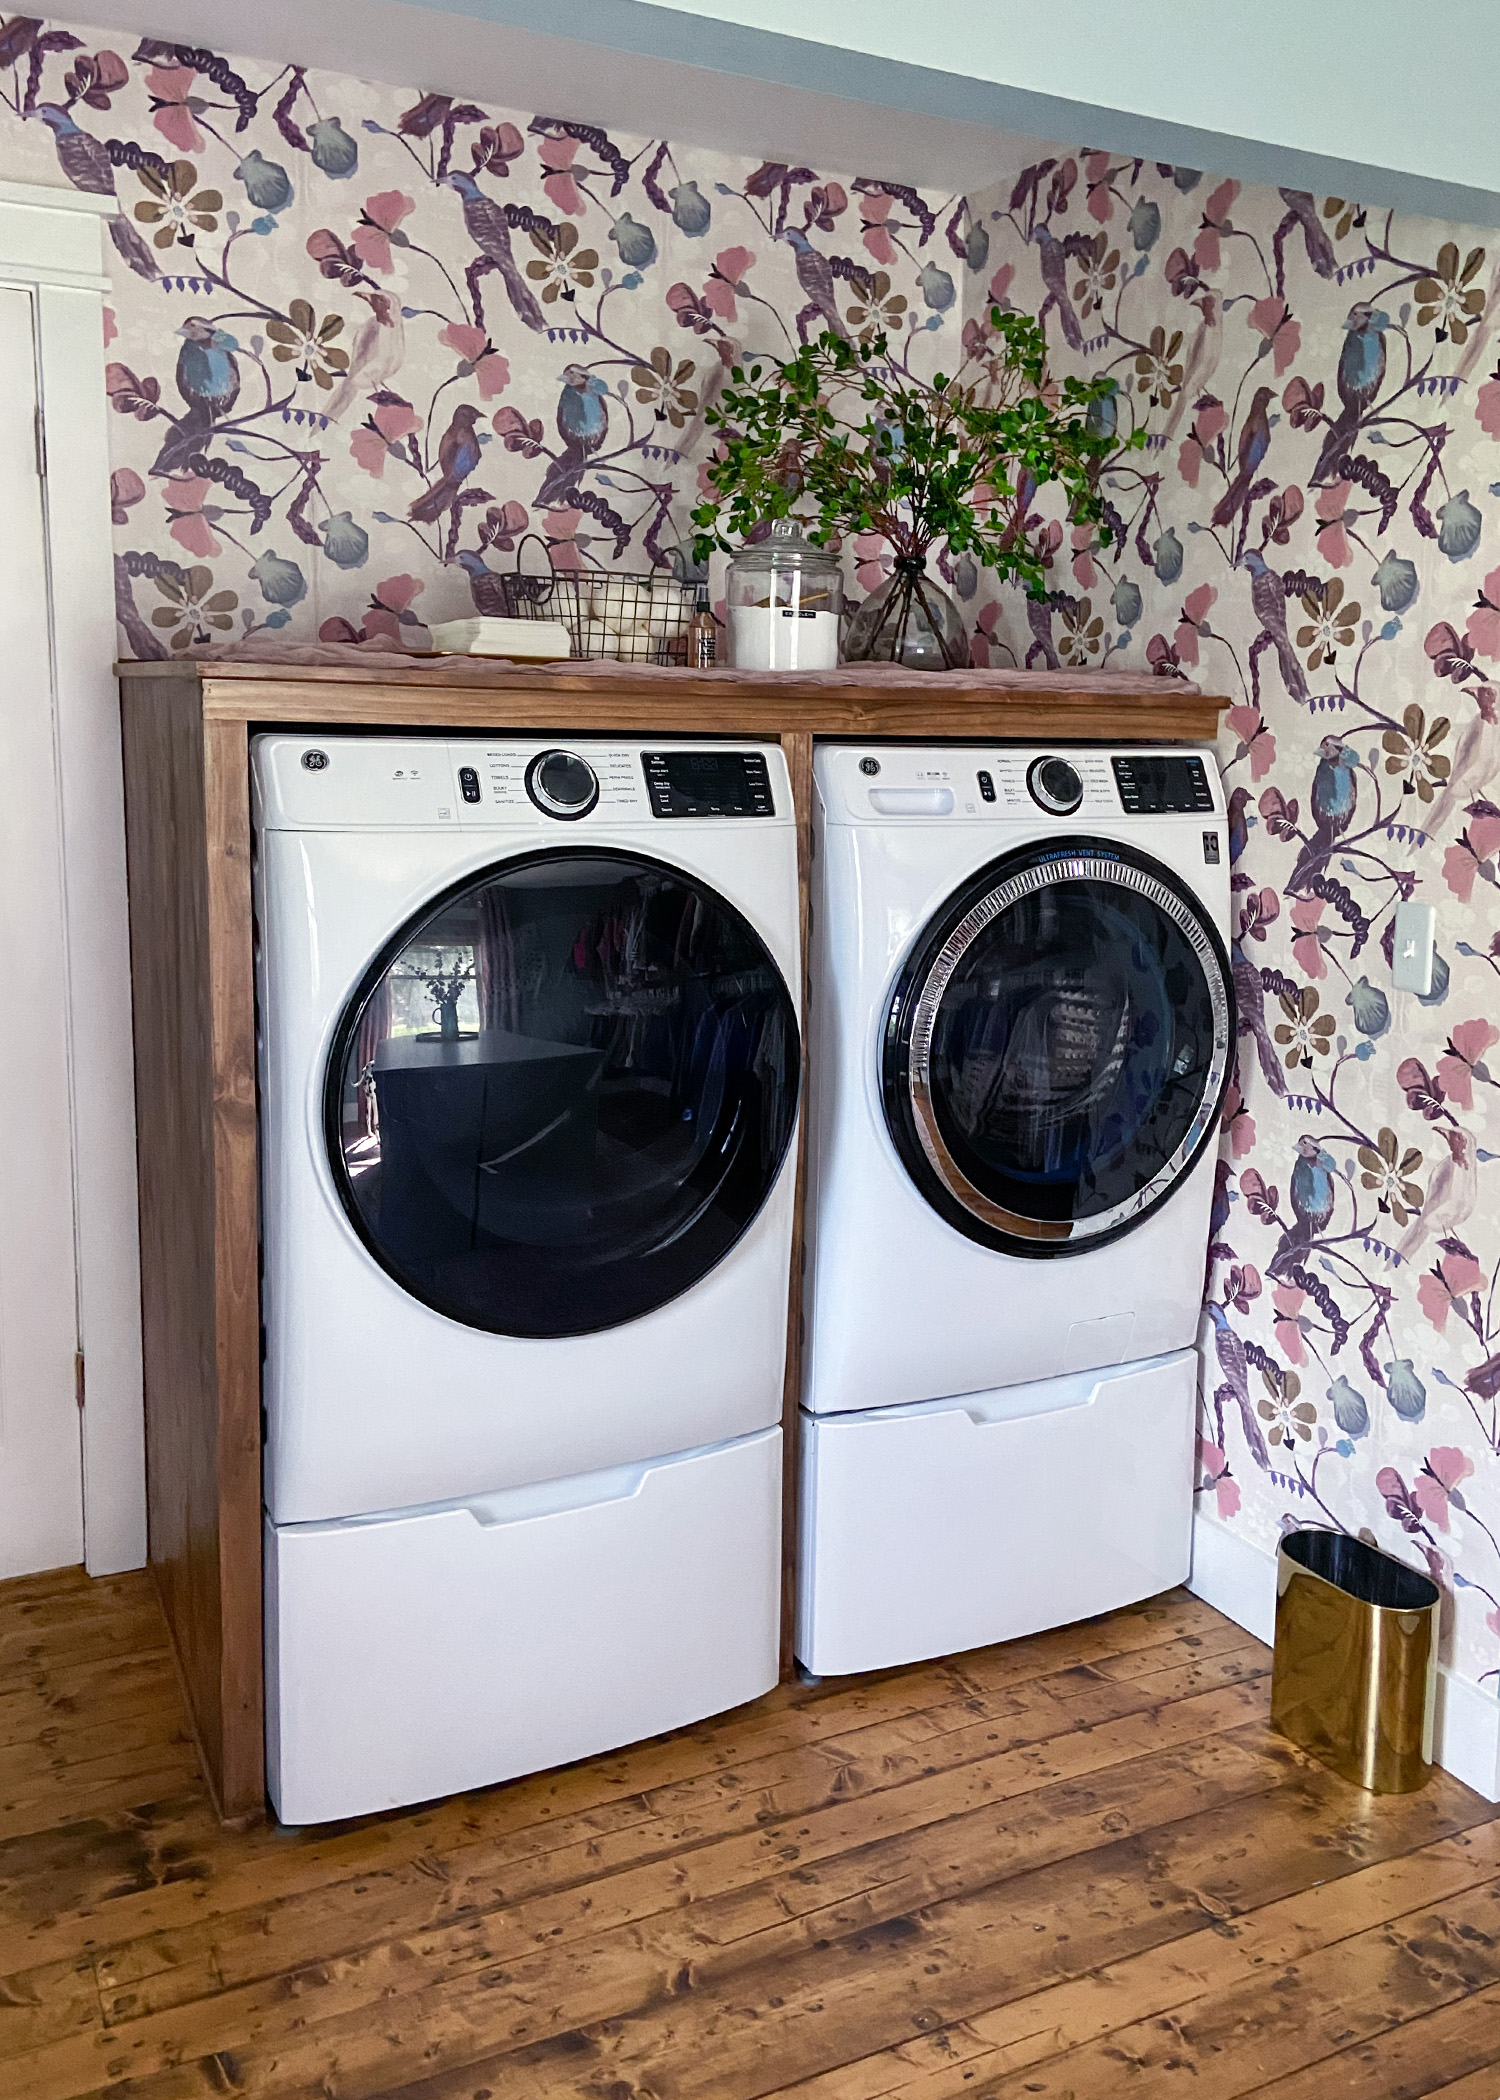
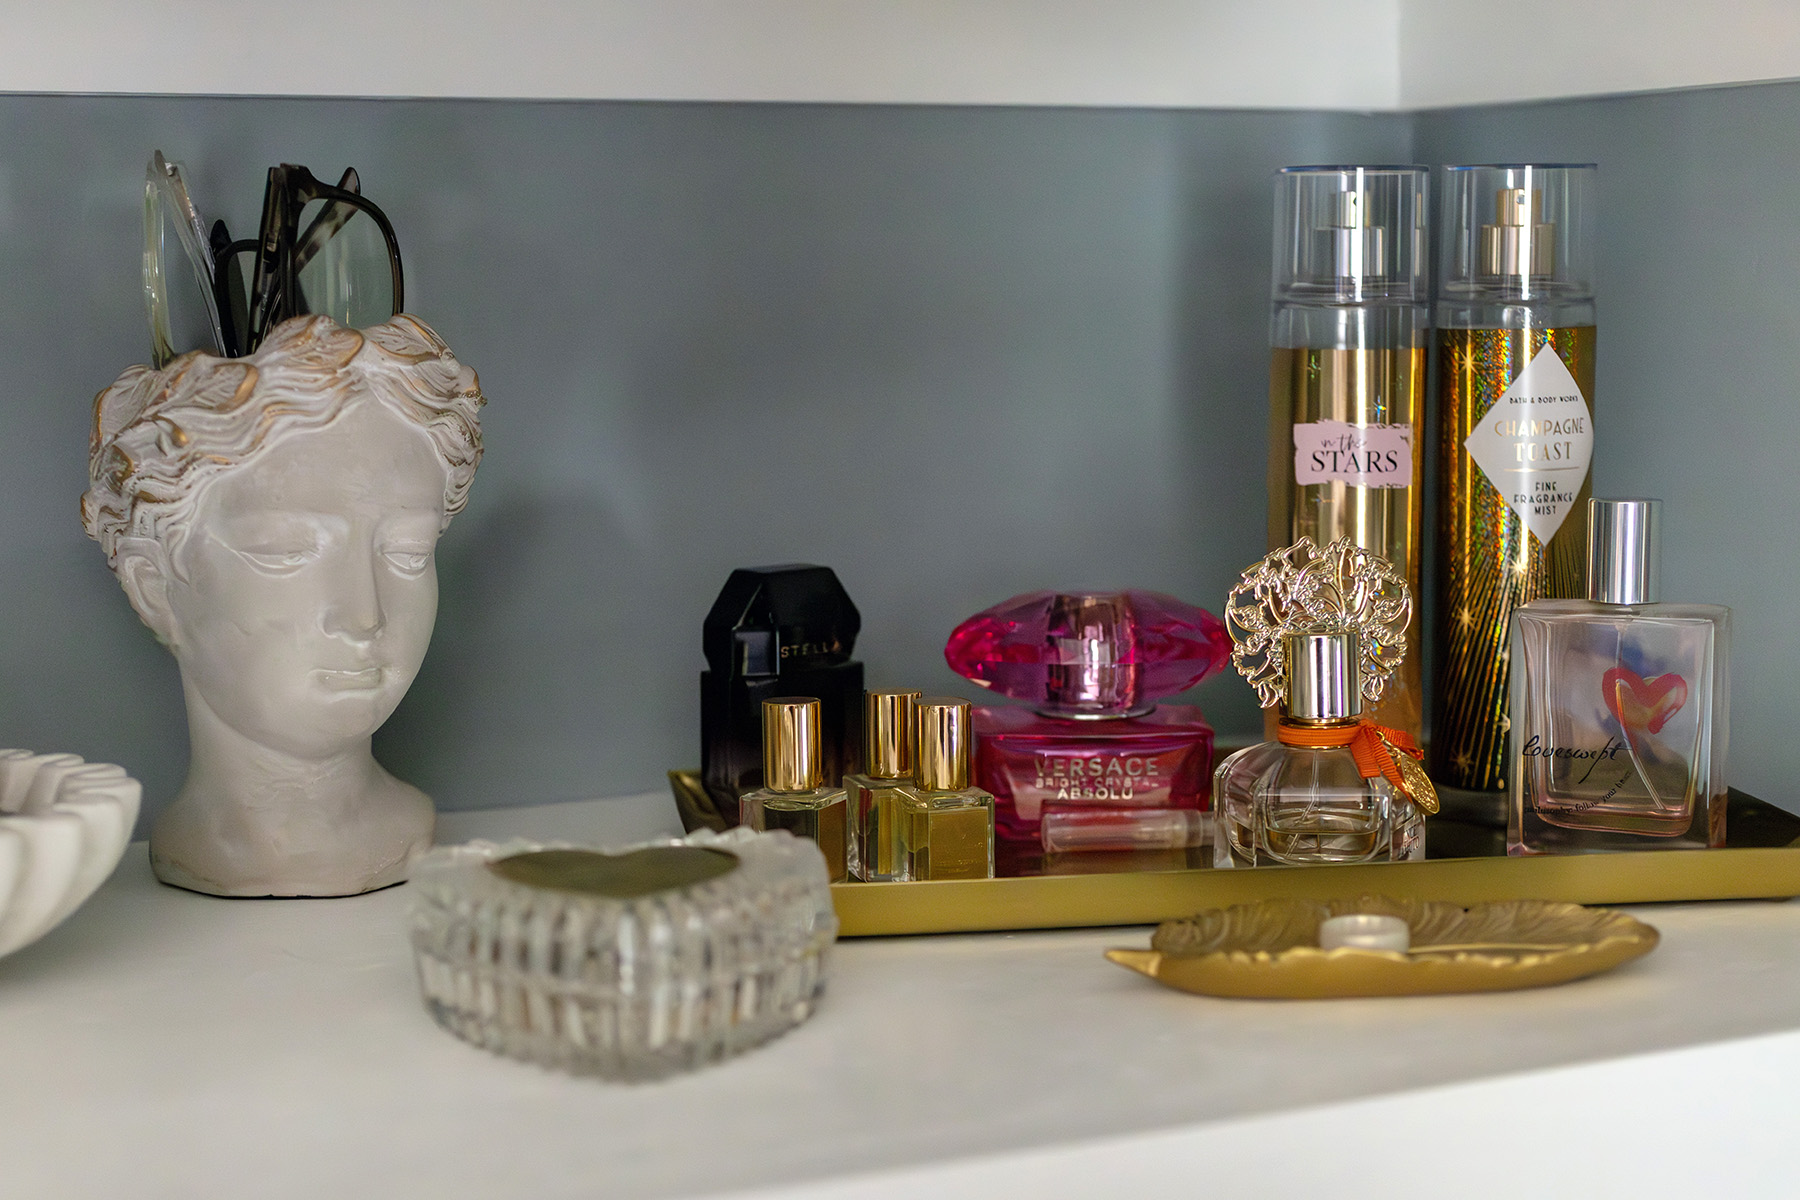
Only the pretty things get to stay out in the open.
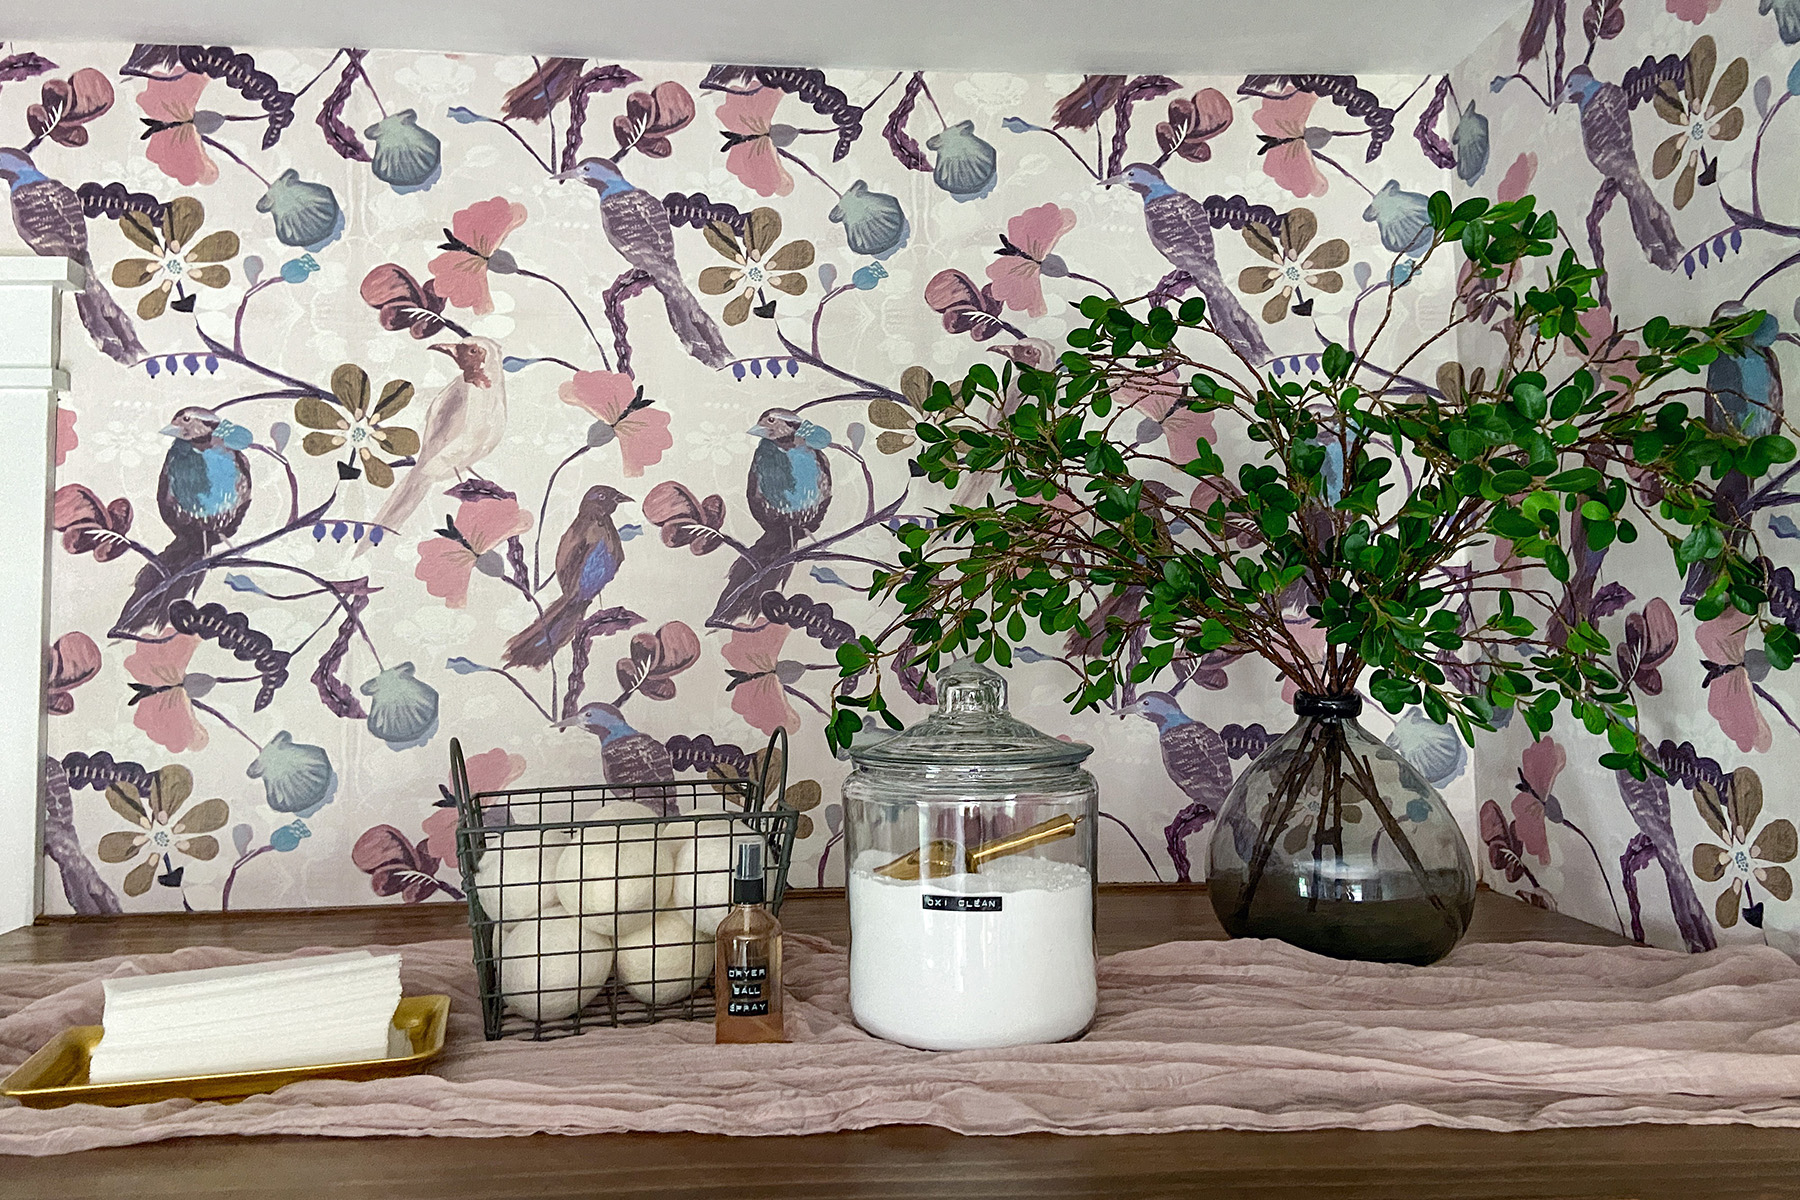
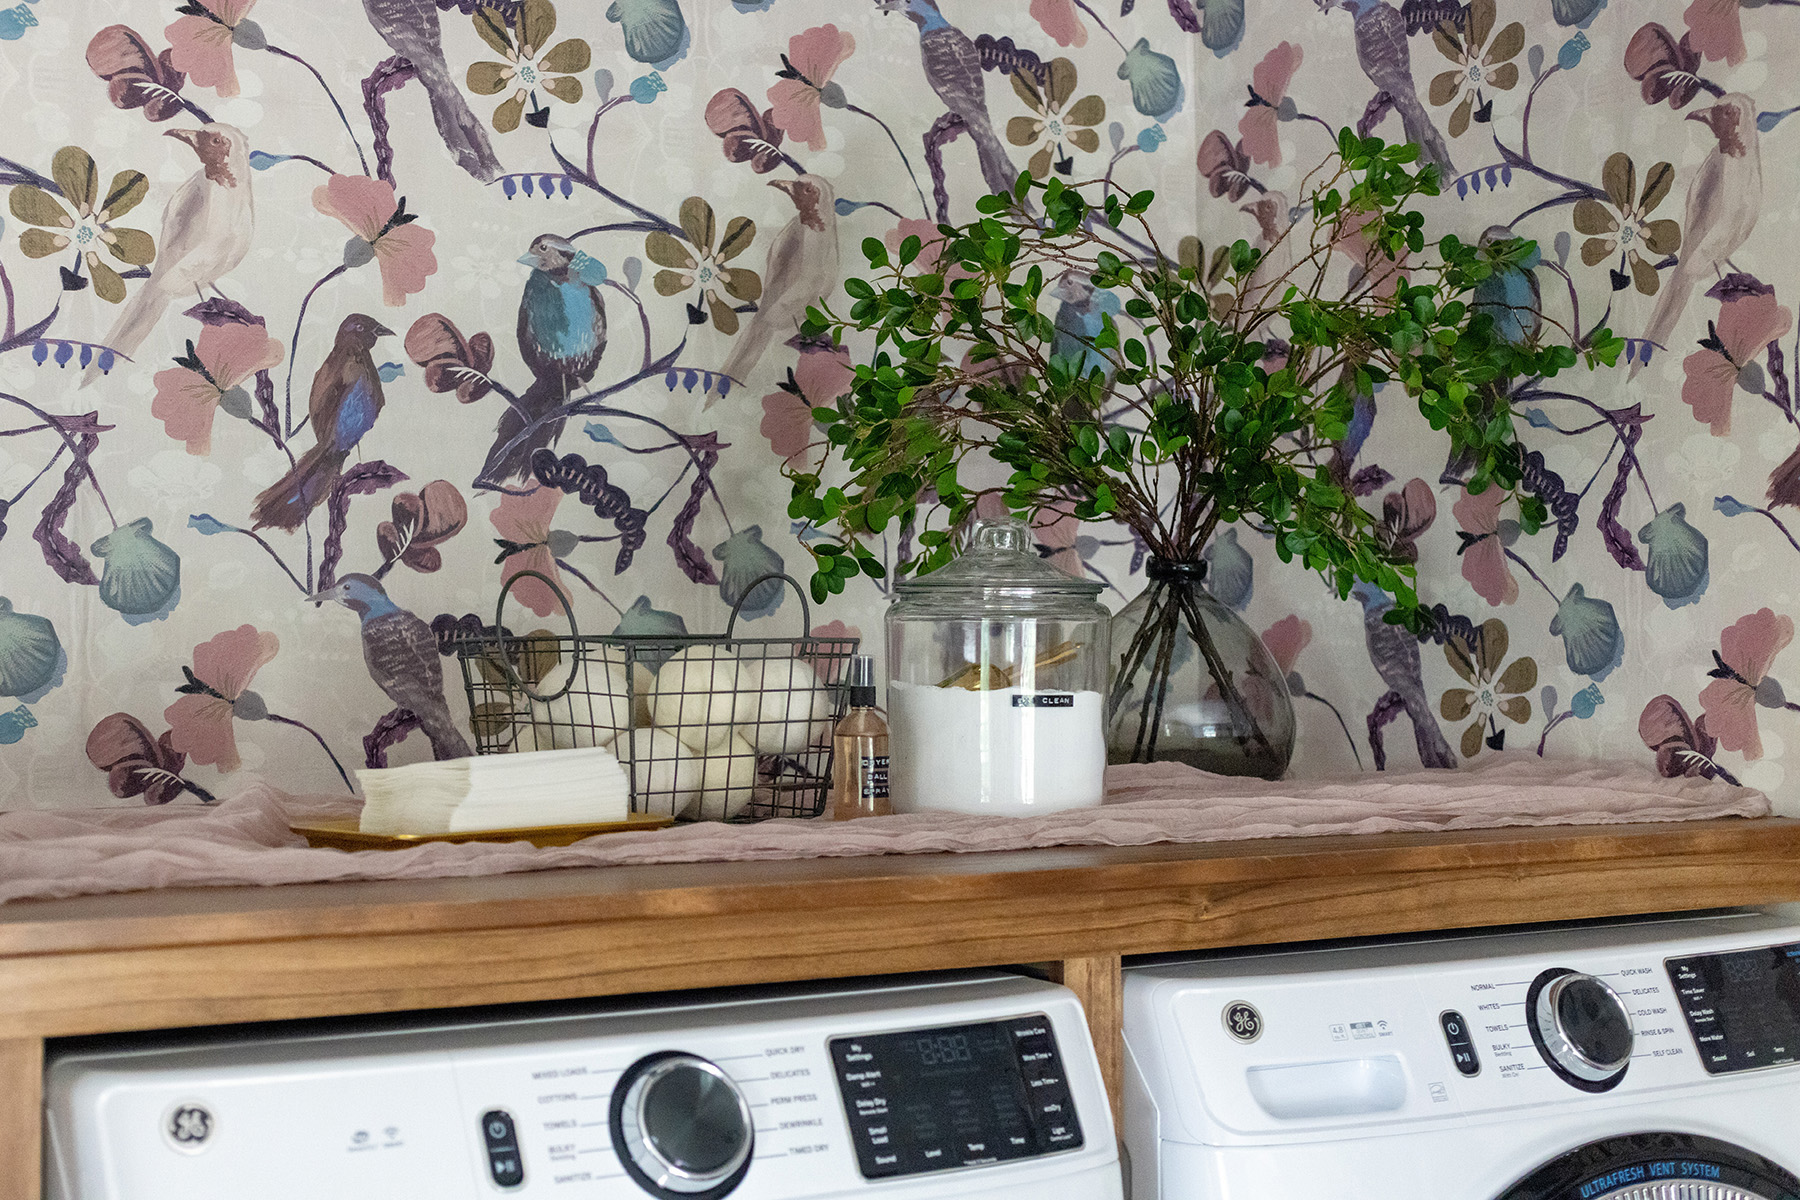
I don’t dread doing laundry anymore. It’s so easy to pull the clean clothes straight from the dryer and hang them right up. They no longer go from the dryer across the house, into a laundry basket to sit at the foot of the bed wrinkling until I can force myself to put the clothes away. It’s a true miracle.
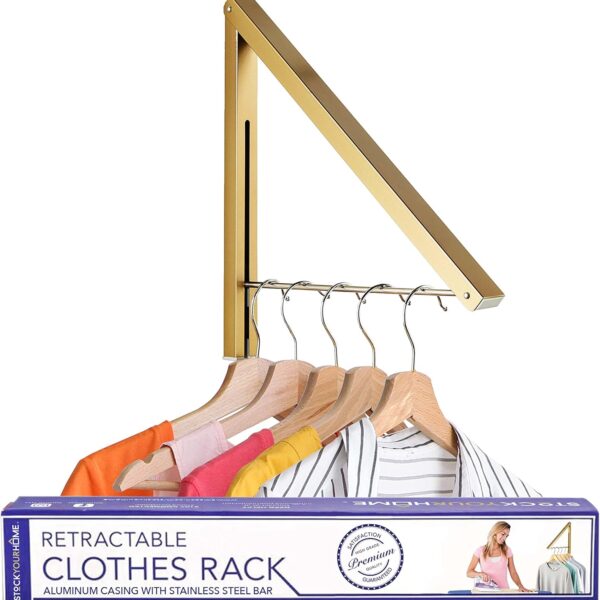
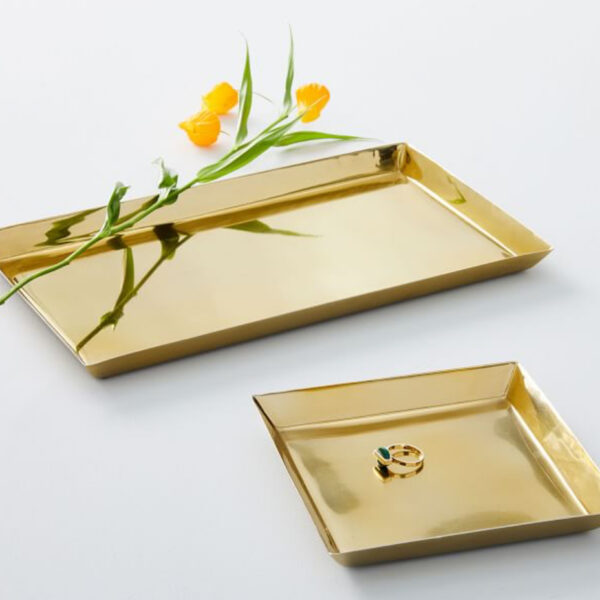
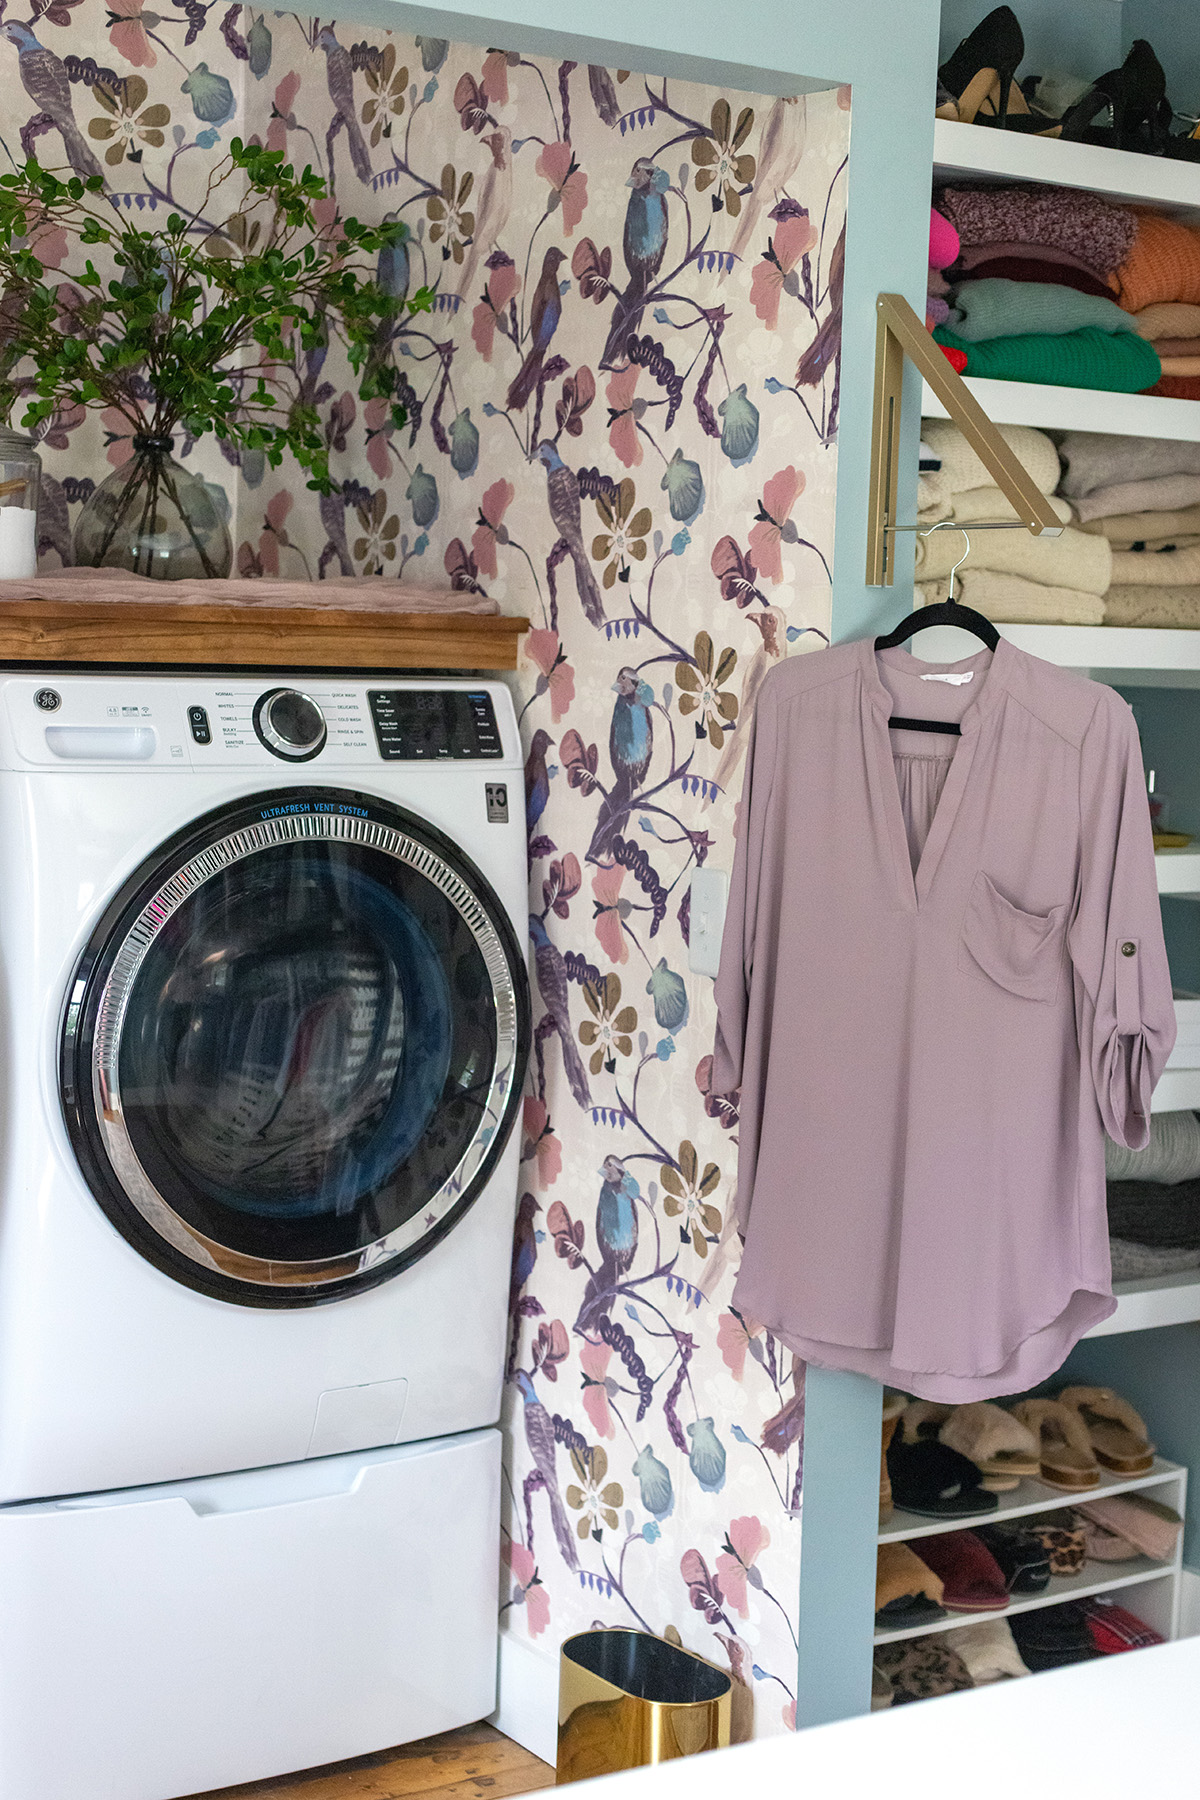
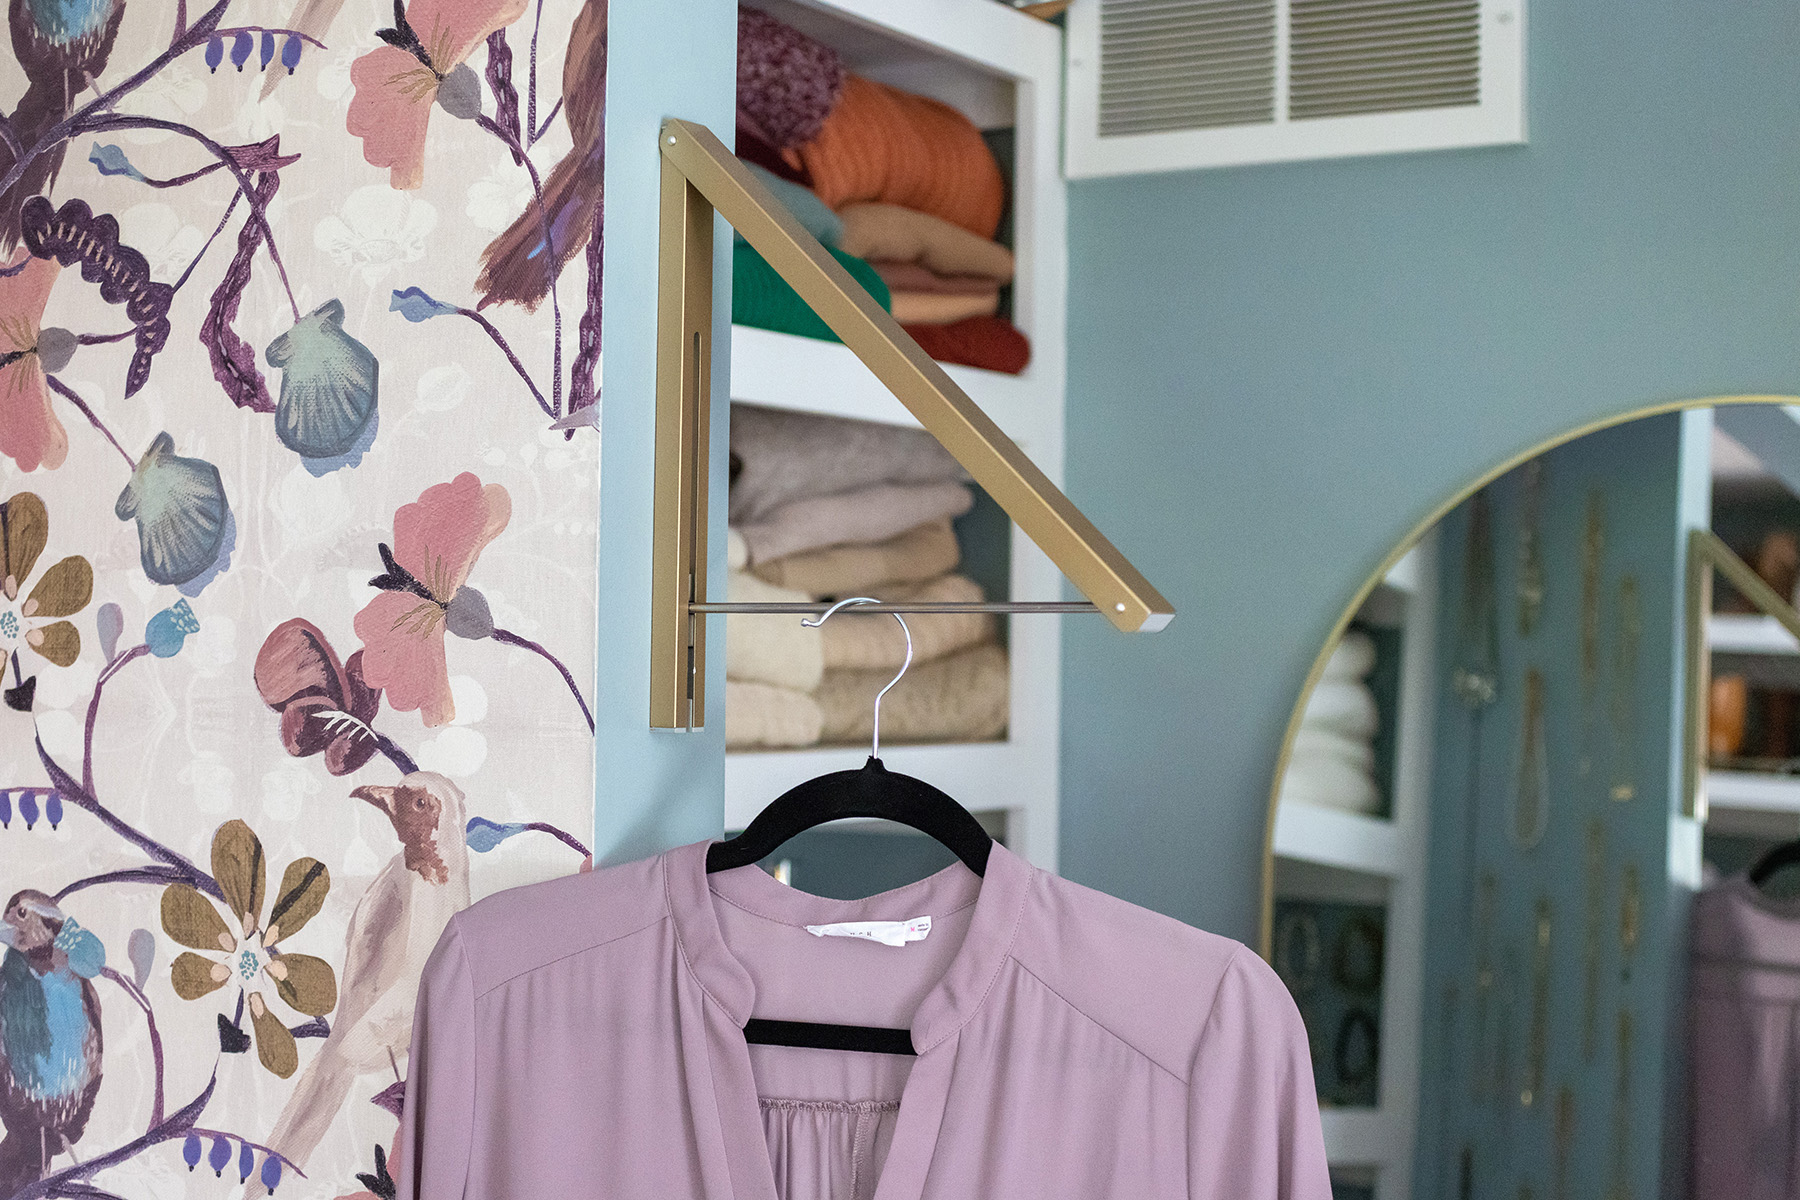
I needed some type of drying rack for clothes that can’t be dried. I found this simple gold rack that folds flat when not in use. It works perfectly.
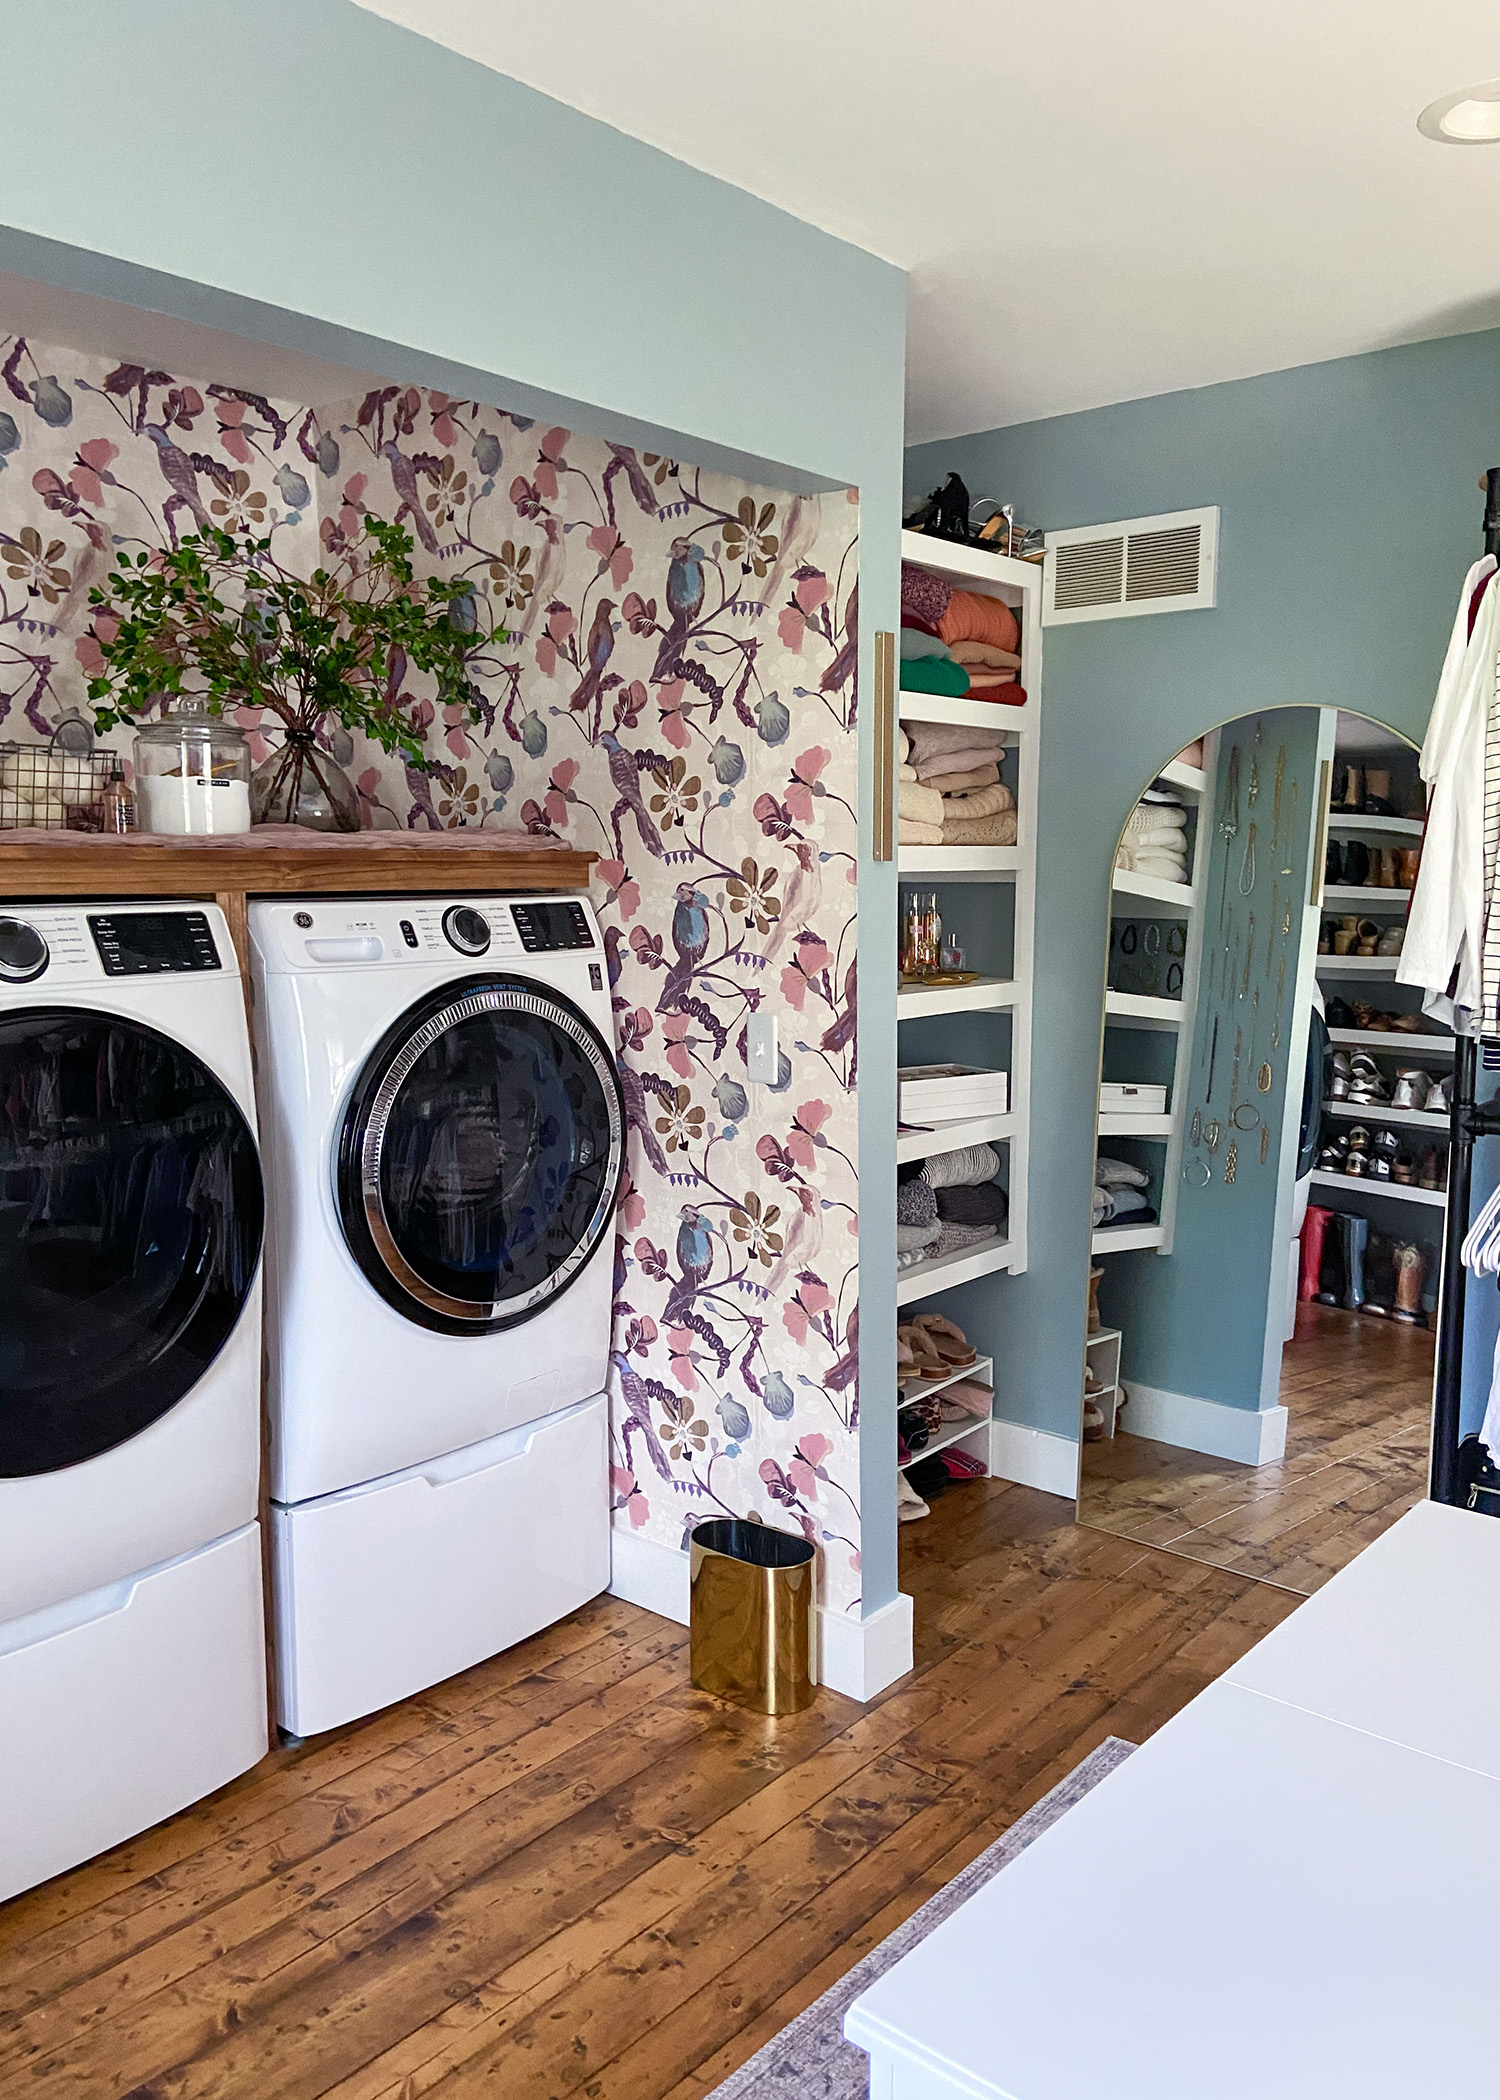
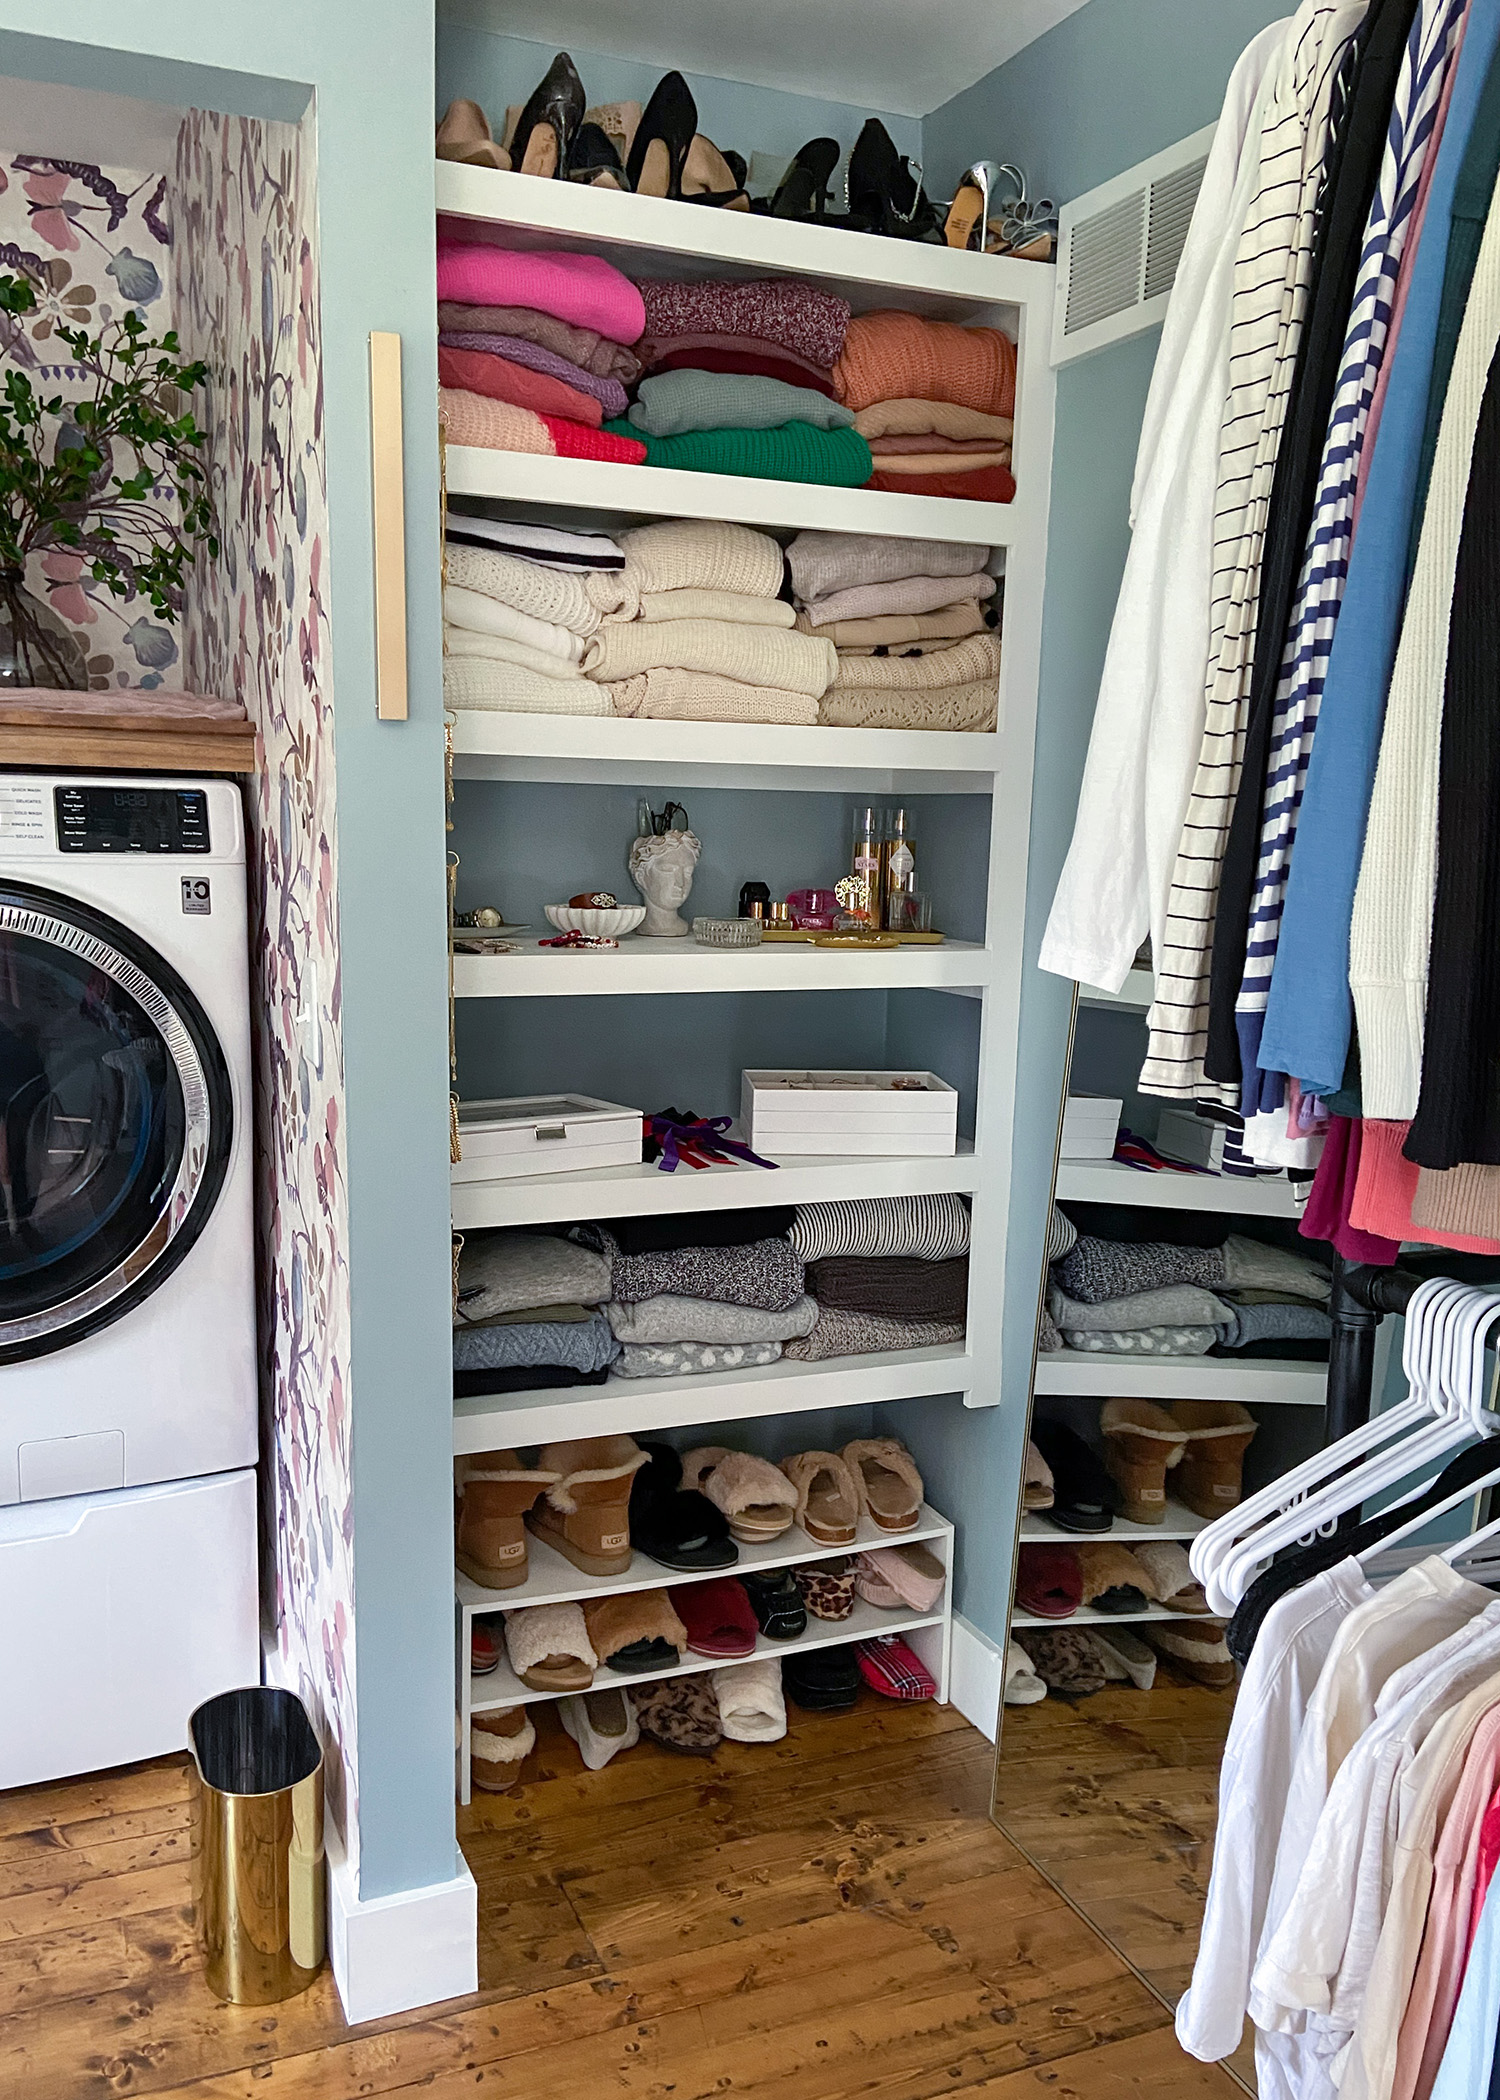
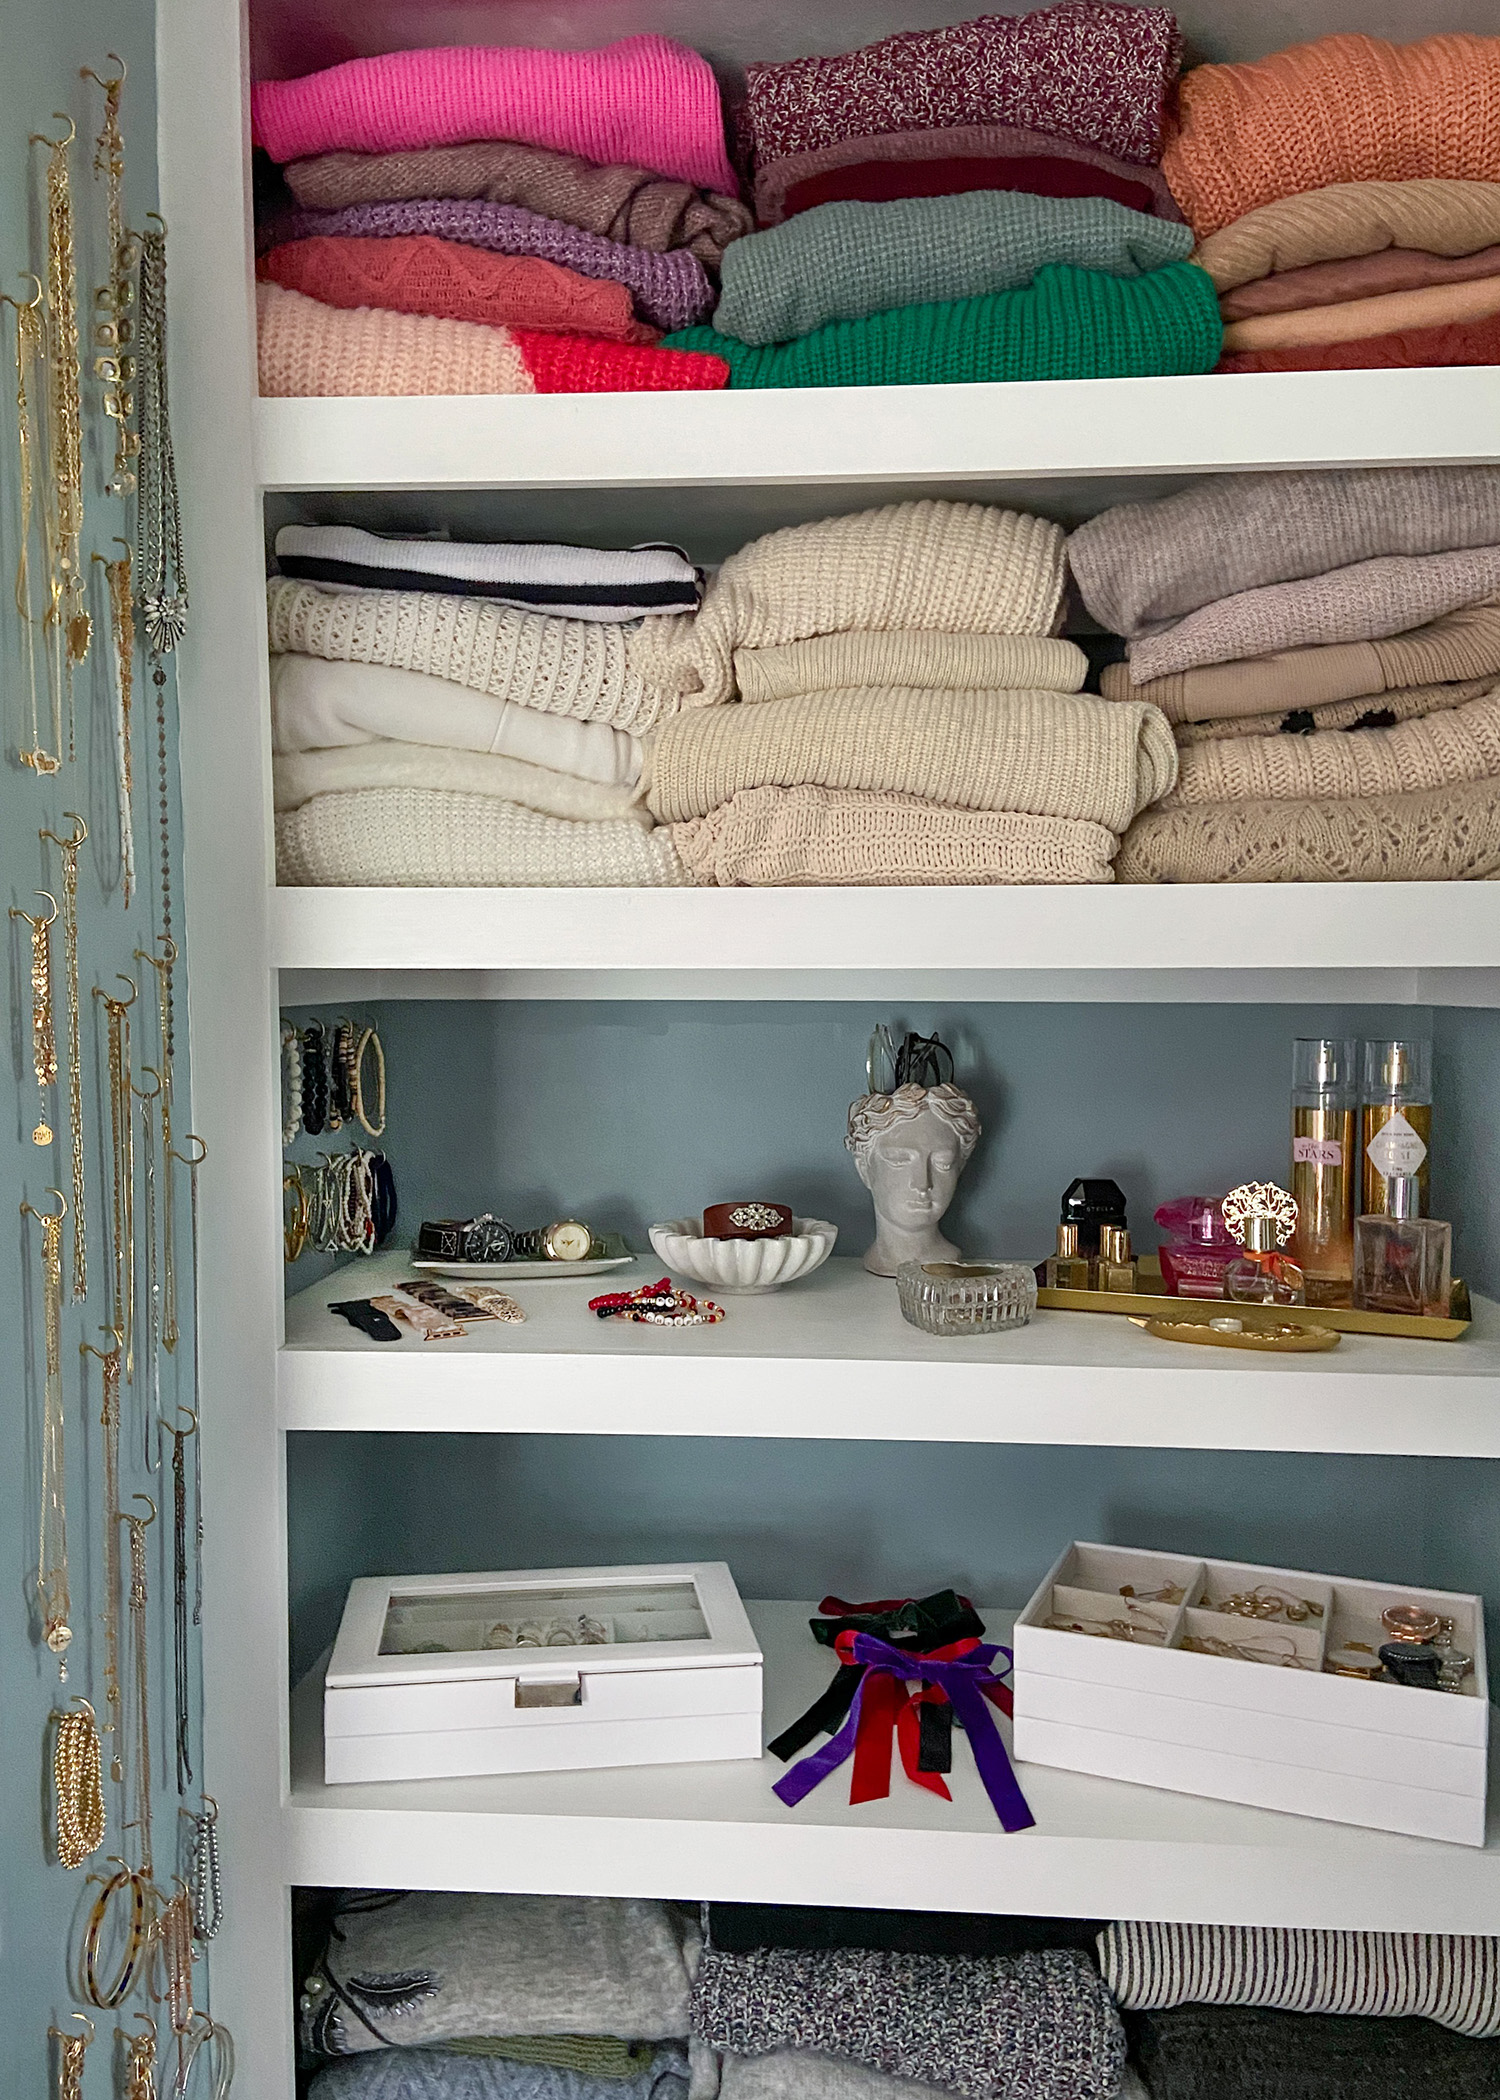
I wasn’t sure what we were going to do with this nook where the original bedroom door was enclosed. Originally I thought maybe a makeup table with jewelry displayed on the walls. Then I realized I needed shelves for folded sweaters – and overflow shoes. 😀
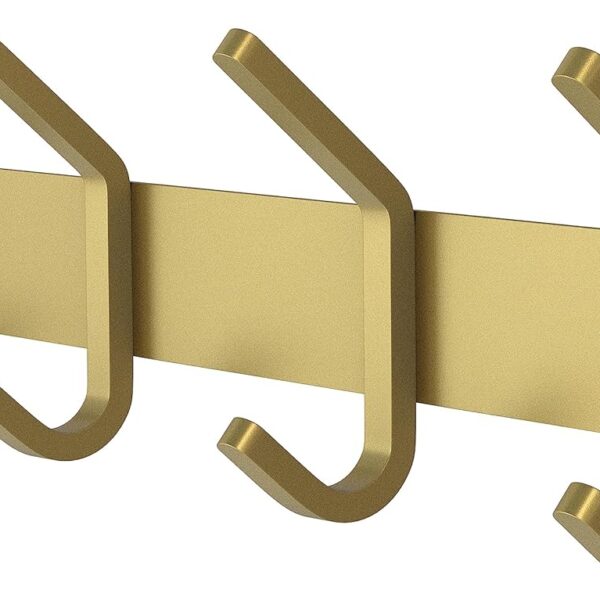
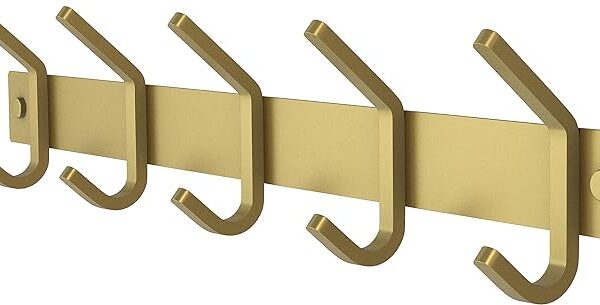
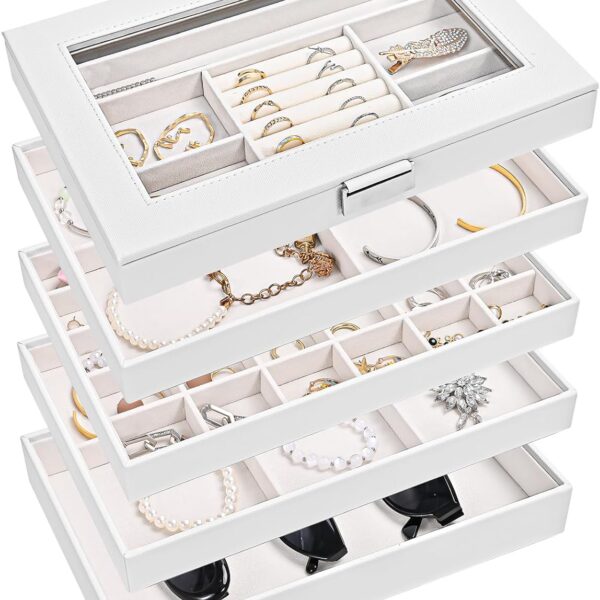
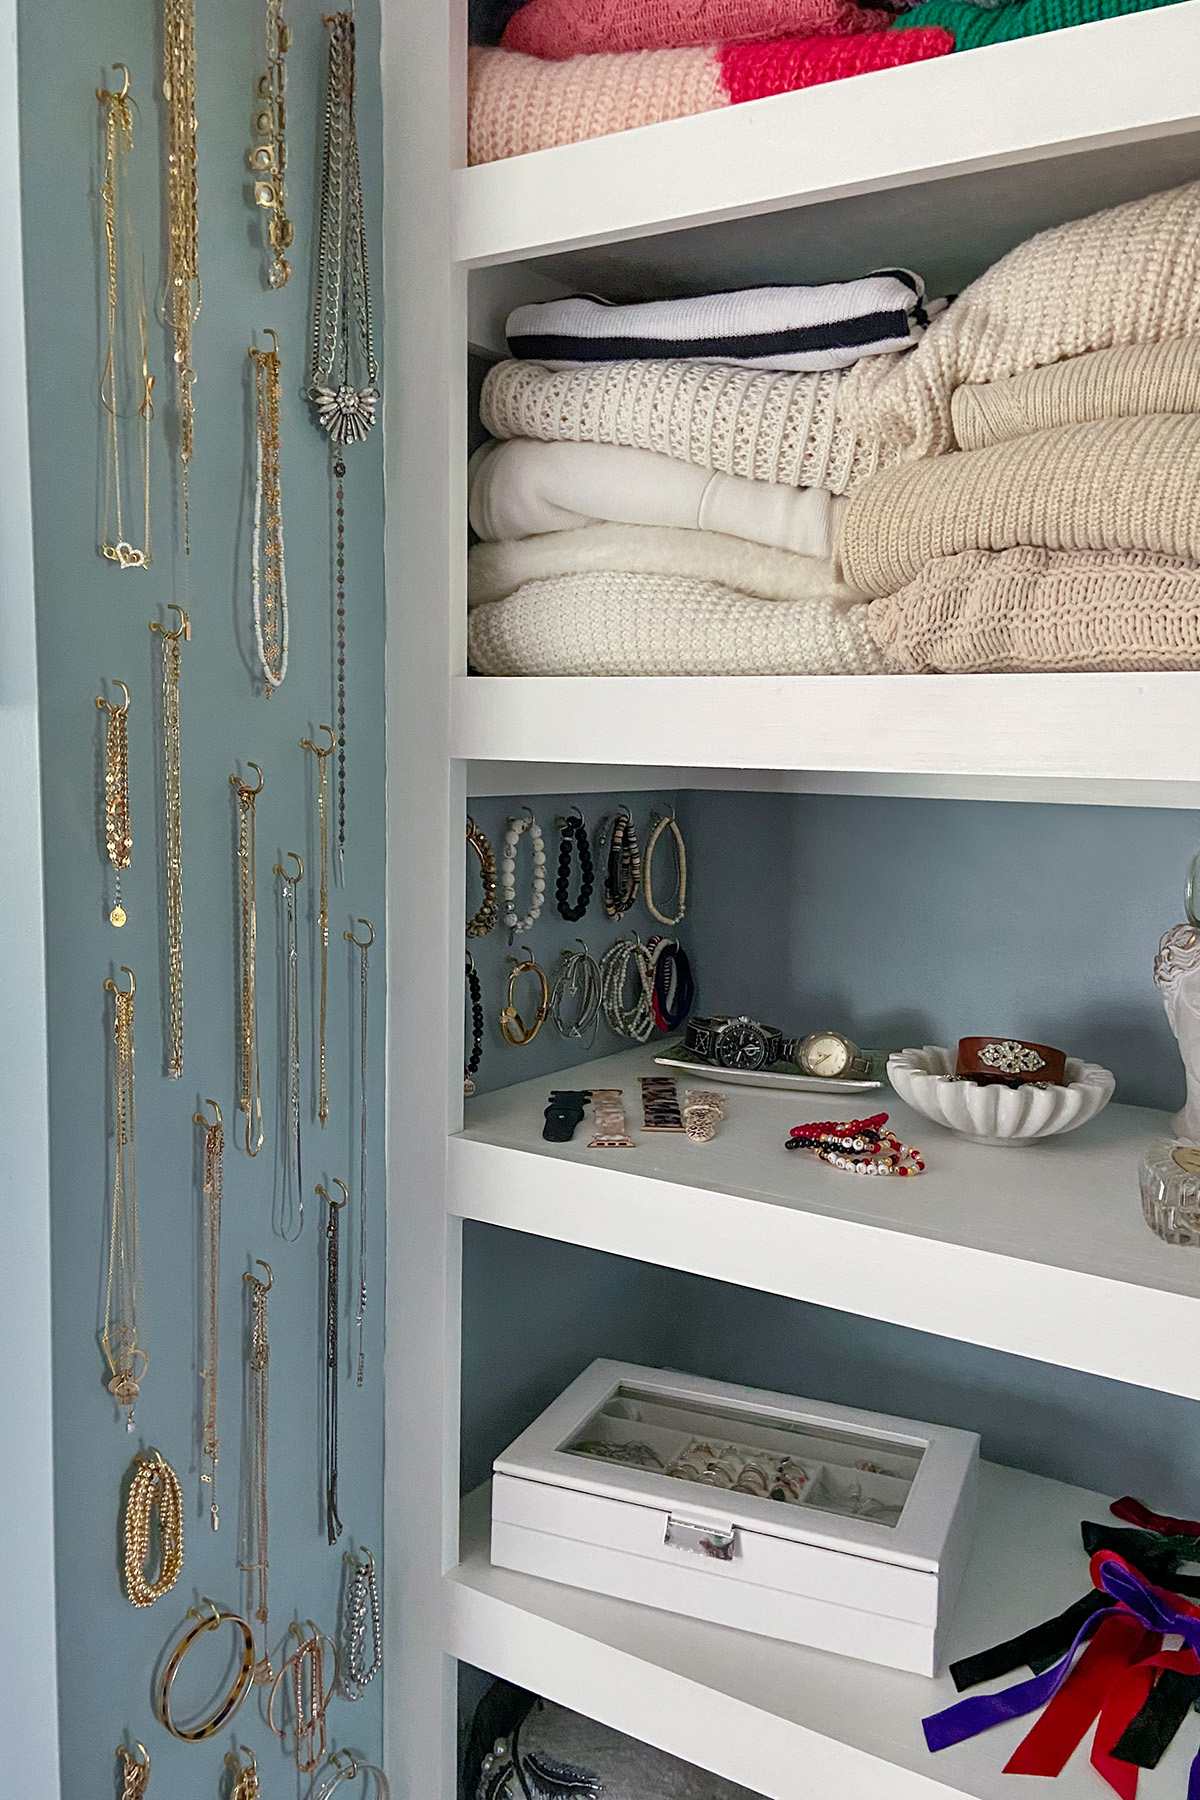
I was still able to hang my necklaces and bracelets using small gold hooks screwed into the wall. I like that I can easily see everything I have. It’s all inexpensive so, no fear of displaying my collection.
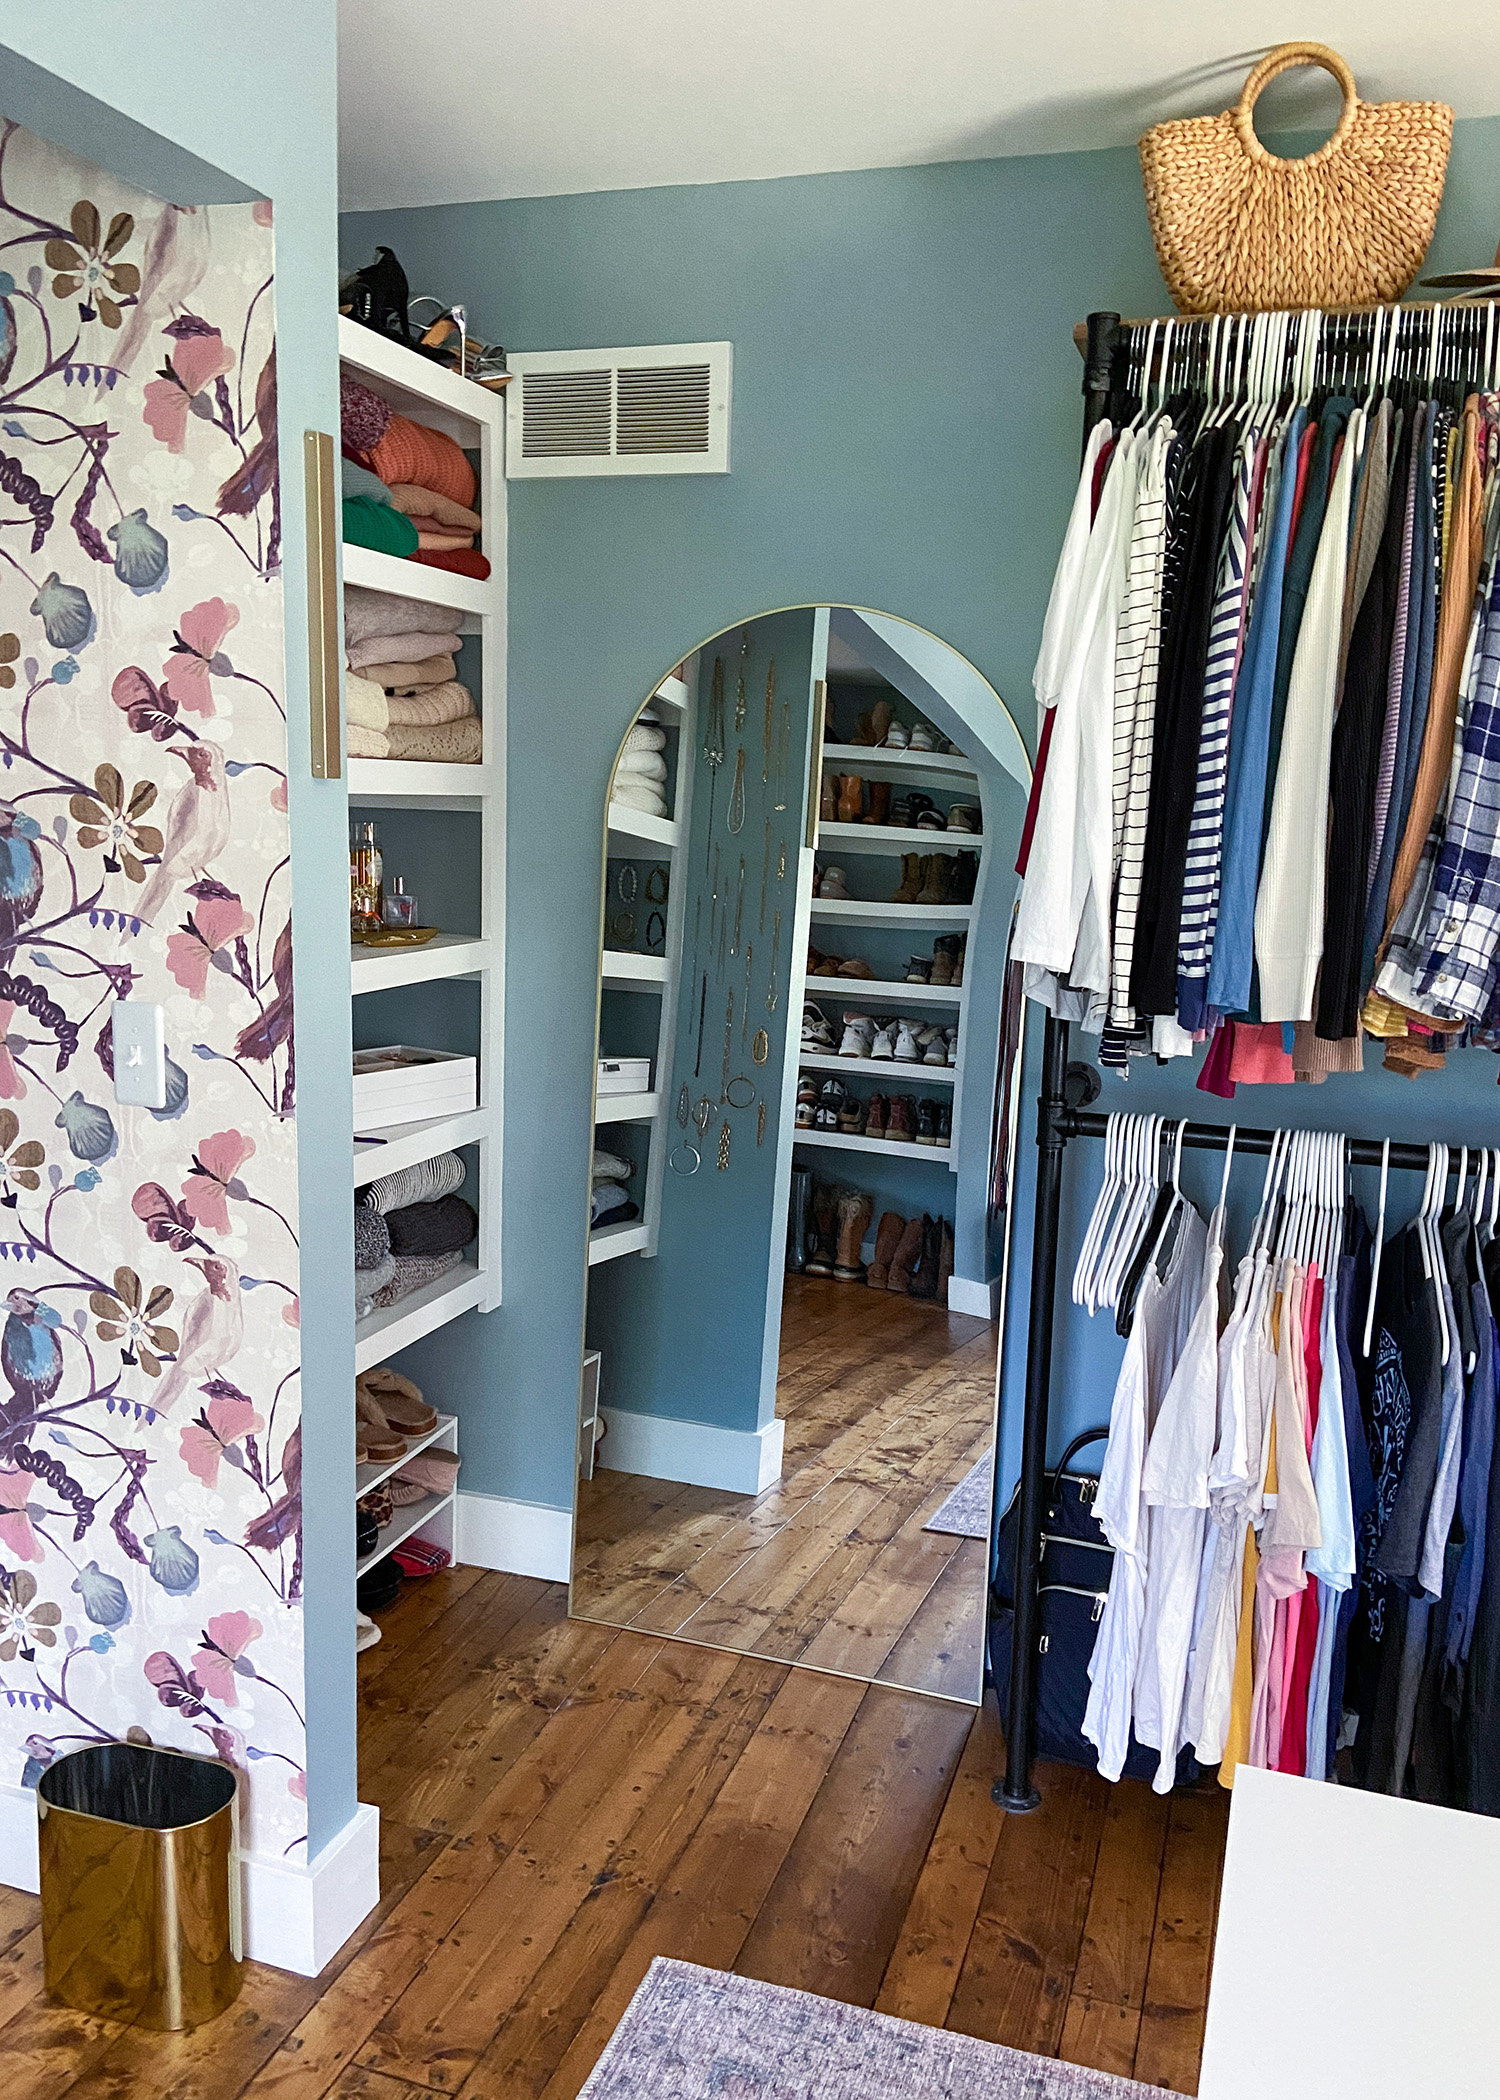
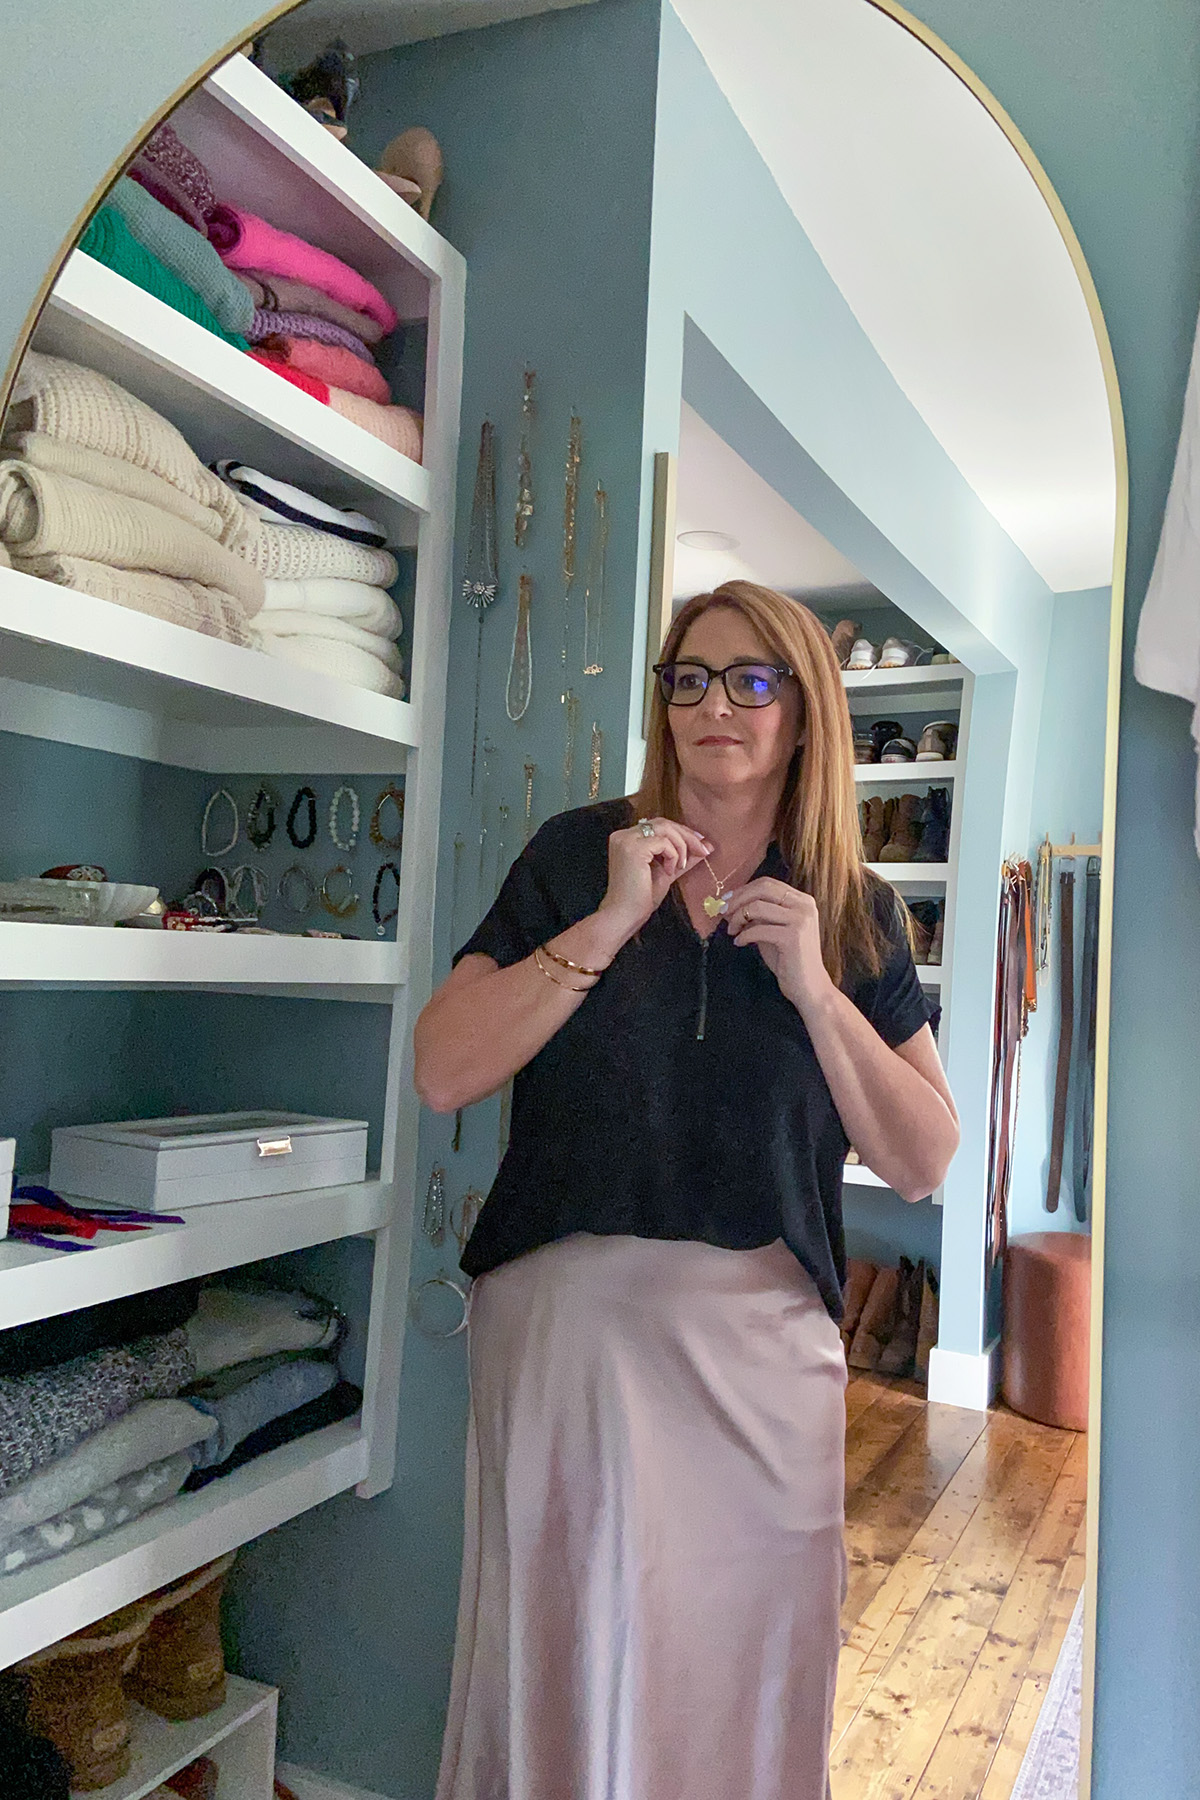
It is SO nice to be able to see all my clothes without being packed tight in a small closet!
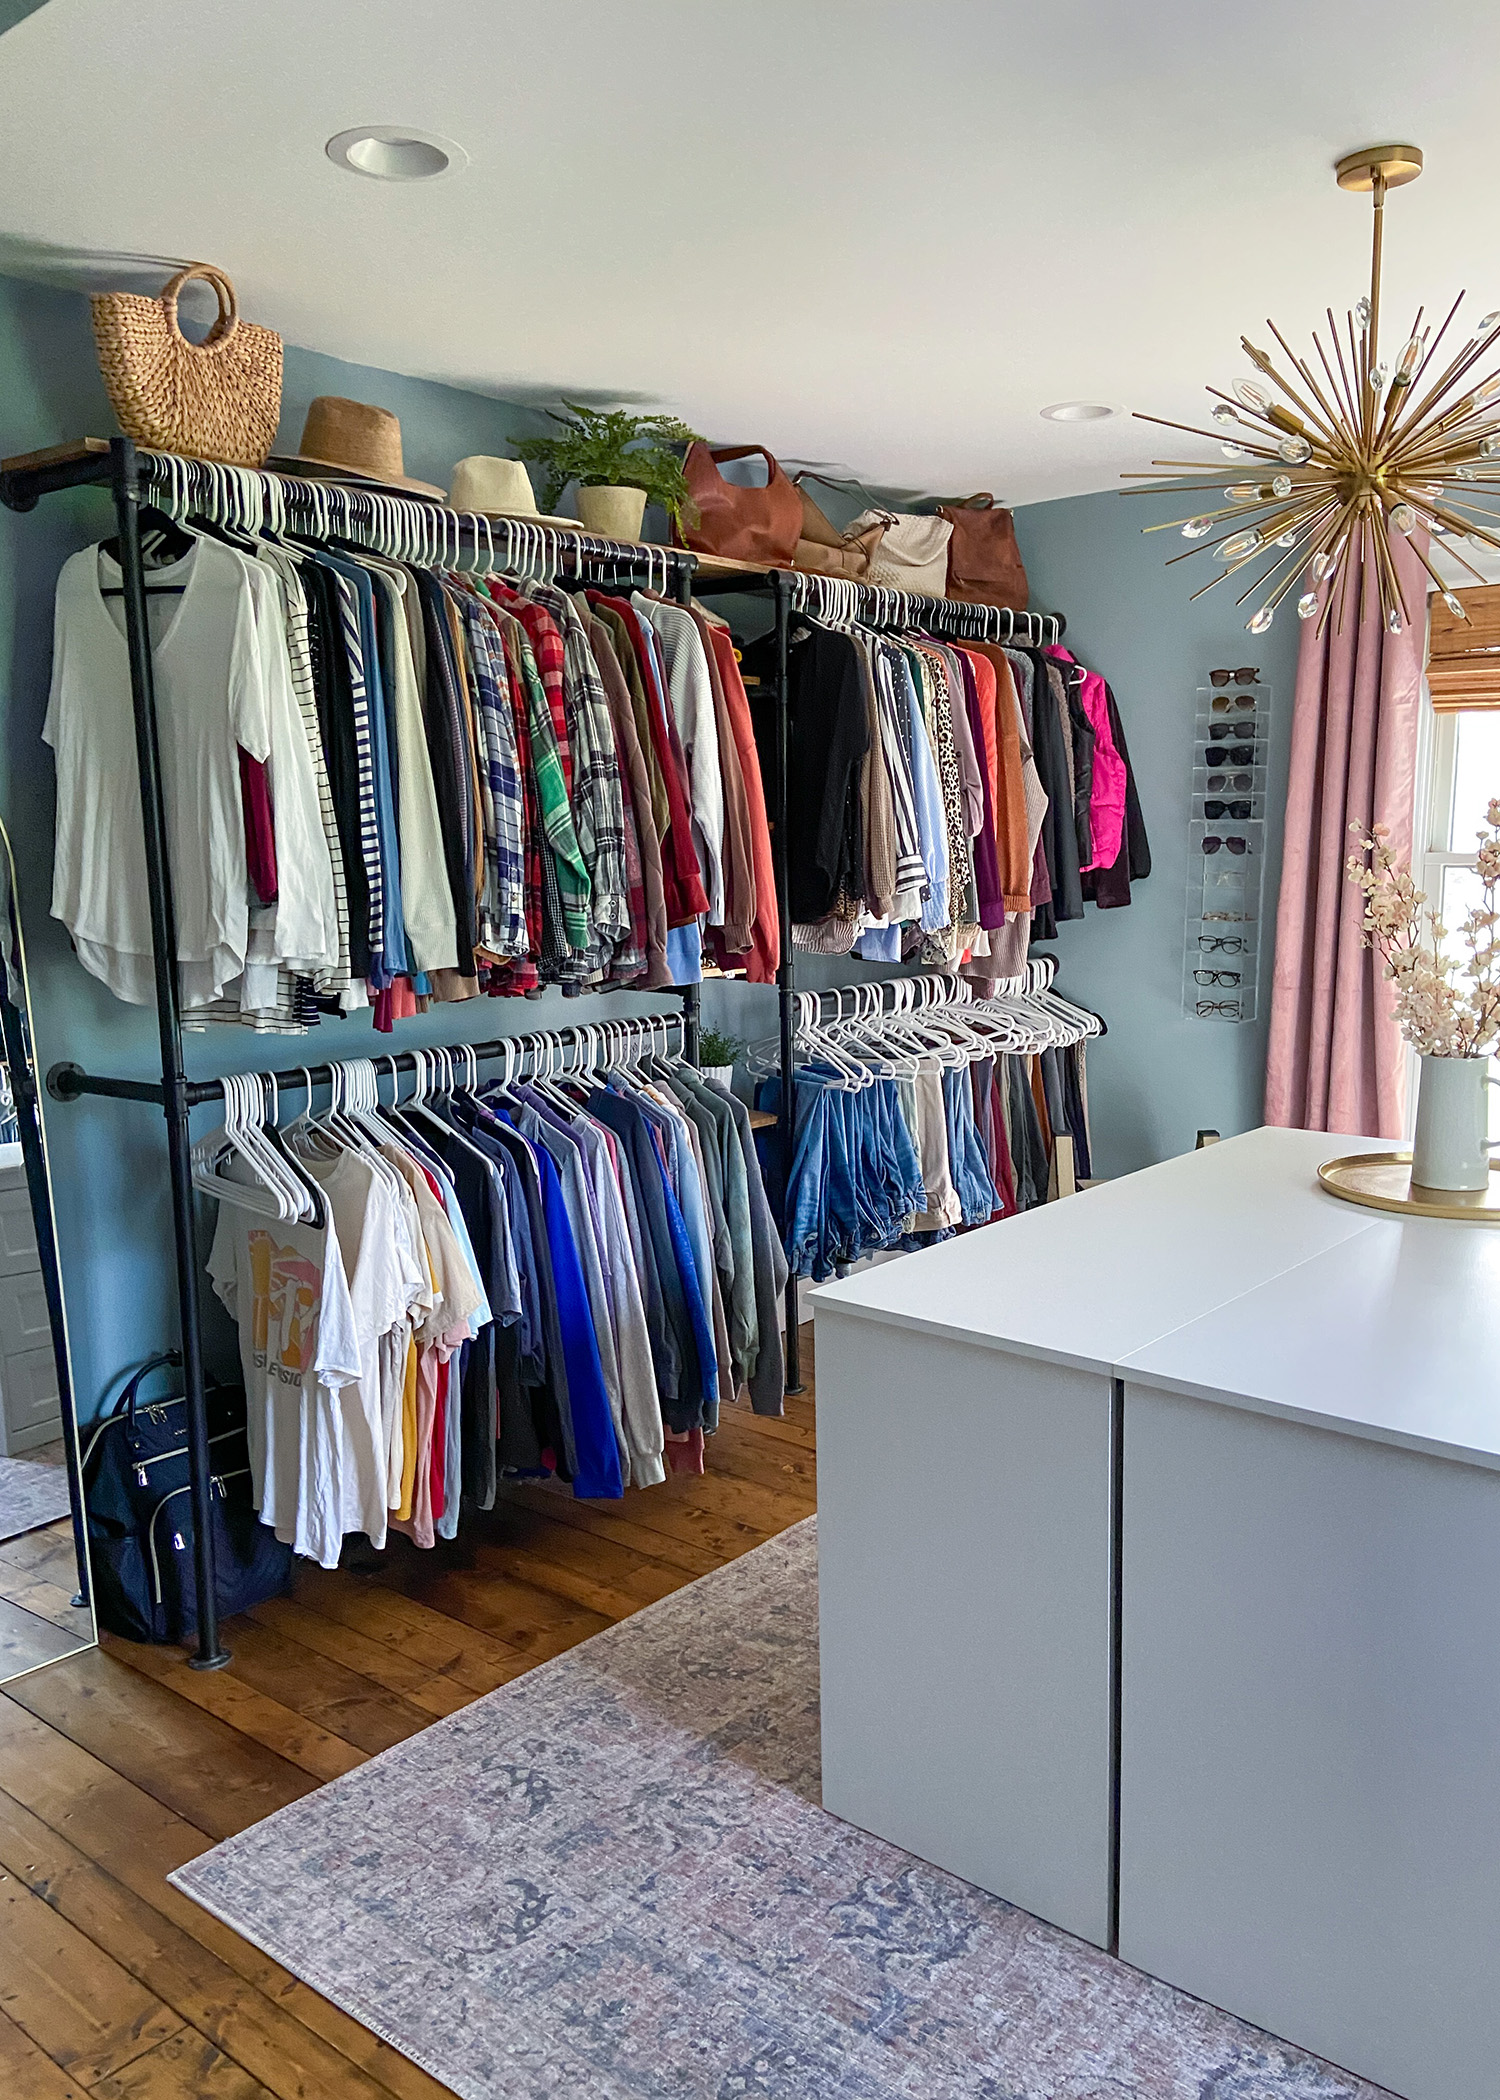
We added a wooden shelf on top of the clothing racks for purses, hats and pretty things.
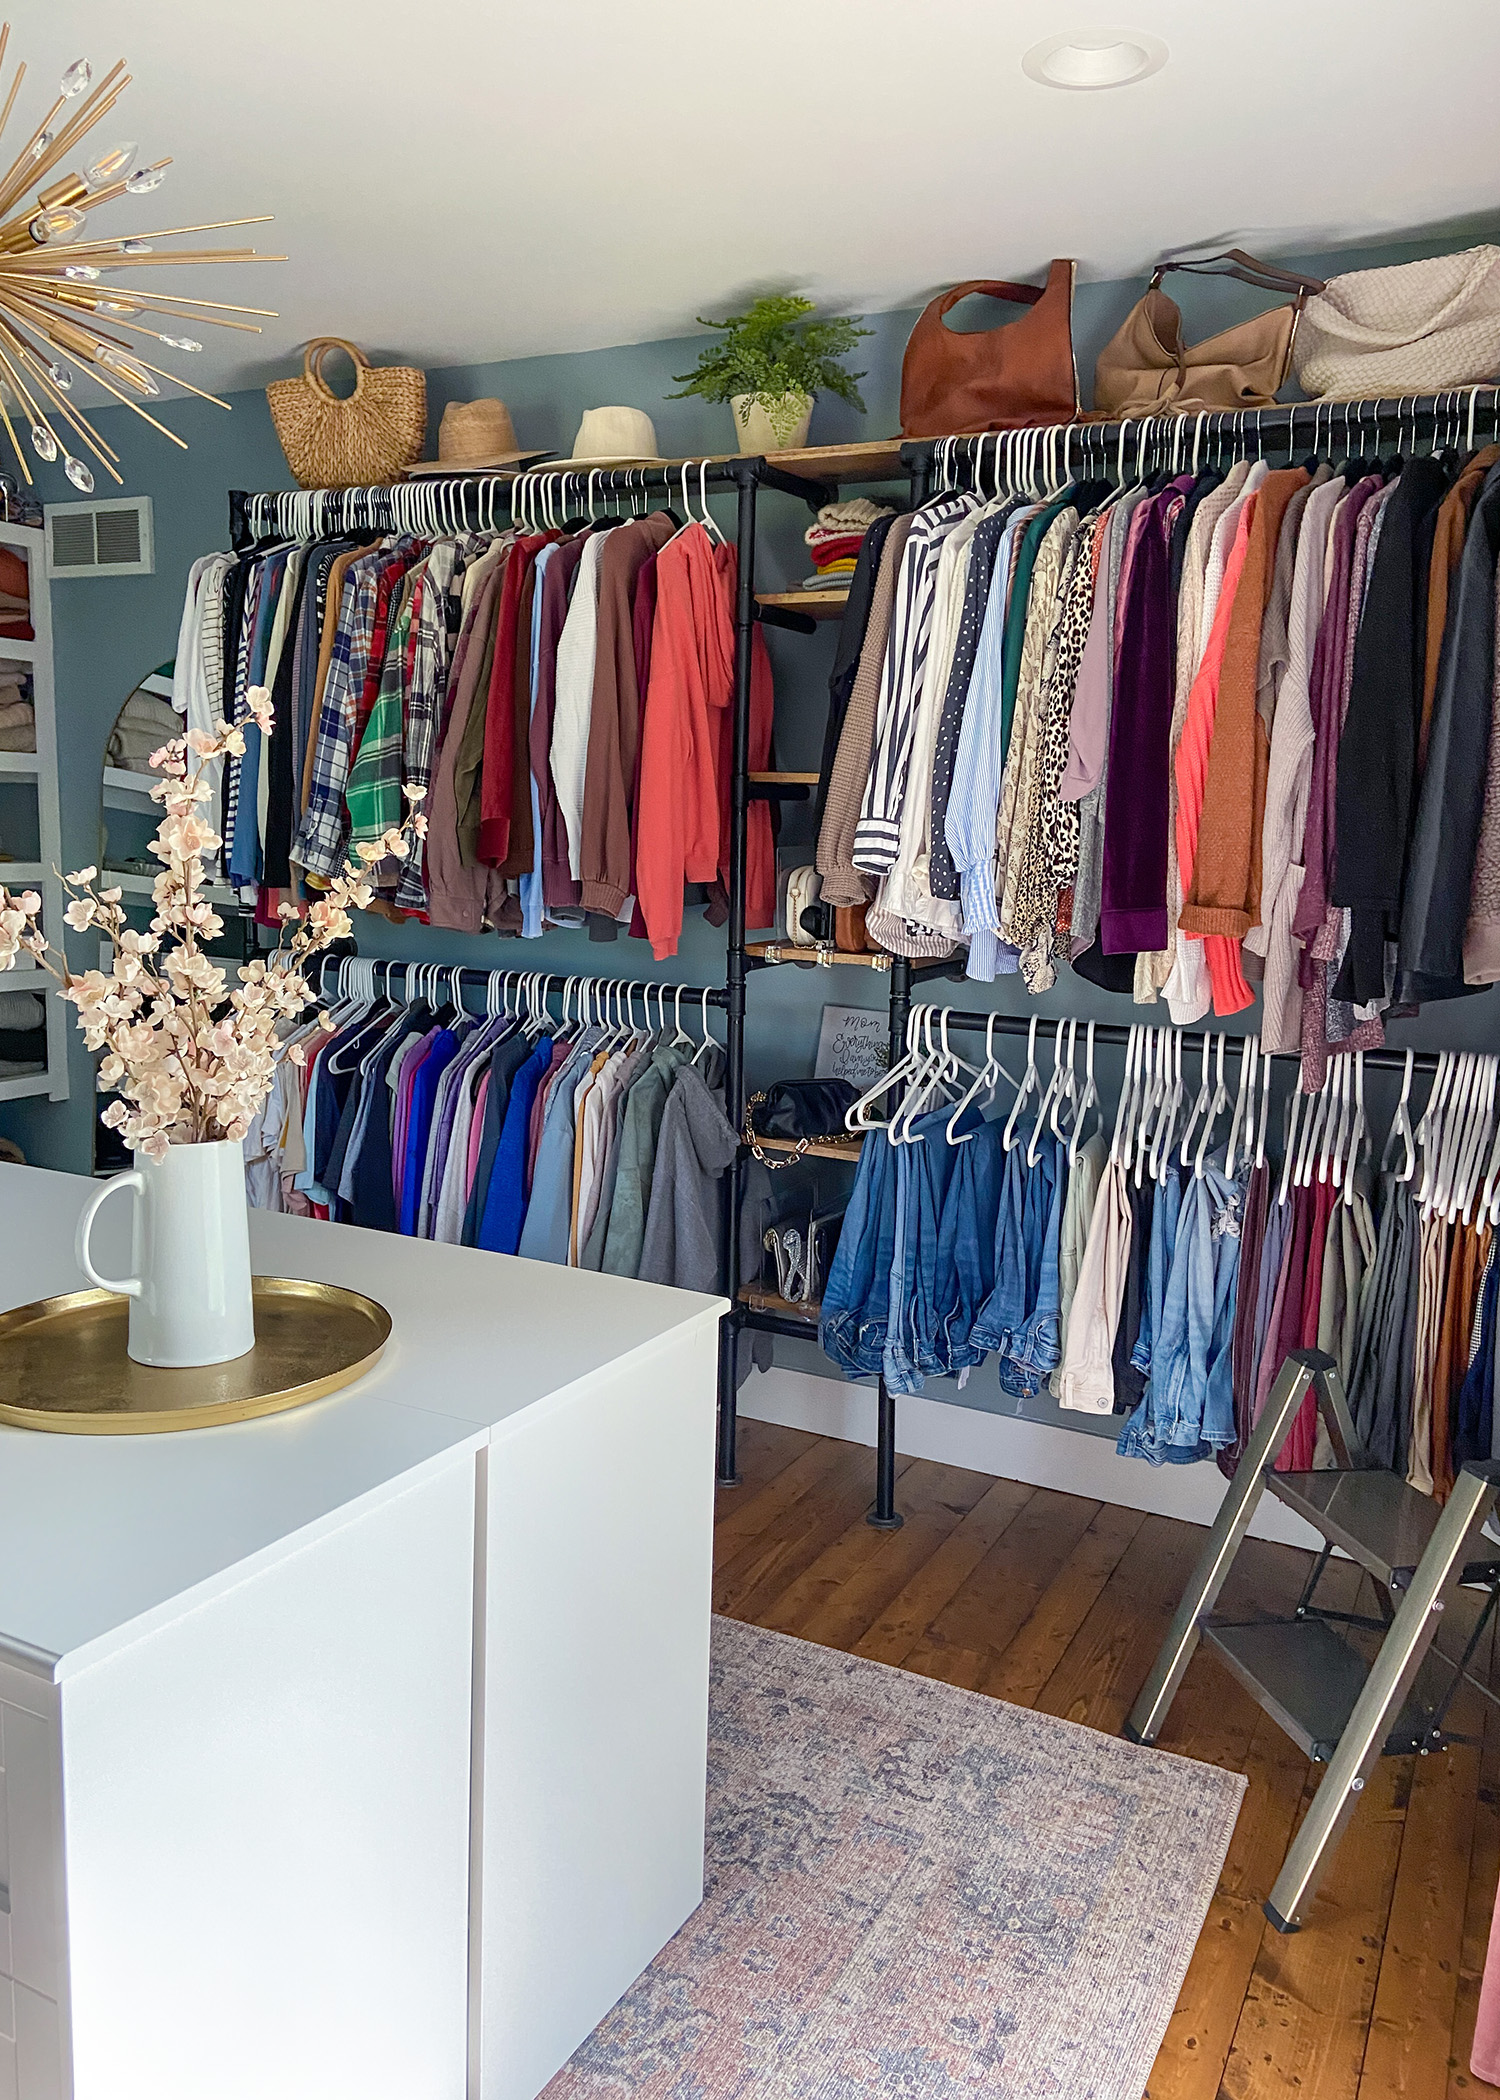
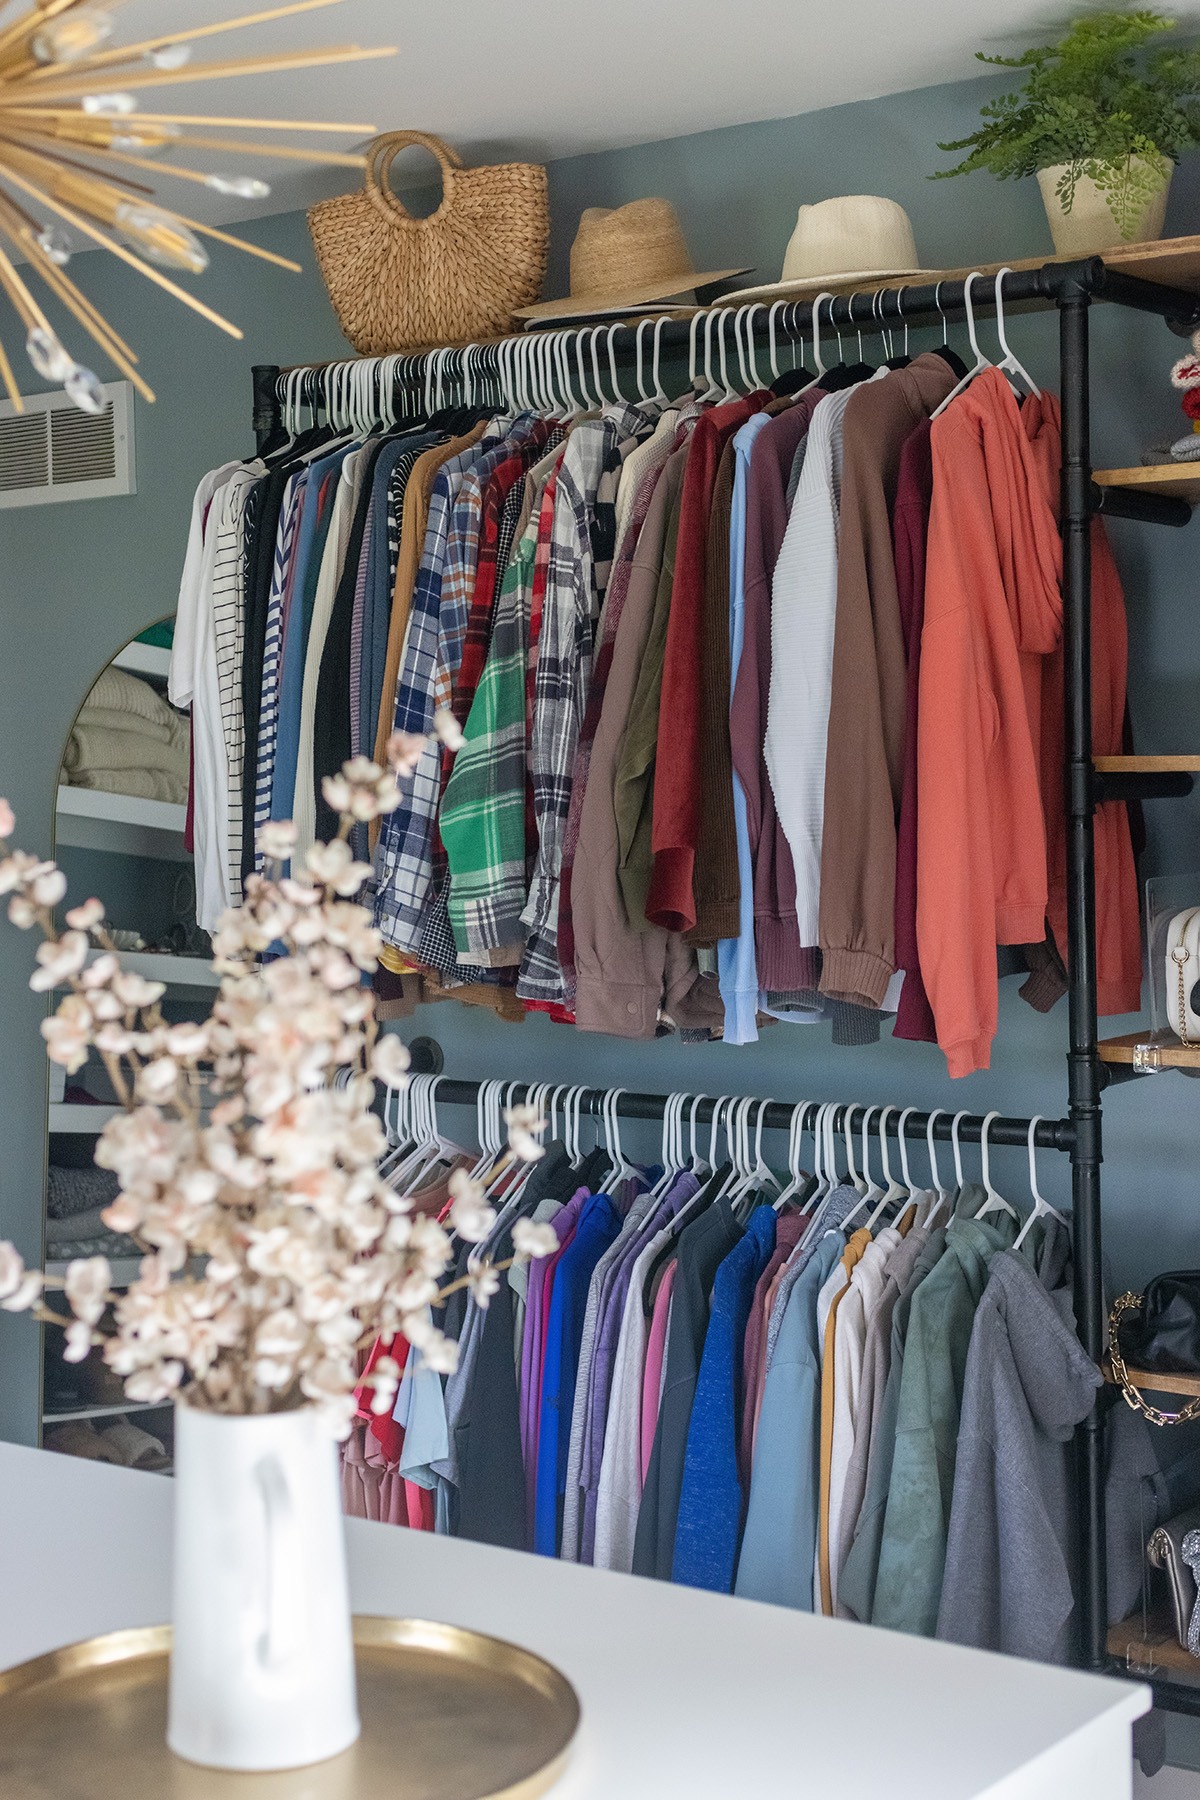
More shelves for purses, knit hats and more pretty things.
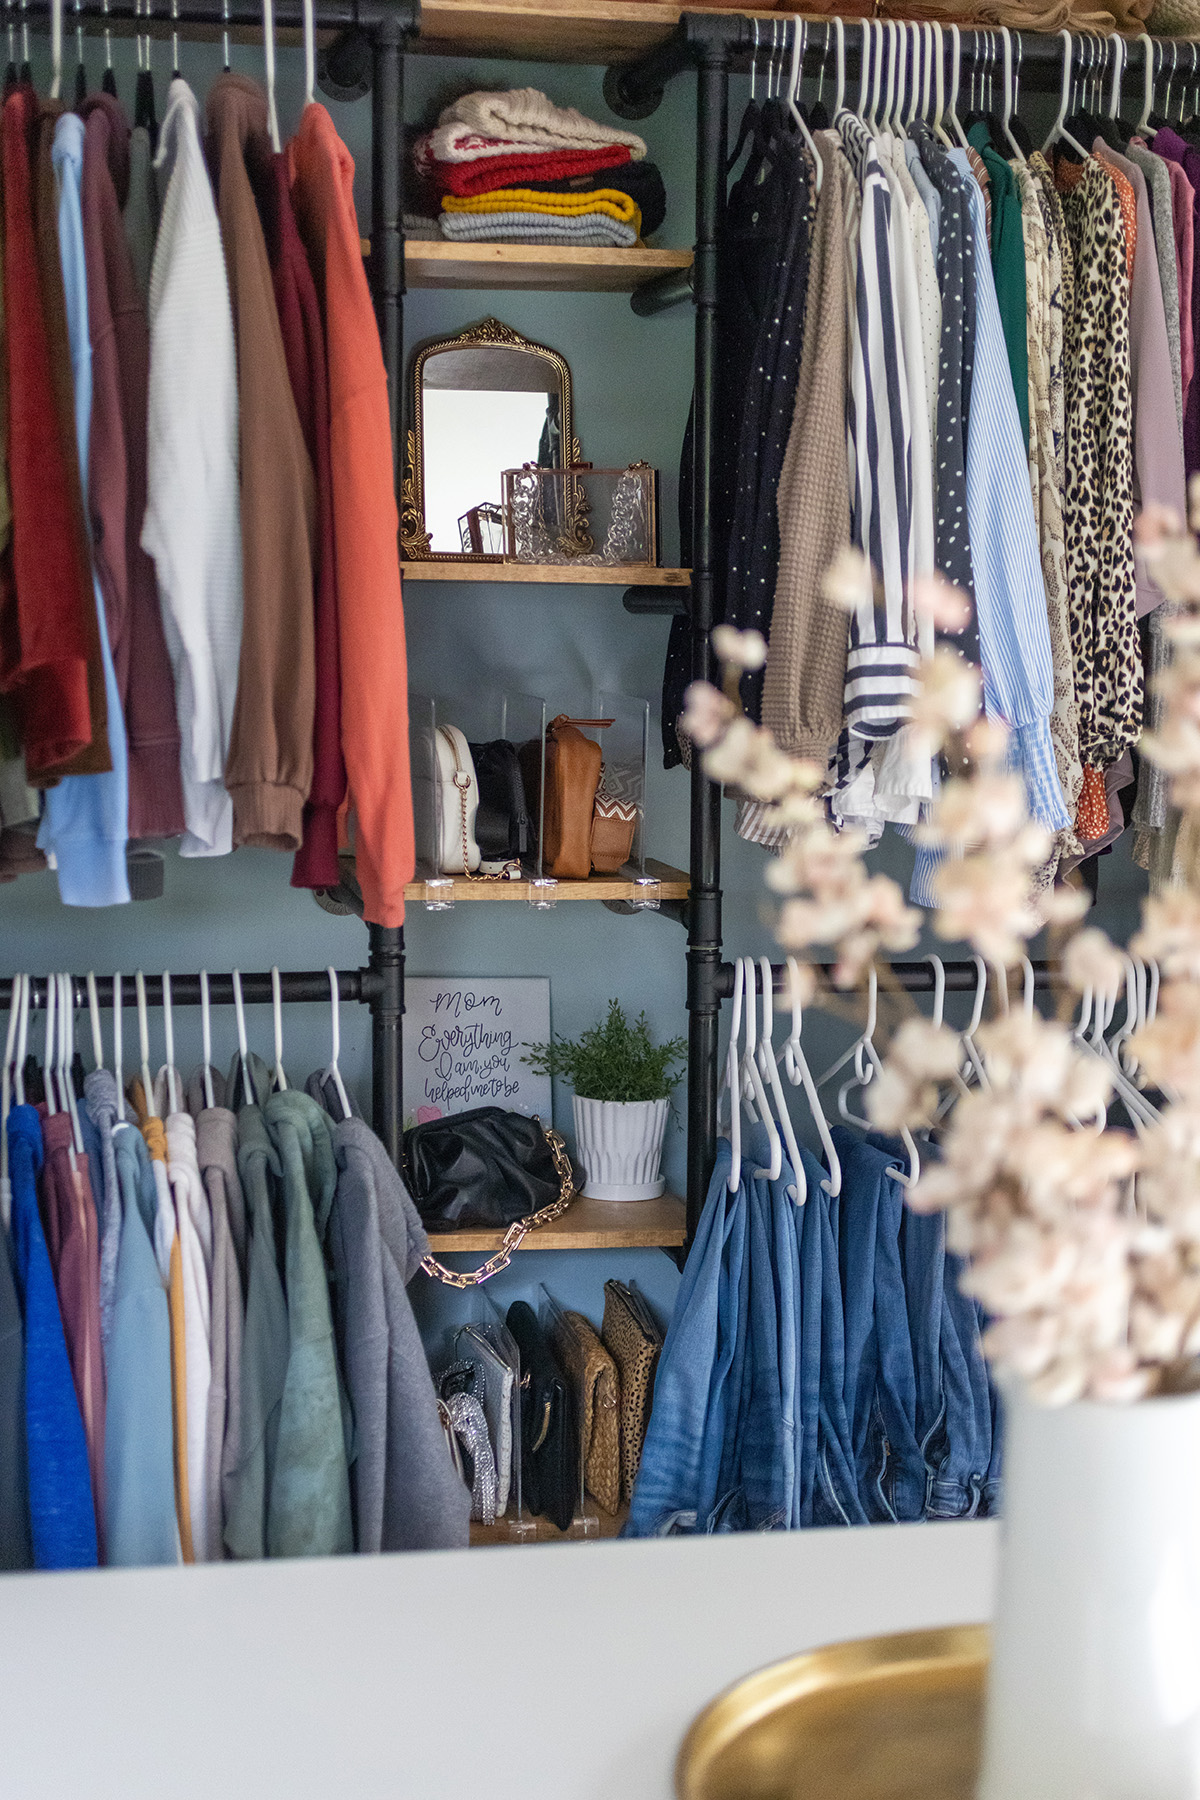
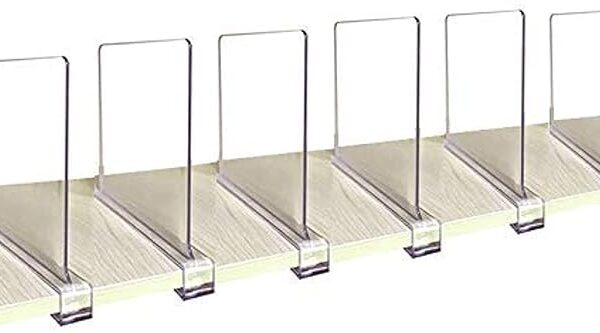
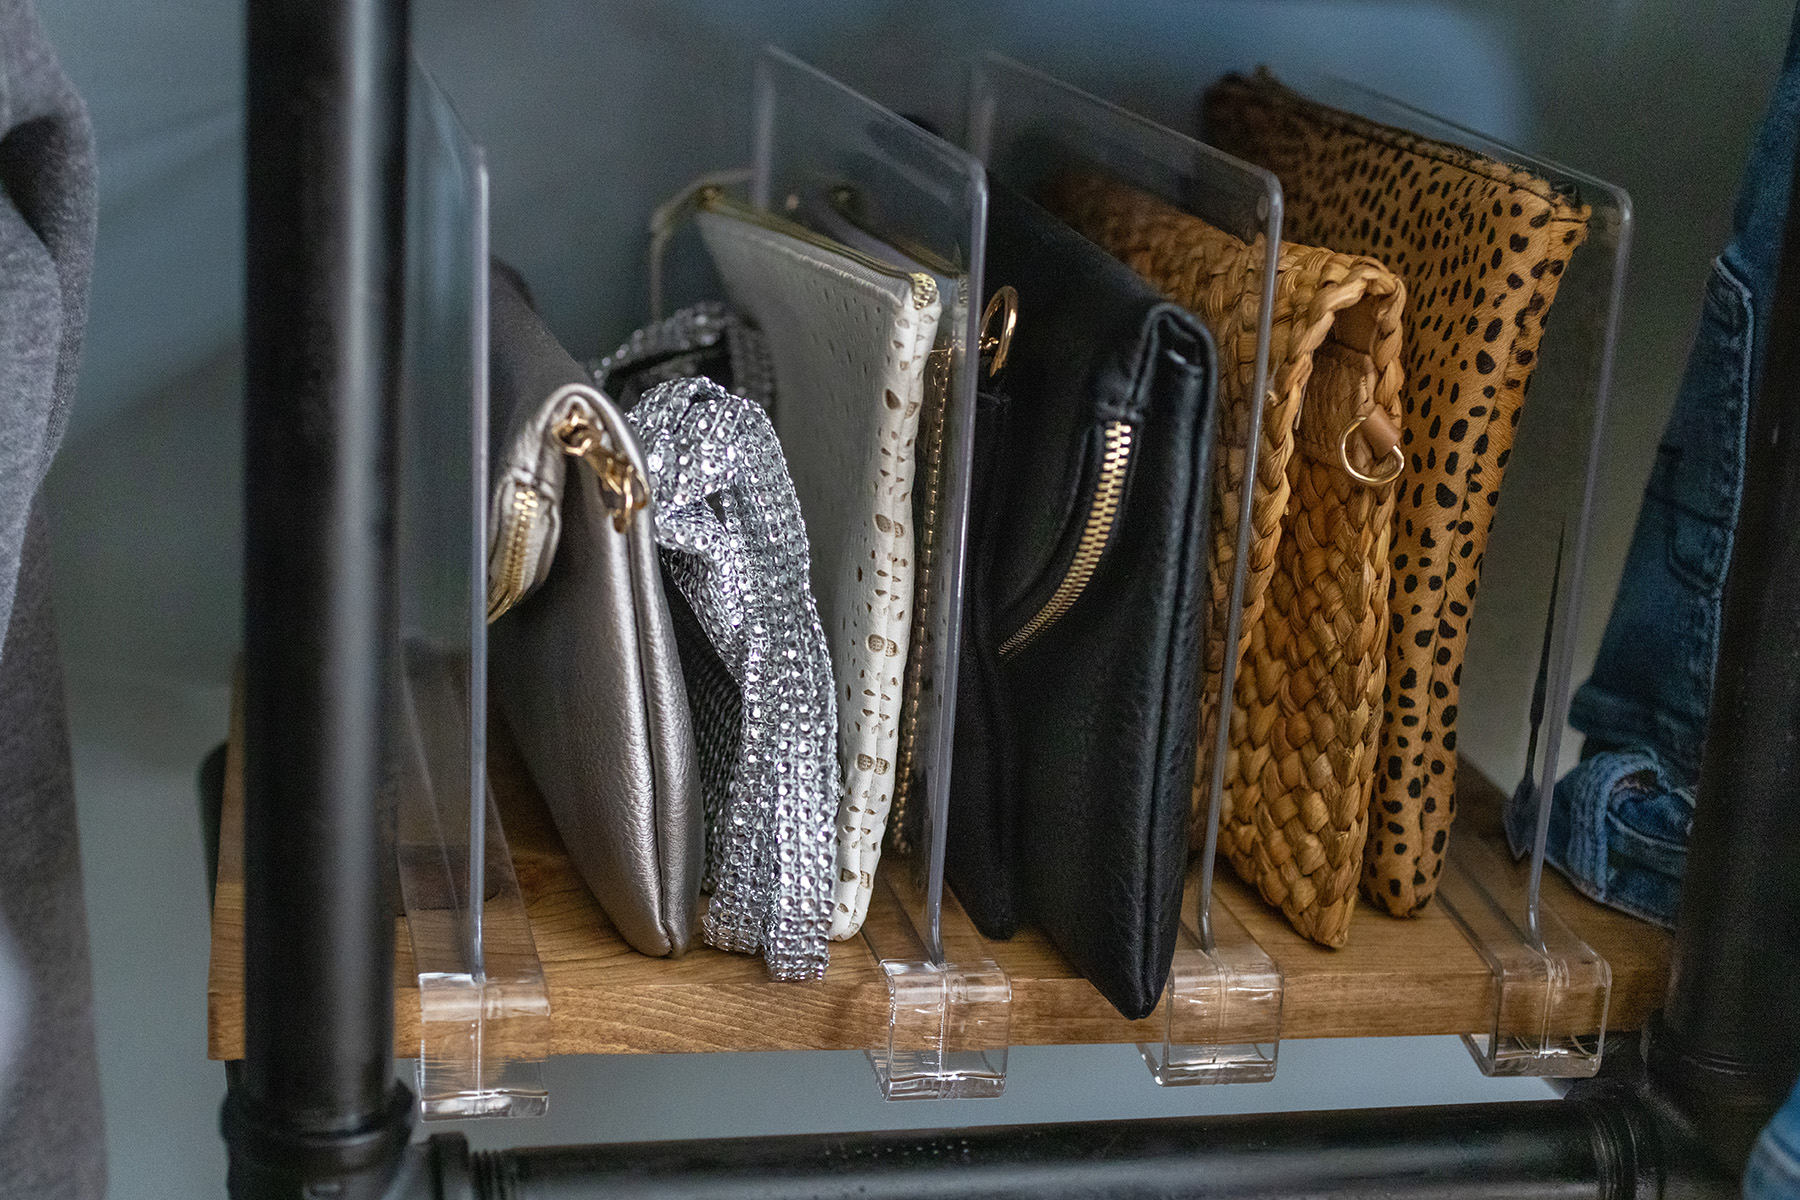
Acrylic shelf dividers keep clutches upright and organized.
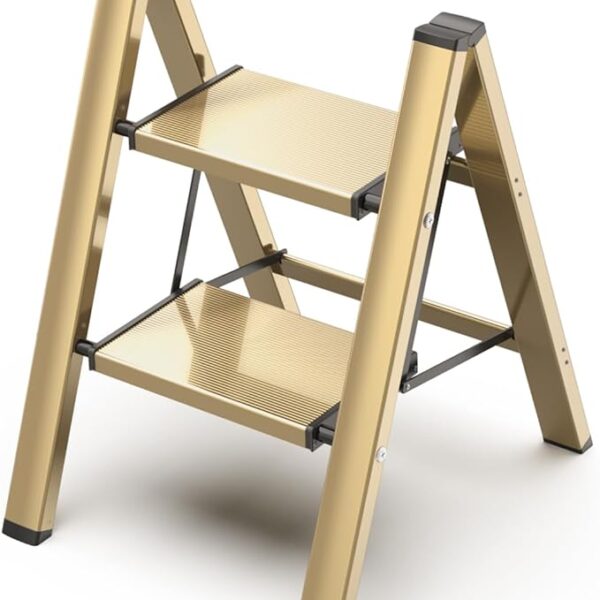
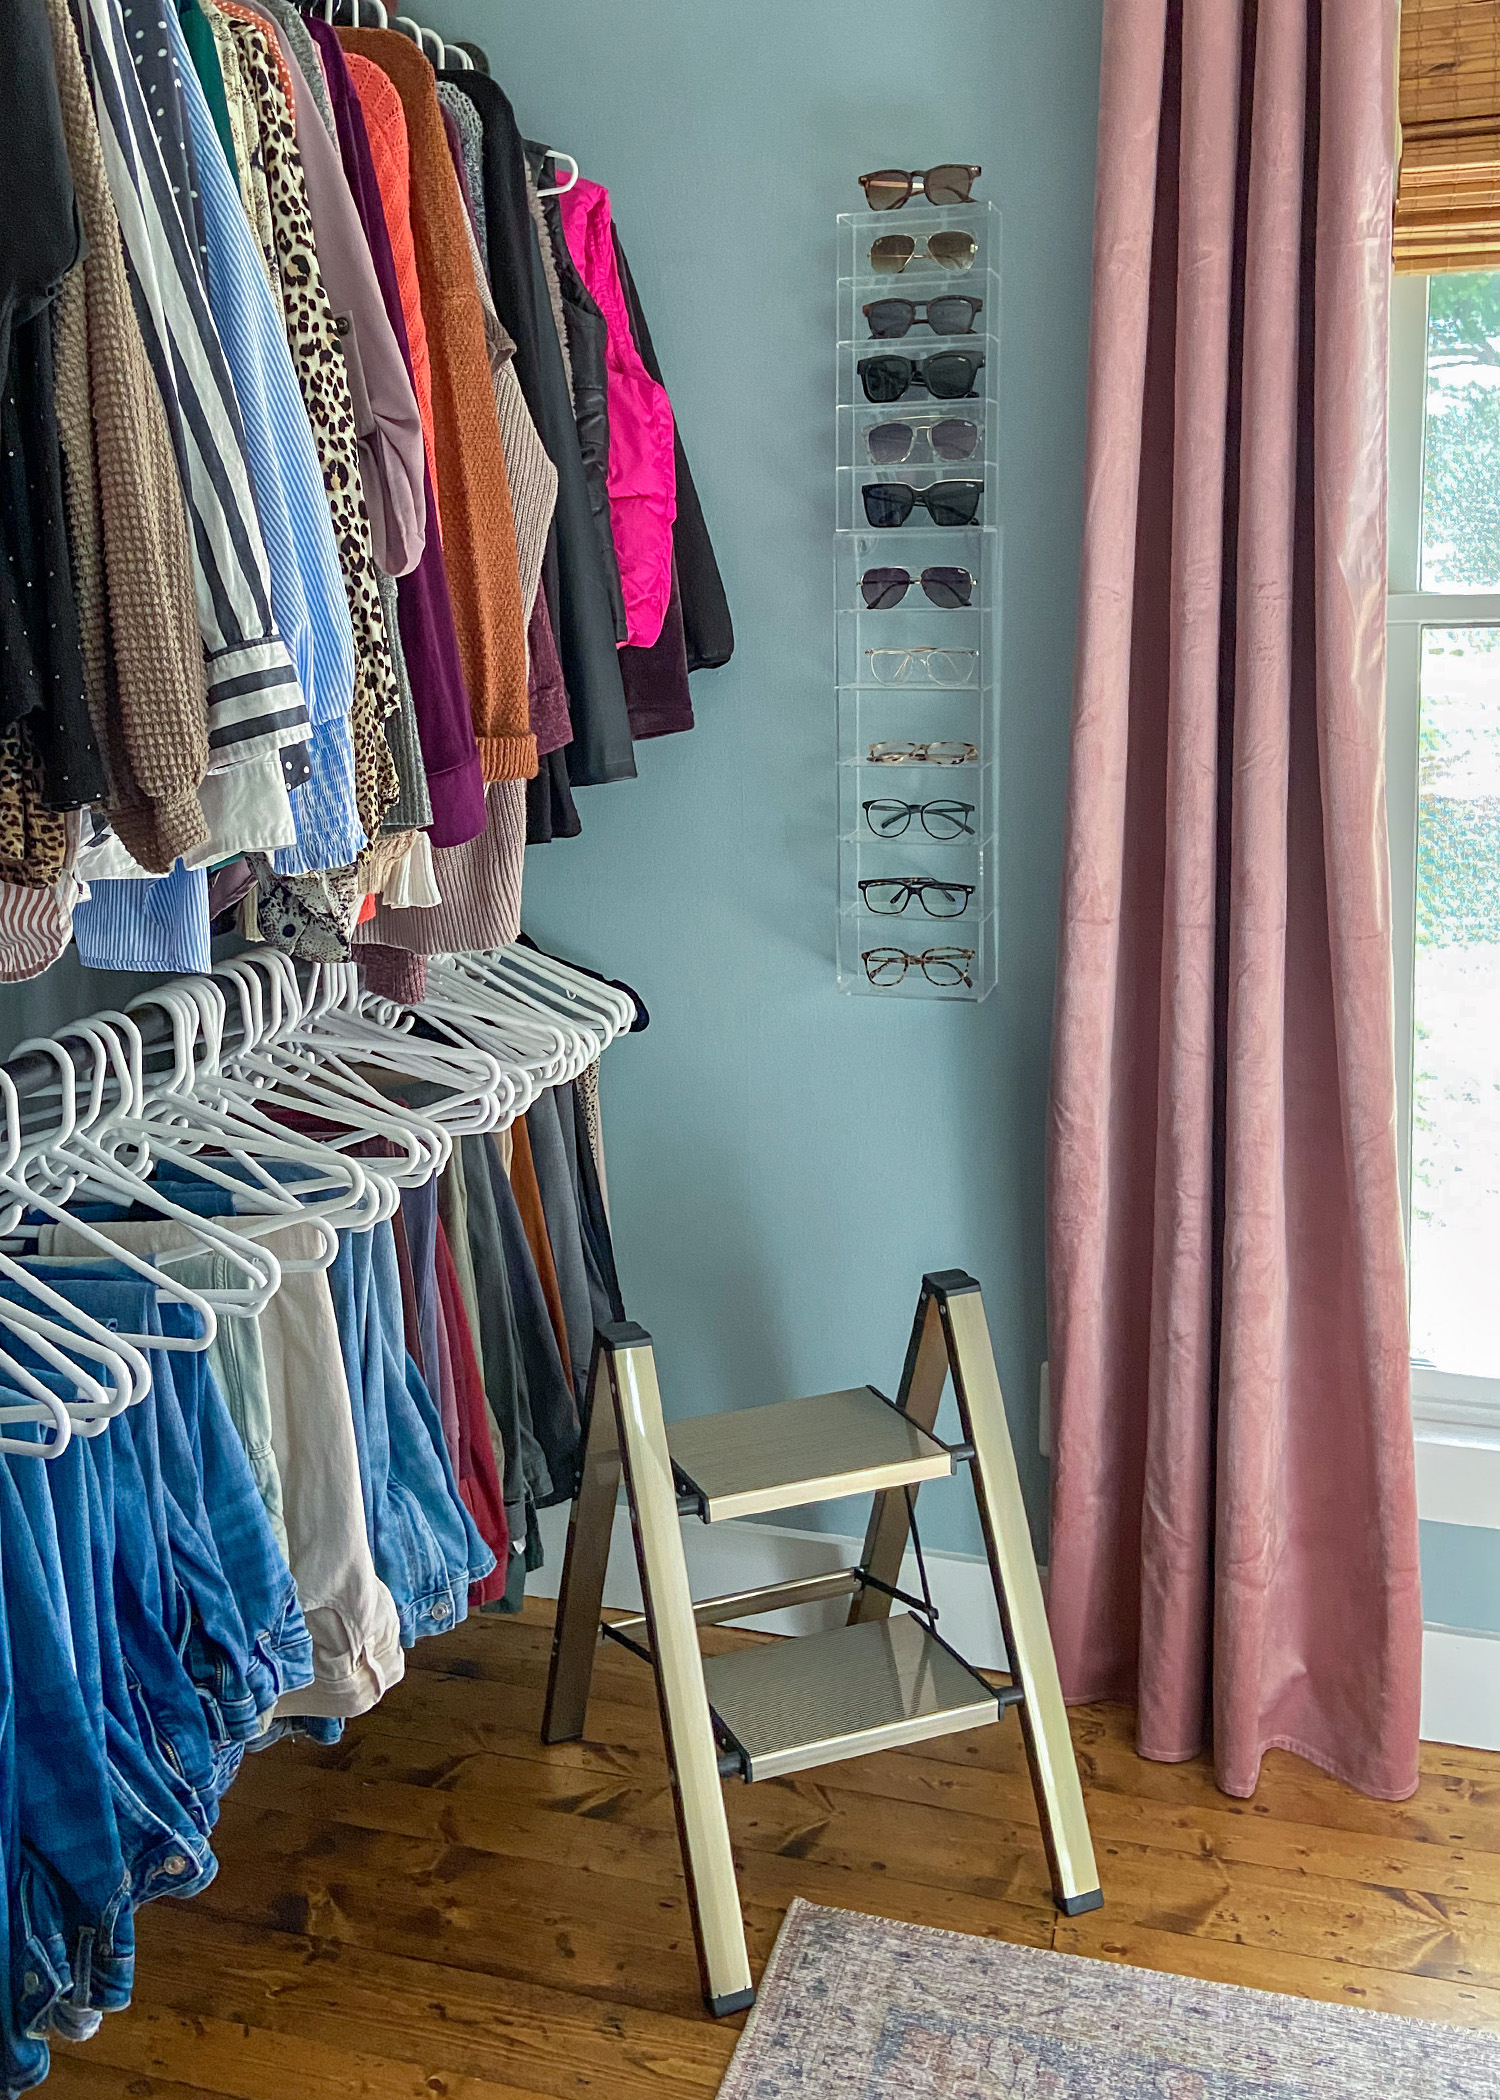
A gold stool helps reach high shelves.
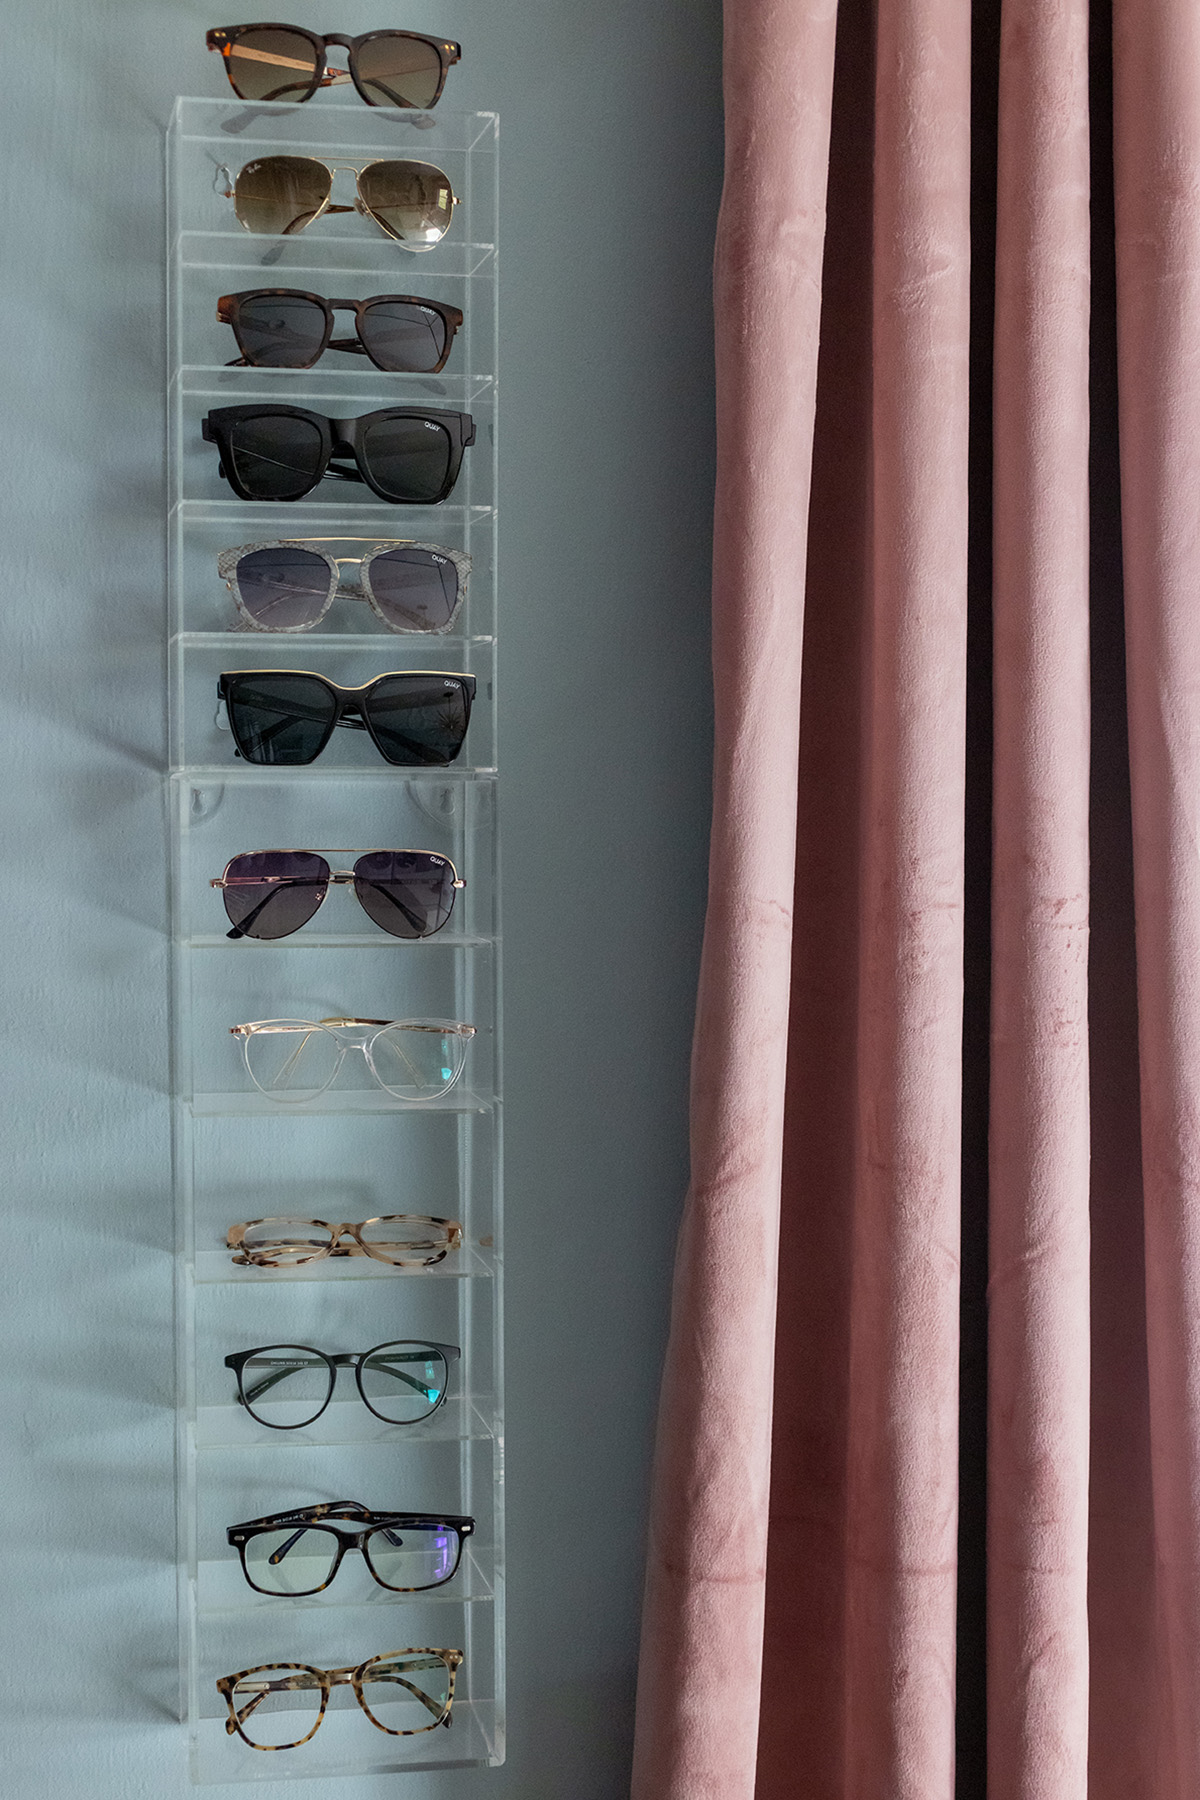
I am big on making things as organized and easily accessible as possible. A sliver of wall space was all I needed to display my glasses and sunglasses so they don’t get scratched.
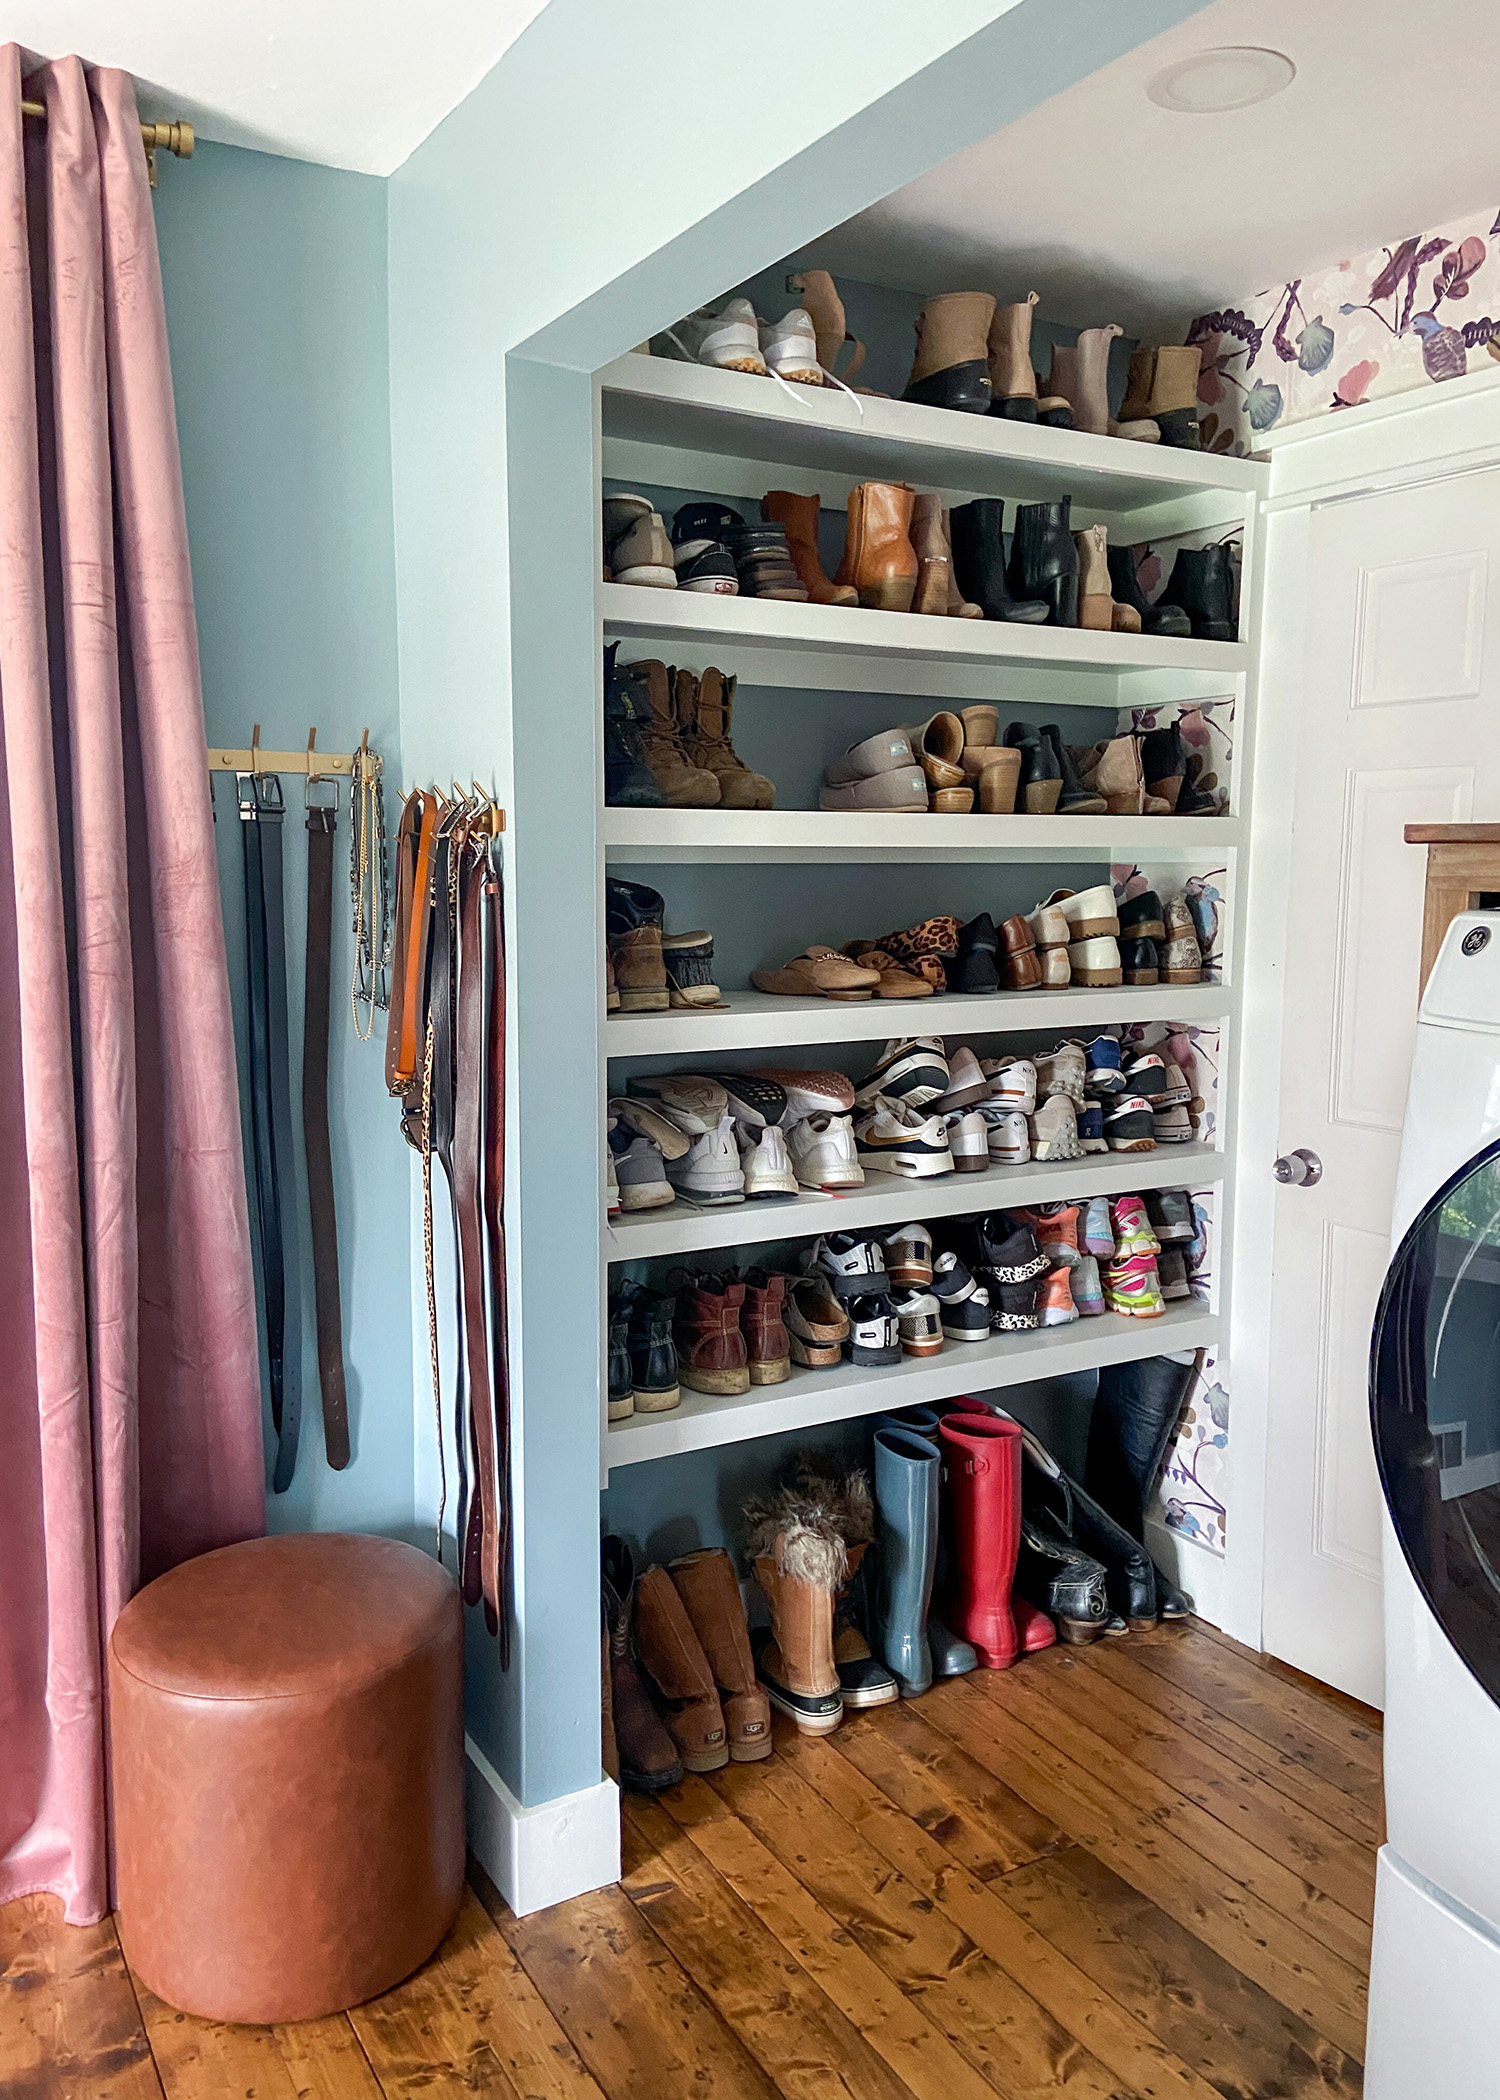
No more piles of shoes on the floor of a tiny closet and stool for putting on the shoes. Is this heaven on earth?
Okay, okay. The closet is not all about me. There is a wall for my husband’s stuff, too. Though I did have to sneak a tiny section at the end for my full-length hanging items like dresses and robes.
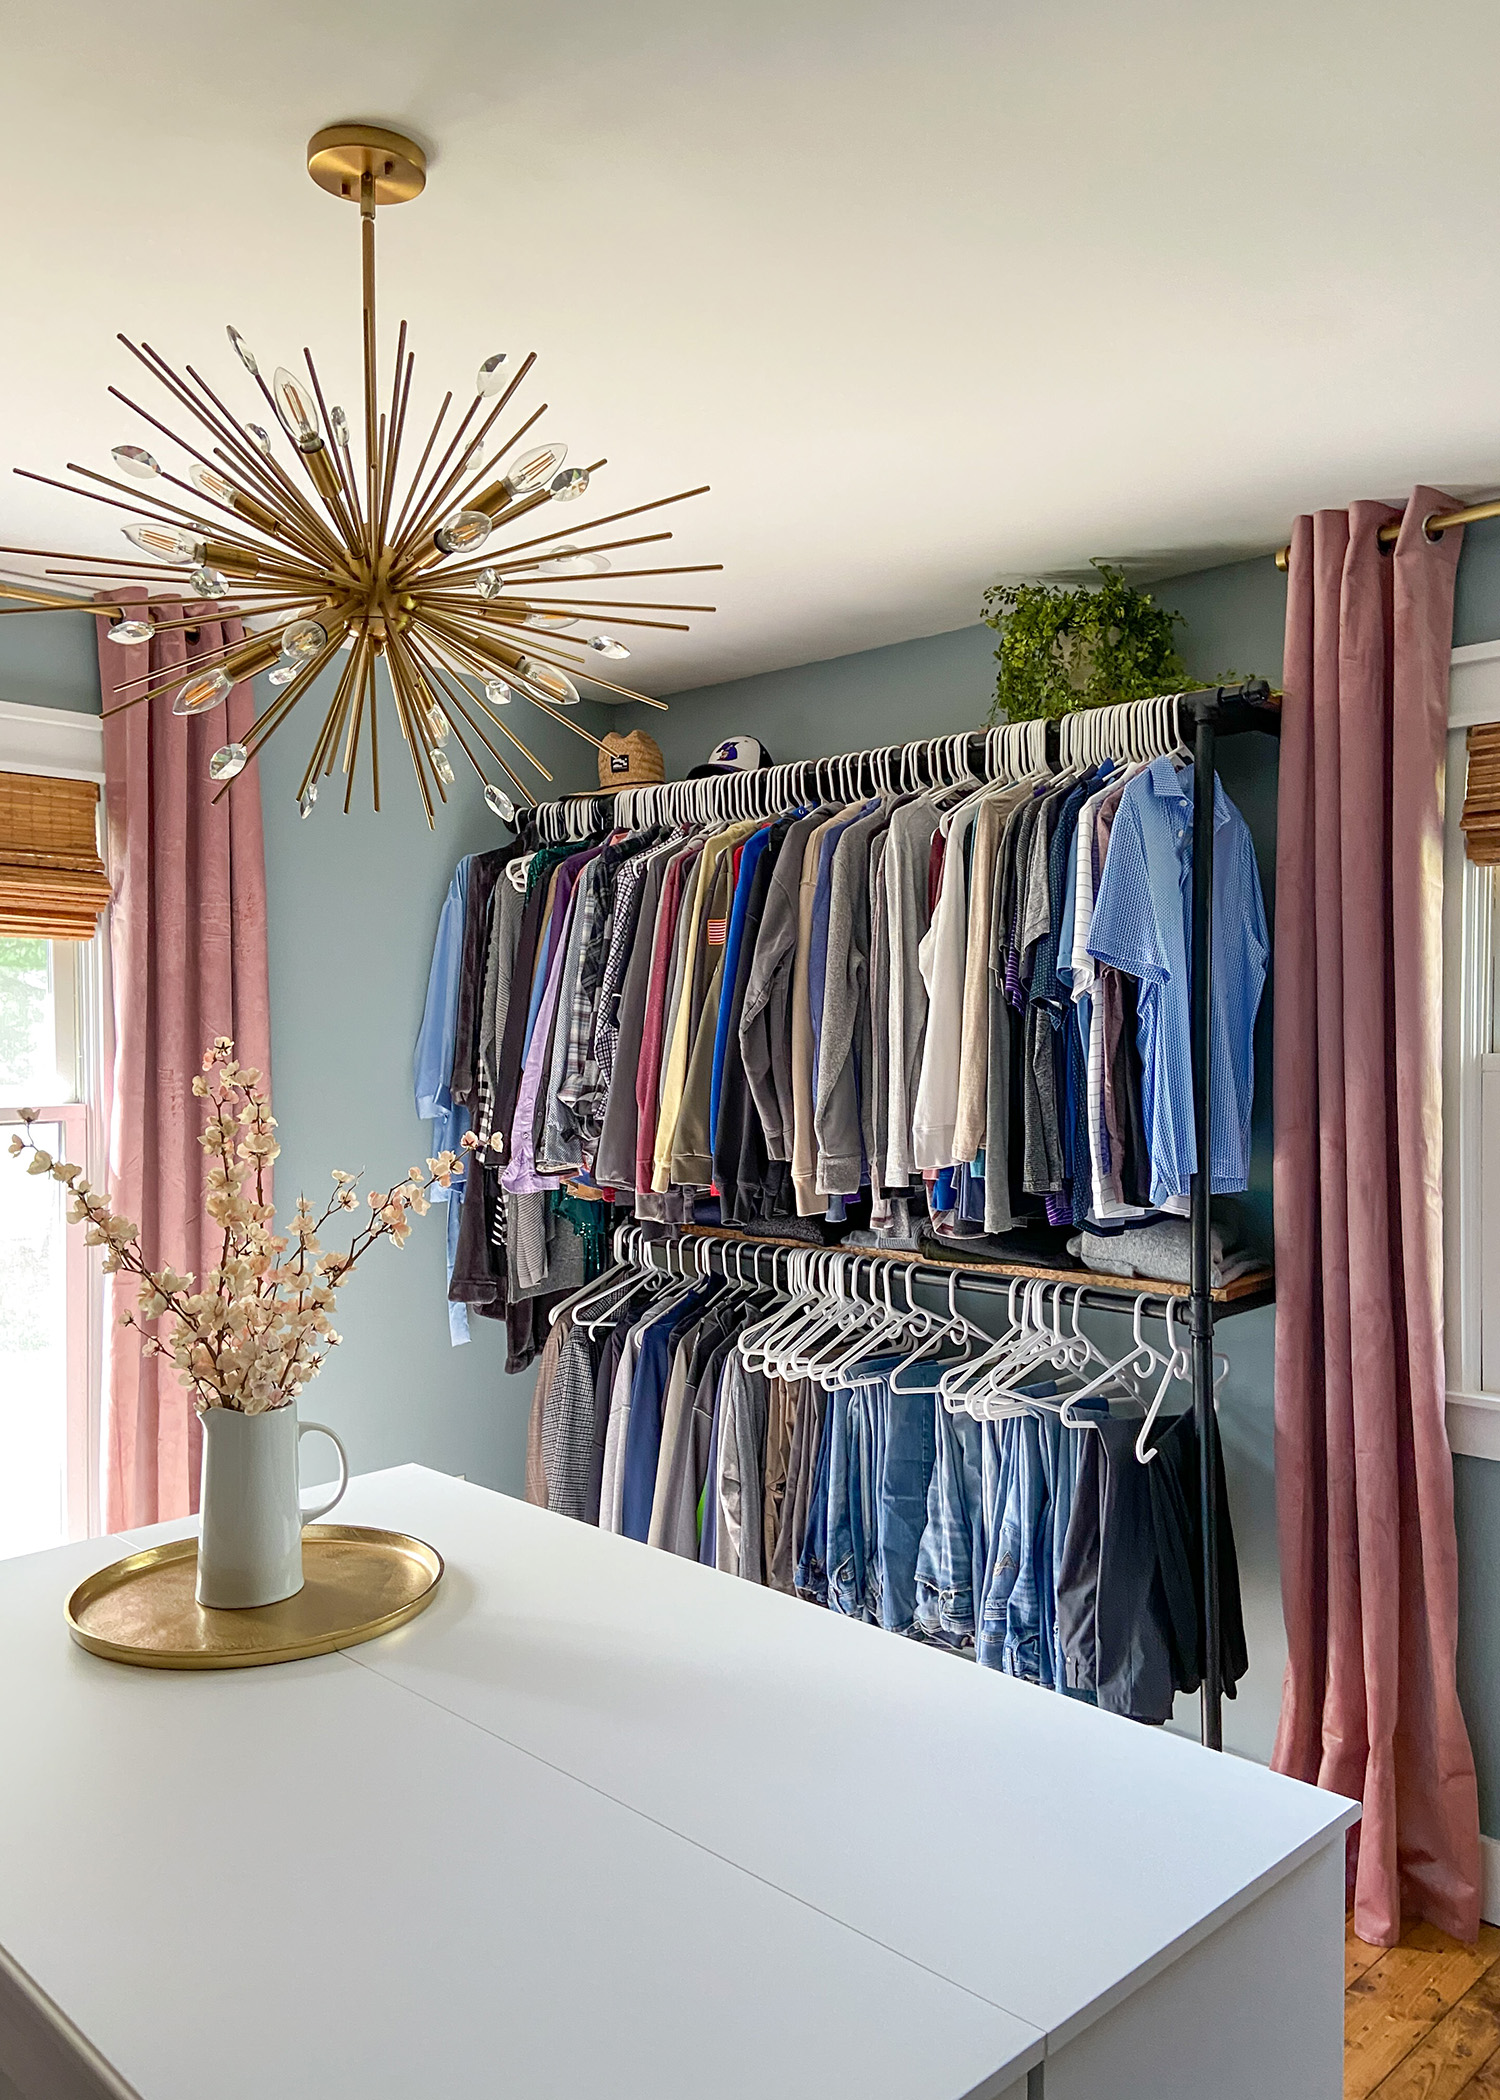
We added a shelf on the bottom rack for his sweaters and a shelf on top for his hats…and more pretty things.
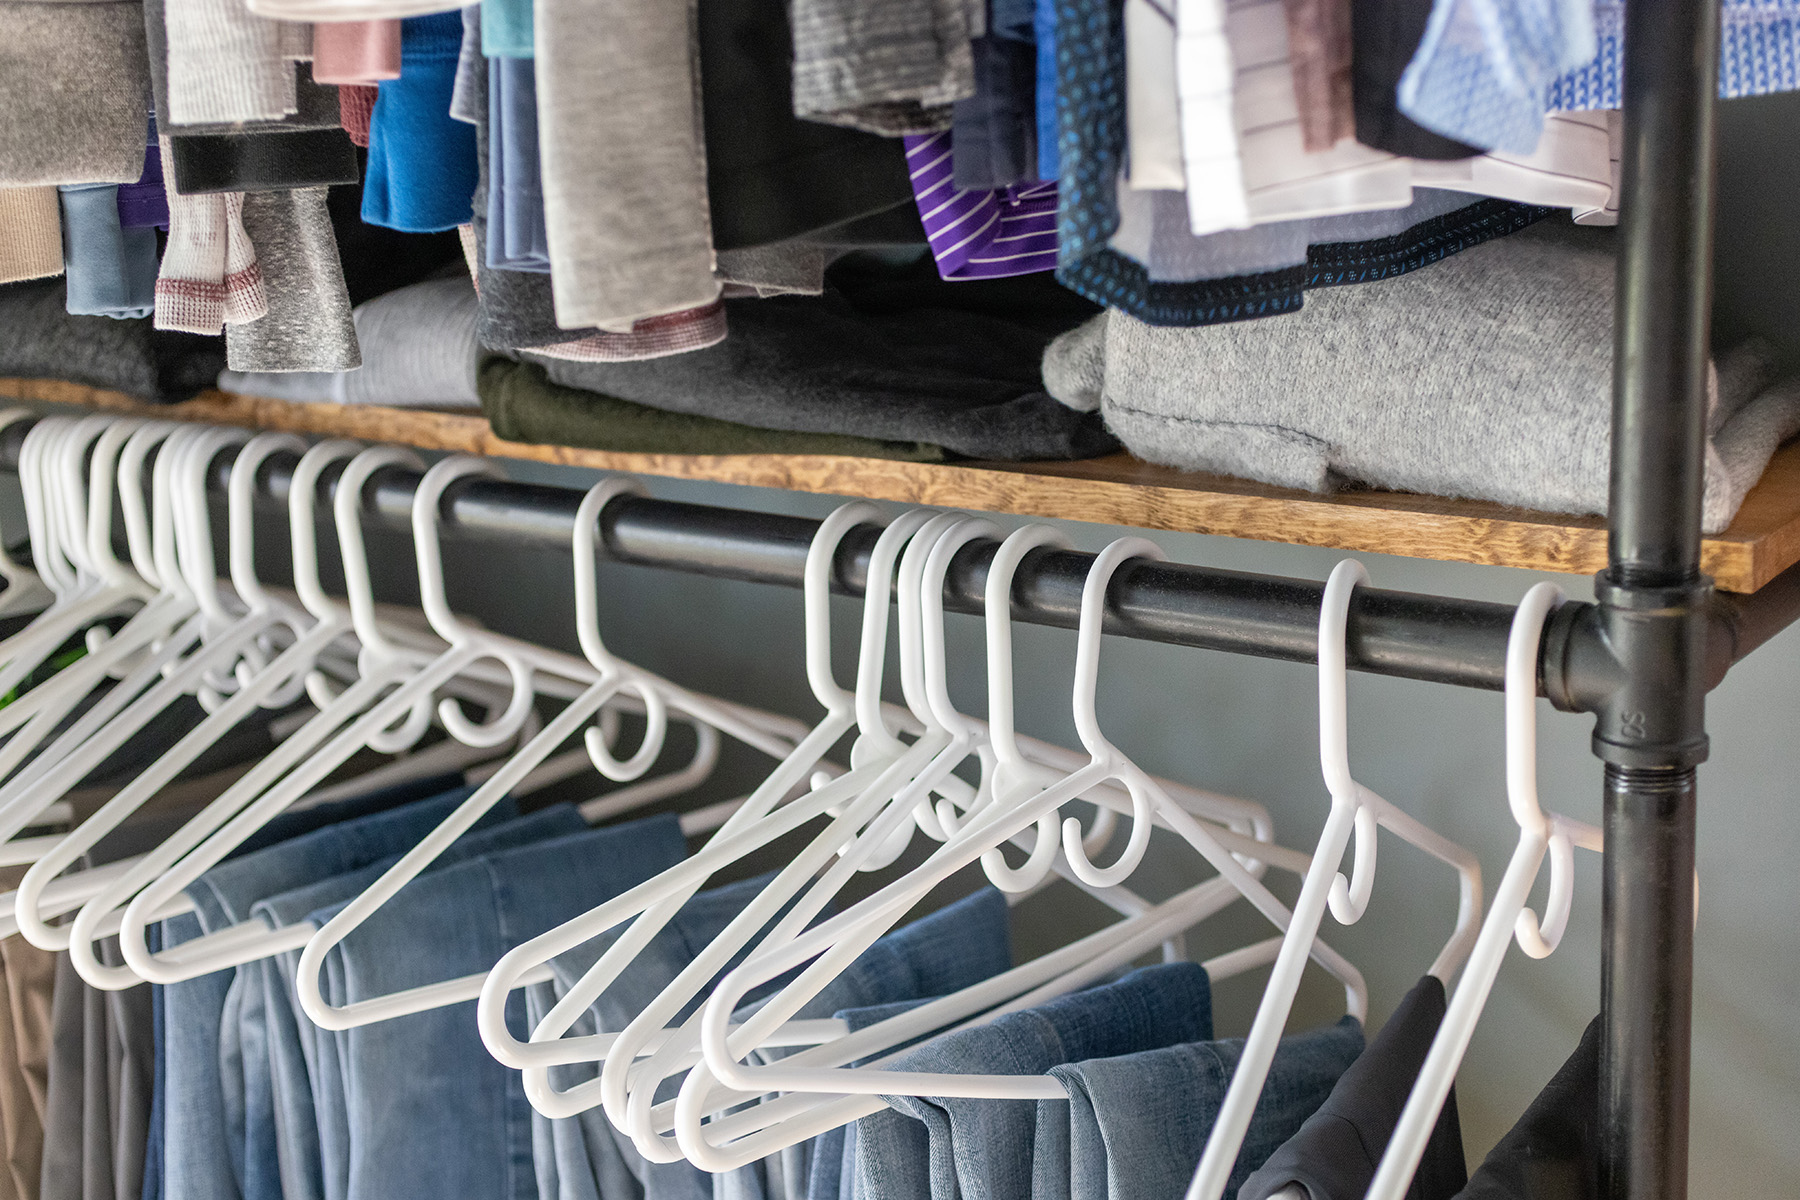
He added this little hanging spot on the end for when he asks me to pick out his outfit for a special occasion. That was all his idea.
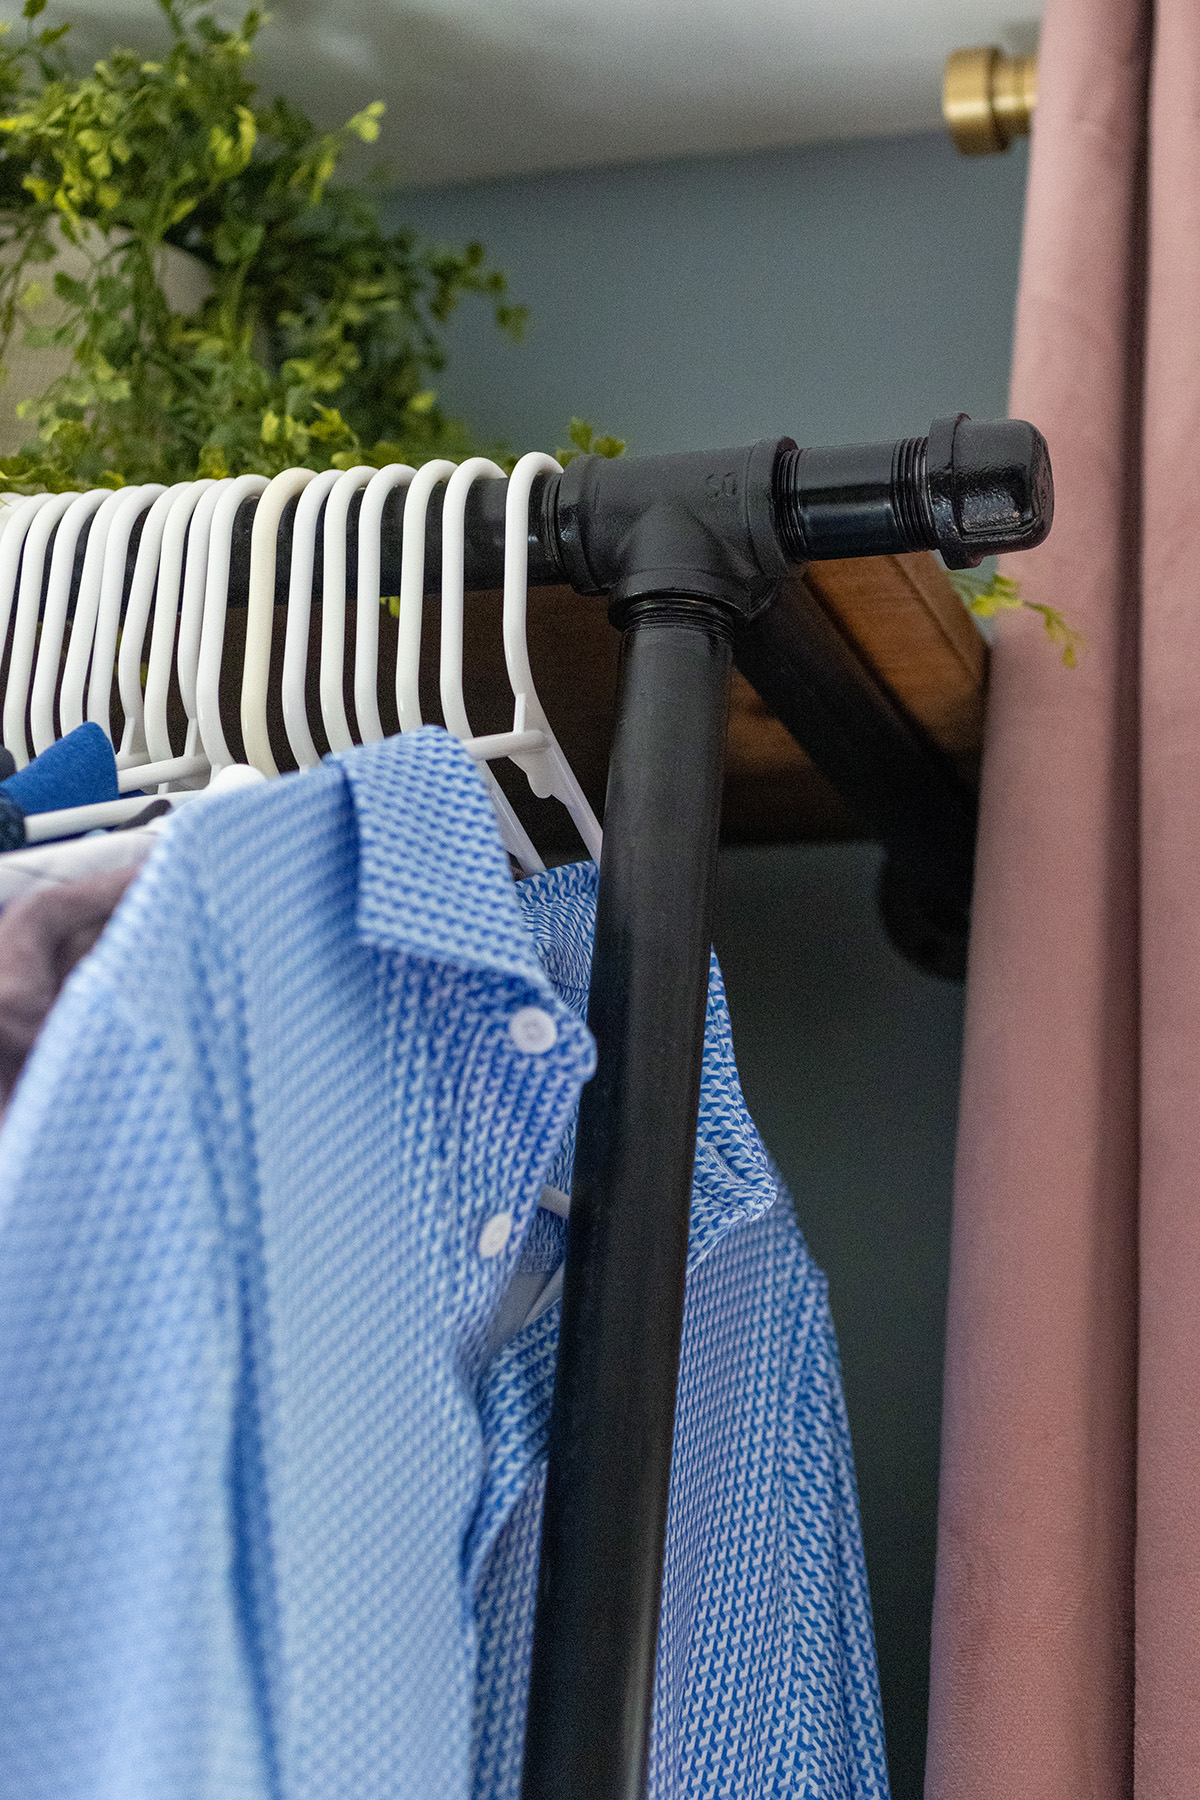
While I would have loved to have gold clothes racks, the black DIY method was more economical. When planning the closet layout, we both drew up our visions for the hanging clothes configurations. Then we combined our visions to best fit what we both needed in the space available. Yes, there was arguing, but it was worth it in the end because we both love the way the space functions.
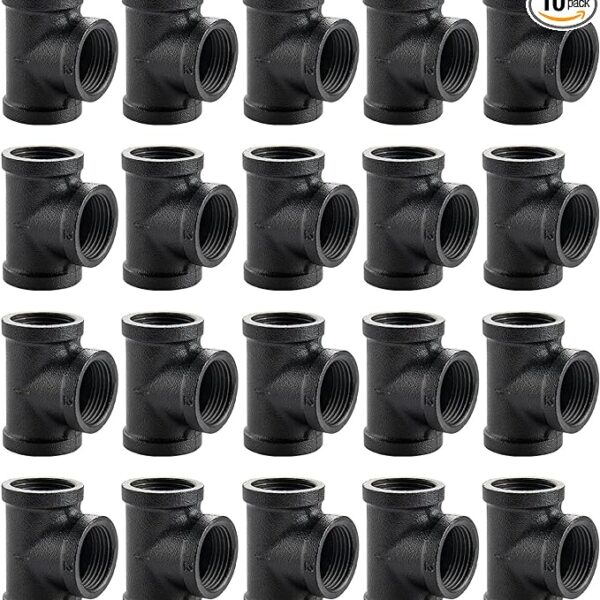
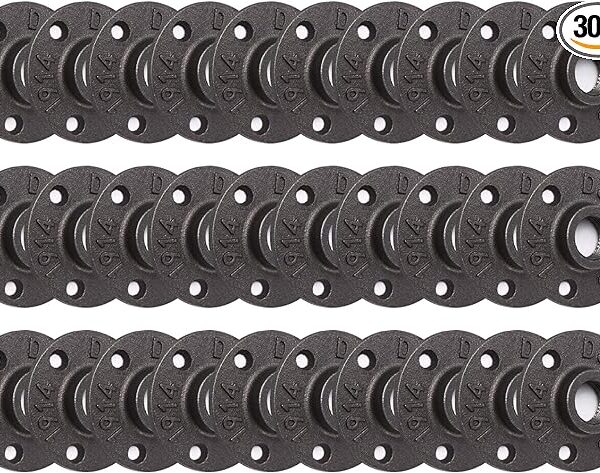
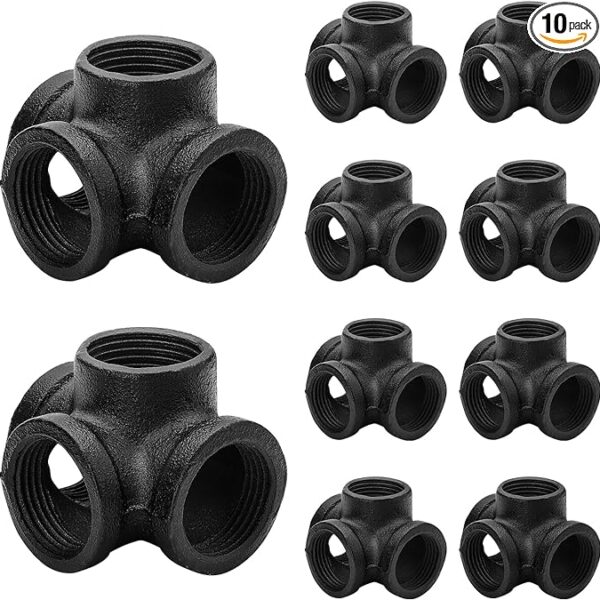
My husband then took the measurements, cut down black iron pipe from a plumbing or hardware store, threaded the ends and added the fittings (what we used linked below) to connect it all together. The process of creating the threads did remove some black coating. I just sprayed a puddle of black spray paint on a paper plate and used an old paint brush to touch up any silver spots. I also spray painted any fittings that couldn’t be purchased in black. The black pipe did have white writing in certain places. I used acetone and a paper towel to remove the writing, making sure to rub easily as to not remove the black coating. To allot space for hangers, the racks are set 14-inches from the wall. The wooden shelves were made from pine 1″x12″x12″ pine boards and simply sit atop the piping.
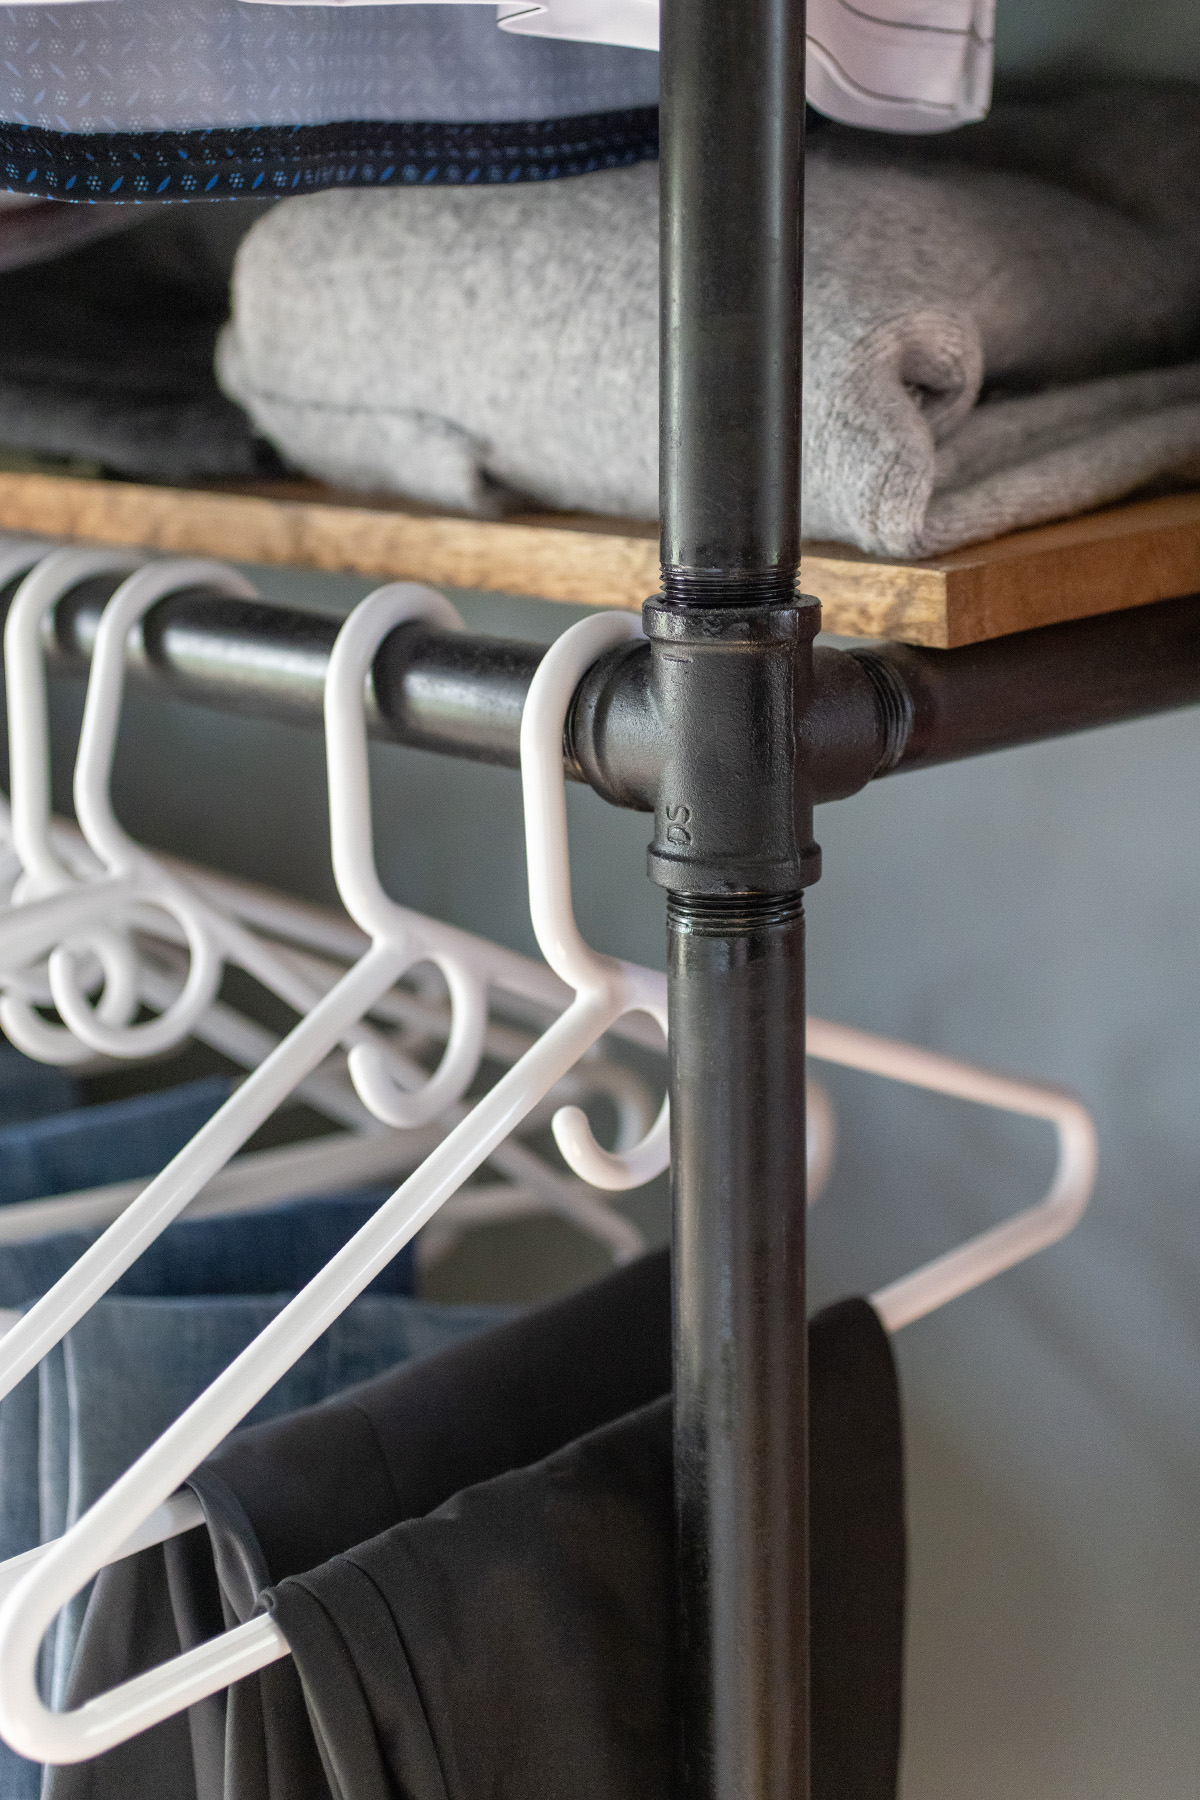
The iron piping is strong and securely attached to the wall studs and floor so there is no worry of overloading the racks.

We couldn’t be happier with the end result. I feel so lucky to have an actual room for a master closet. It’s pretty, a touch feminine and exactly how I envisioned. My husband has his barn and I have my master closet. This may very well be our forever home because neither of us want to give them up.

