
RAISED GARDEN BEDS | HOW WE MADE THEM
07/05/2022A few years ago for Mother’s Day, my son built me two raised garden beds in the backyard. This year for Mother’s Day, he built me two more. Now I just need a few more to complete my vision. I mean, the more the better but I’m trying to be reasonable. Plus, I have to be sure to leave room in the backyard for my some-day swimming pool. A girl can dream, right? For now, four garden beds are a wonderful start.
I snapped a few photos along the way as I sat with my feet up watching on Mother’s Day. This is the second house we have built these raised garden beds and, for us, this method has worked perfectly. There are many different ways to build a raised garden bed. This is what has worked for us.
Here are the supplies we used for two 4’x8′ raised beds:
(12) 8′ untreated 2″x6″s
(1) 8′ untreated 4″x4″
(1) 8′ untreated 2″x4″
3″ deck screws
4′ of 3″ angle-iron cut to (8) 11″ pieces, optional
(16) 1 1/2″ lag bolts, optional
16′ x 4″ roll weed mat
(12) weed mat pins
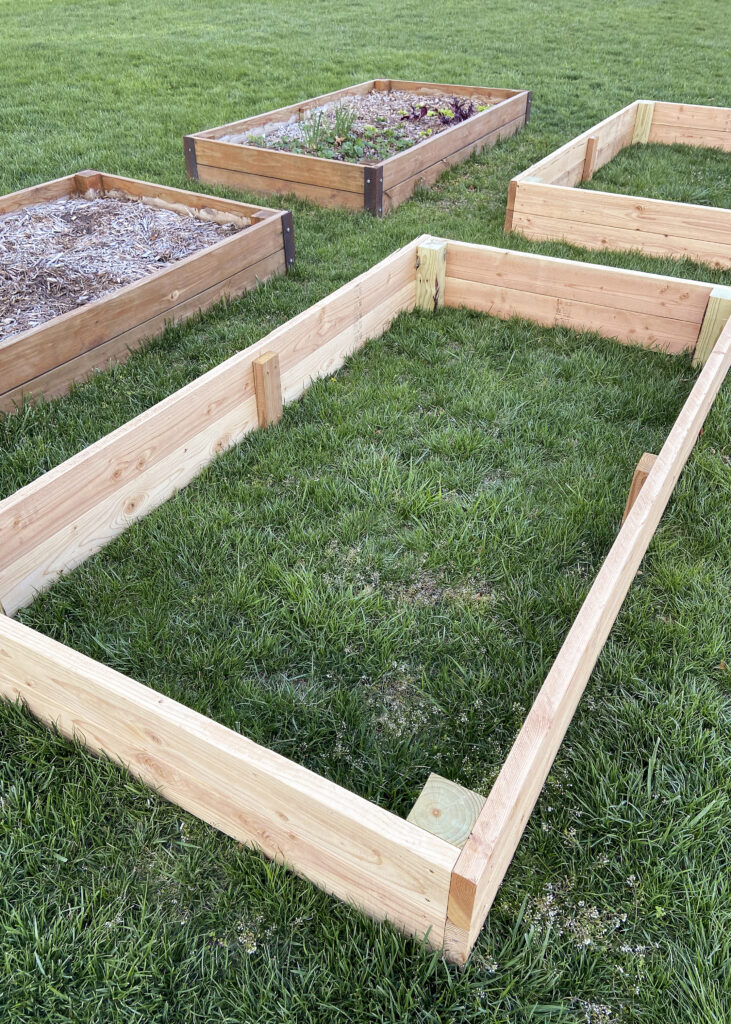
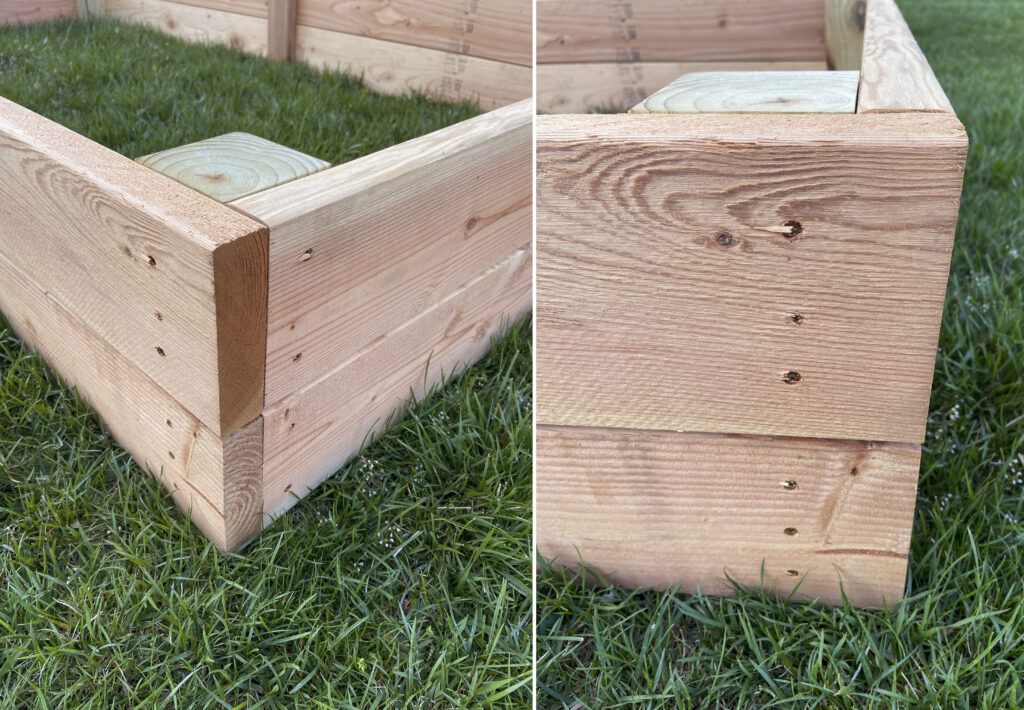
Cut two of the 2″x6″s in half so you have eight 4′ lengths. Cut the 4″x4″ into eight 1′ pieces. Cut the 2″x4″ into four 1′ pieces. Screw all pieces together as shown below using 3″ deck screws.
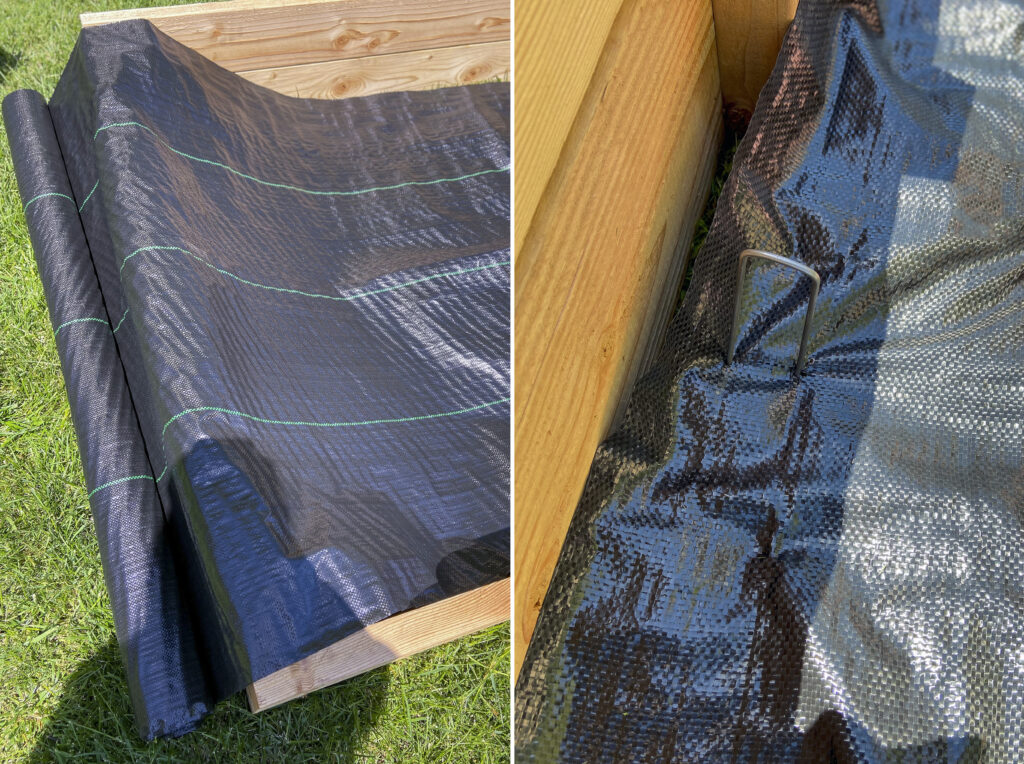
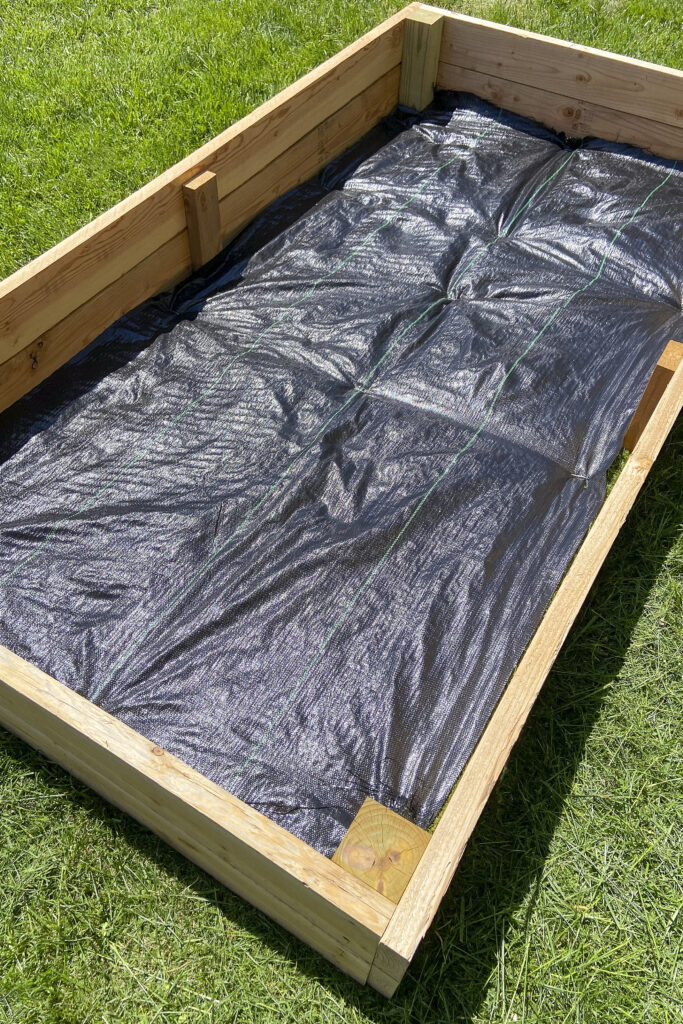
I highly recommend using weed mat. At our previous house we did not use it and it was a complete losing battle to keep the weeds at bay.
Just unroll the mat and cut to size. Use the weed mat pins to secure in place.
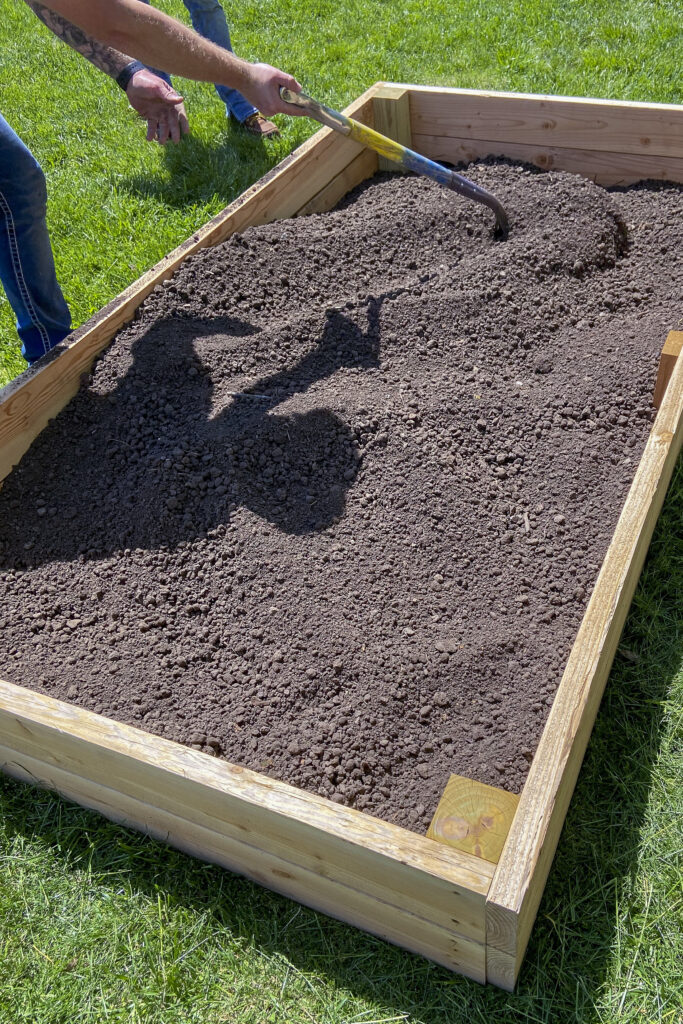
Trust me when I say, buy the good top soil. It helps cut down on weeds and is SO much easier to dig and plant in. I don’t get too fancy by amending my soil like I probably should. But I did start with nice top soil and have had wonderful luck so far with my gardens. At our old house we used random dirt dug from elsewhere on our property and it was not great for growing lush, healthy vegetables.
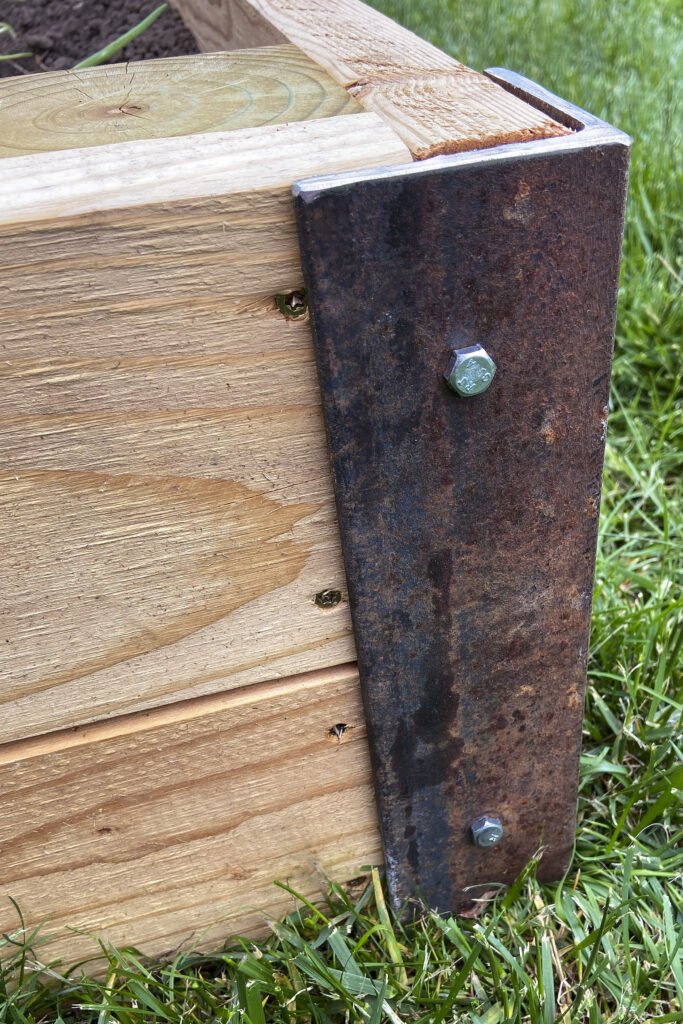
The next step is optional. We had rusted angle iron laying around and it was the perfect accent to add to my raised beds. It also helps hold the lumber solid and square. The 11″ pieces of angle iron were secured to each corner with 2″ lag bolts. I love the rustic touch it added.
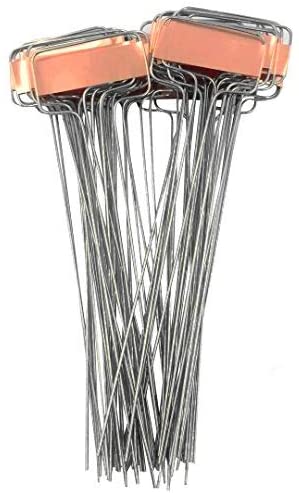
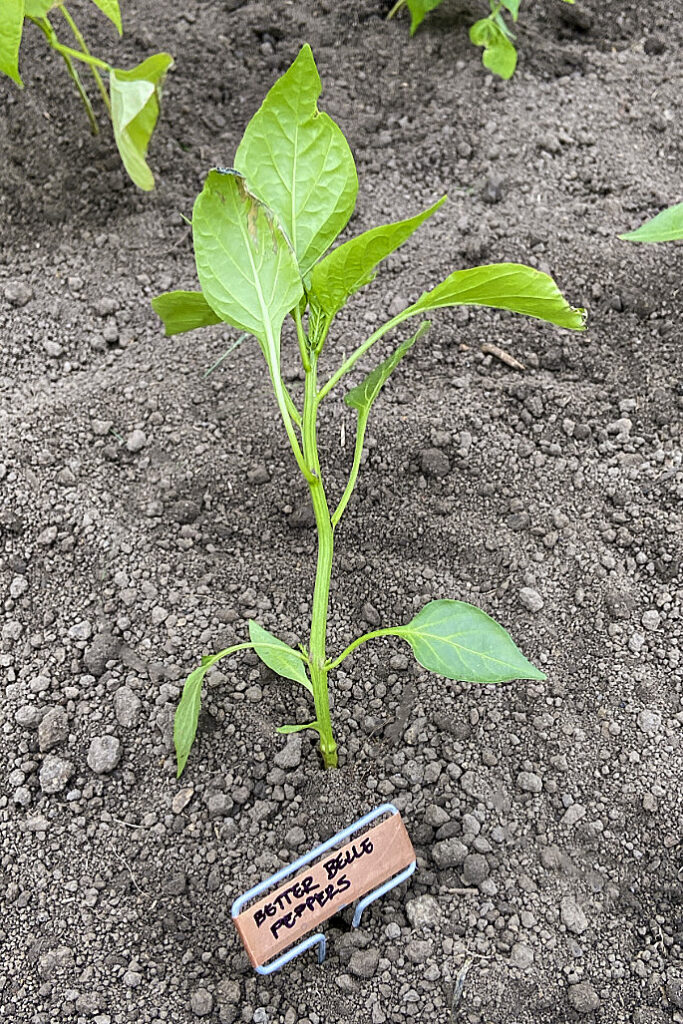
The cute little copper plant markers coordinate well with the rusty angle iron and can be re-used year after year. I wrote on them with a Sharpie marker.
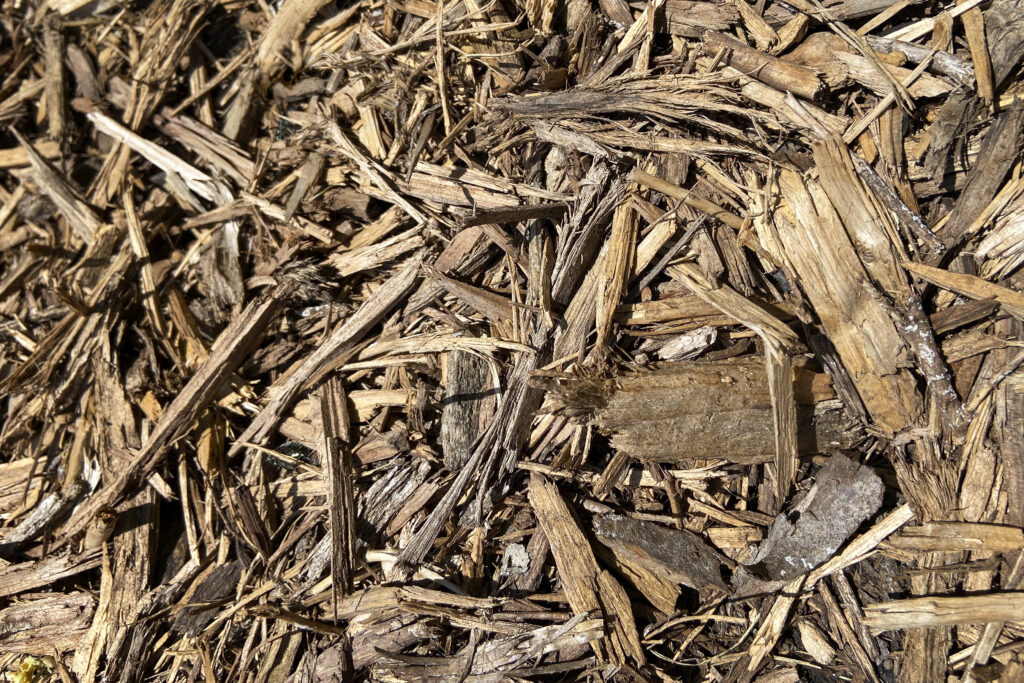
I always use untreated mulch in my garden beds. It helps hold in moisture so less watering is required. It also helps keep out weeds. Good top soil and untreated mulch are a must for garden beds, in my opinion.
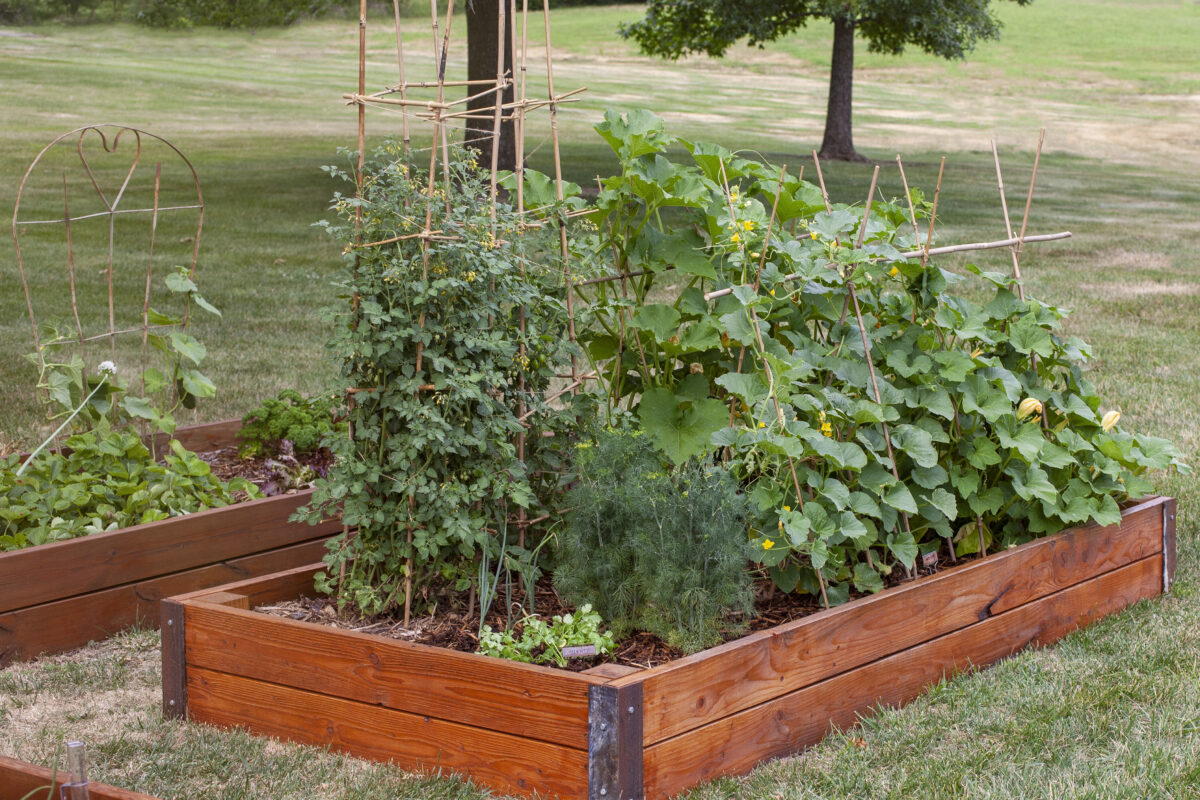
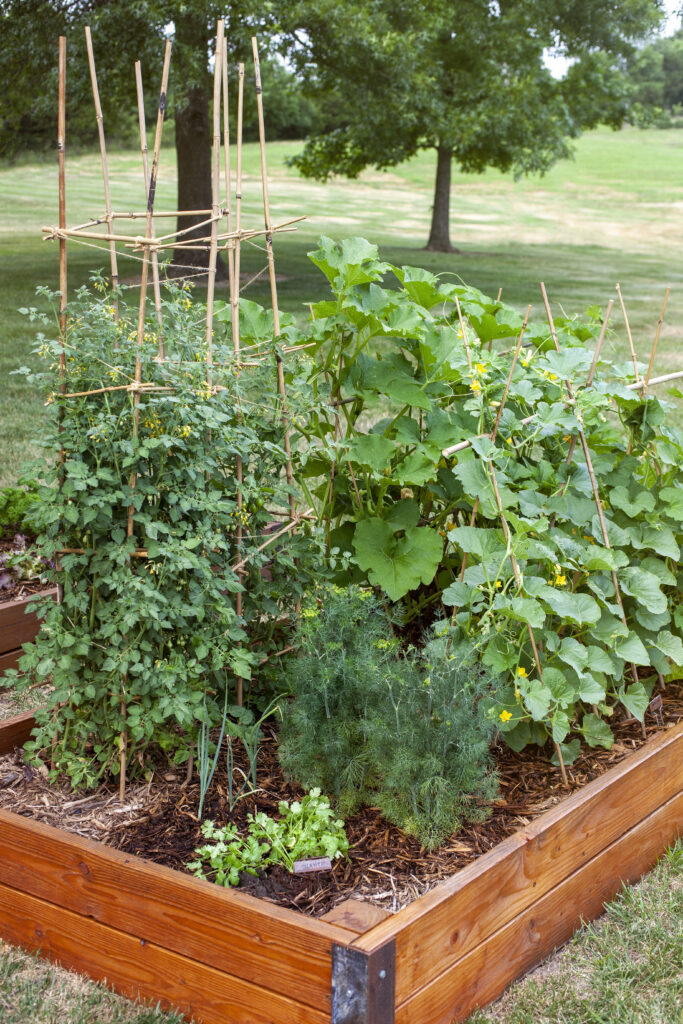
This year I opted to make my own bamboo trellises and tomato cages. Tomorrow here on the blog I’ll share how I did that and what products I used. Mixed with a random metal trellis I had laying around, it all looks so much cuter in the garden than the old metal tomato cages.
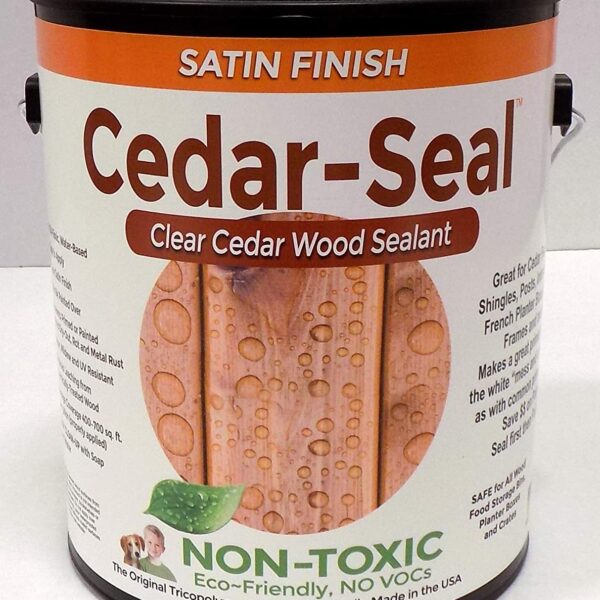
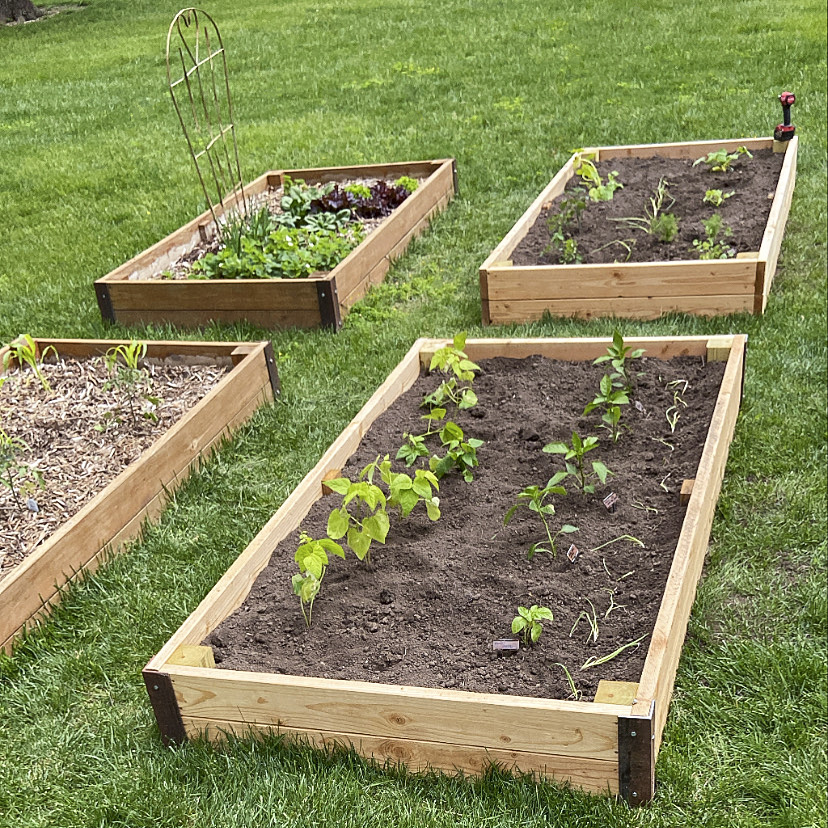
In the photo below you can see the original, sealed beds on the left and the new, unsealed beds on the right. The materials for raised garden beds aren’t exactly cheap. I wanted to make sure the beds lasted as long as possible by sealing them with a natural, non-toxic sealer. I used Cedar-Seal because that is what I had on hand. In hindsight, I probably should have sealed the inside, as well, before the beds were filled with dirt and mulch. I wasn’t that smart, but sealing the outside helps pull out the color in the wood and protects it from constant rain and watering.
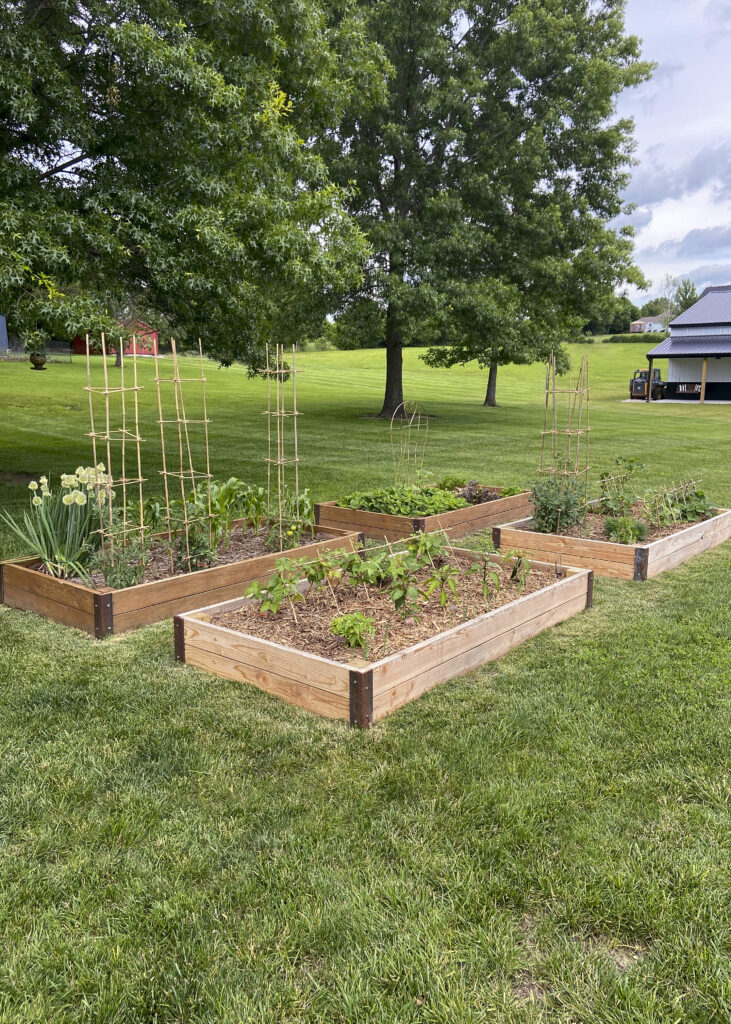
Below shows the wood freshly sealed and still wet. I love how the sealed wood and rustic angle iron tie in with the cedar posts and shutters on the house and barn.
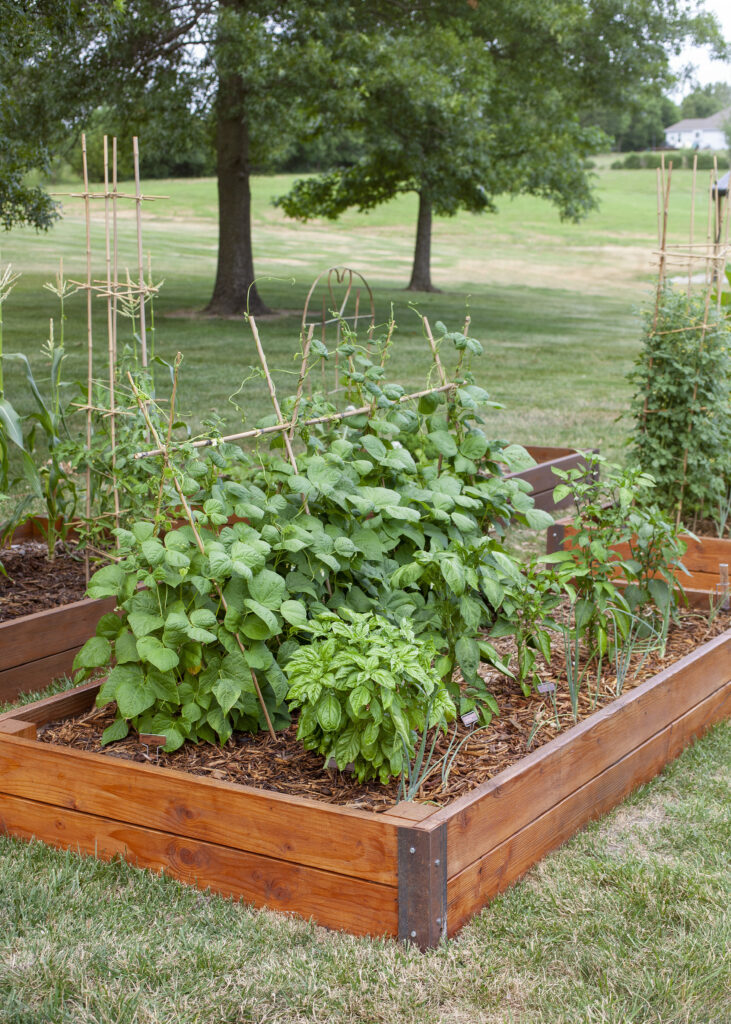
Look at how much the garden filled out in just two weeks.
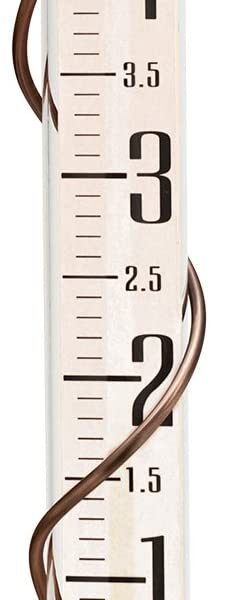
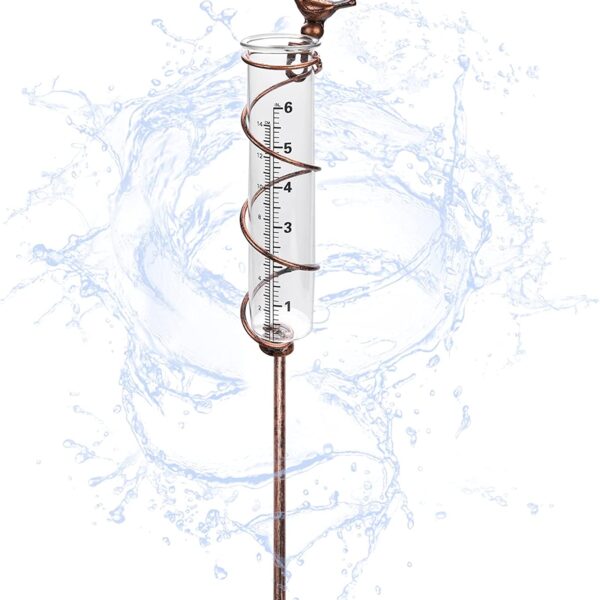
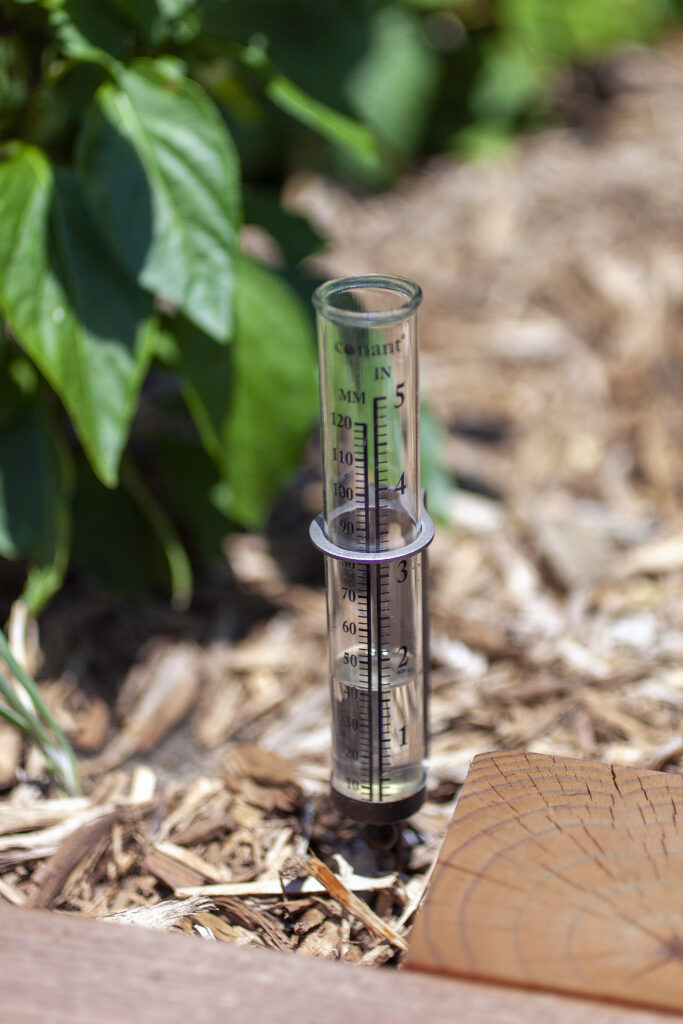
I added a little rain gauge so I can keep an eye on the rainfall amounts. Again, I all for the cuteness factor.
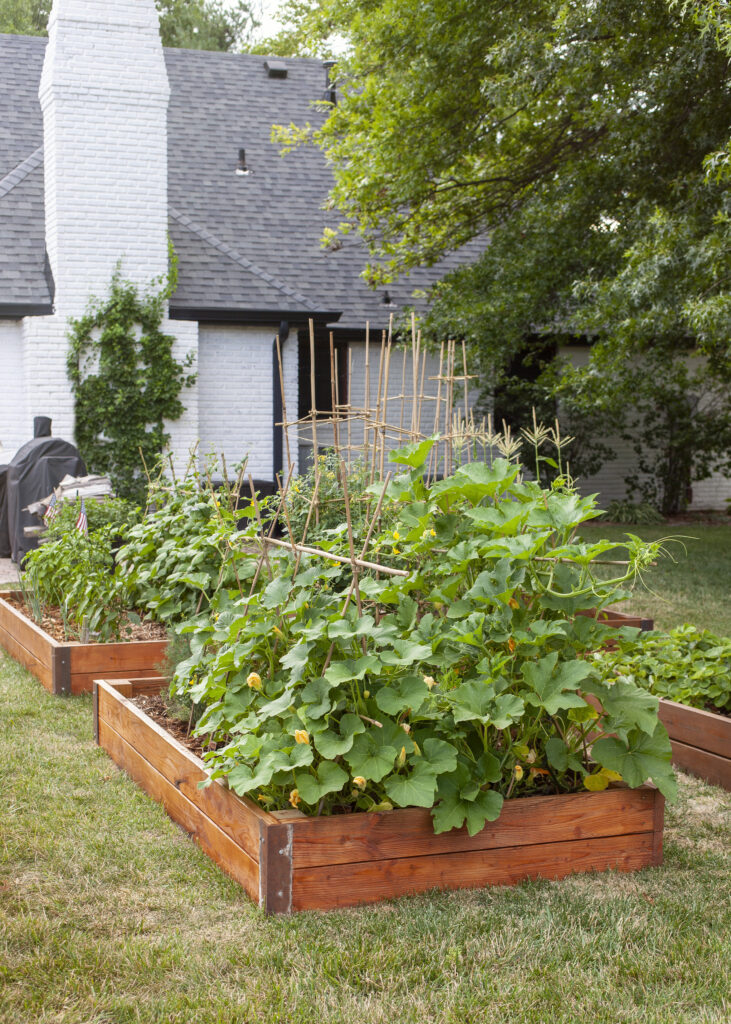
Now, a month after planting, the garden beds are pretty and full of lush, happy vegetables, melons, pumpkins and herbs. I have so many more ideas to slowly add each year until I have the garden of my dreams. Patience is not my finest asset but I’m trying to enjoy what I have and add to it as possible.
Garden blooms. Nature is beautiful.
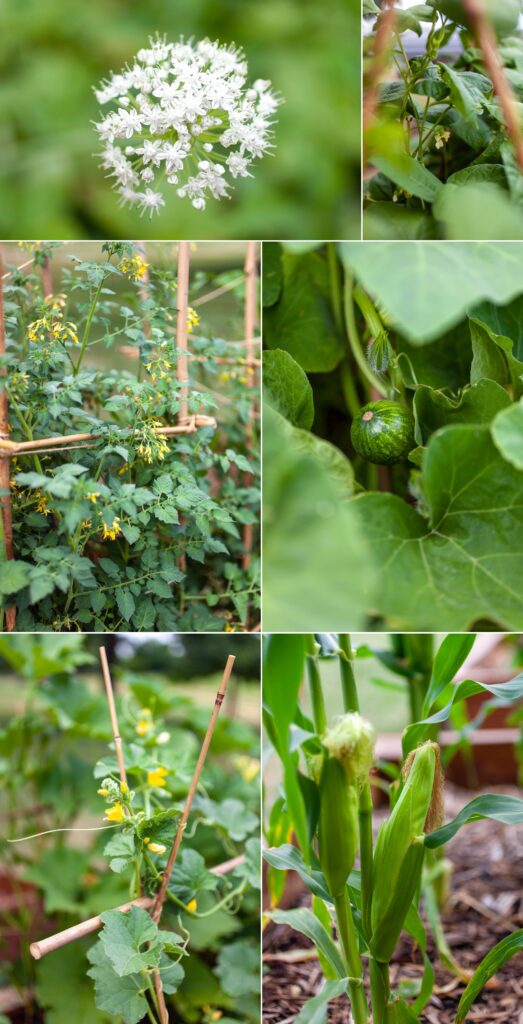
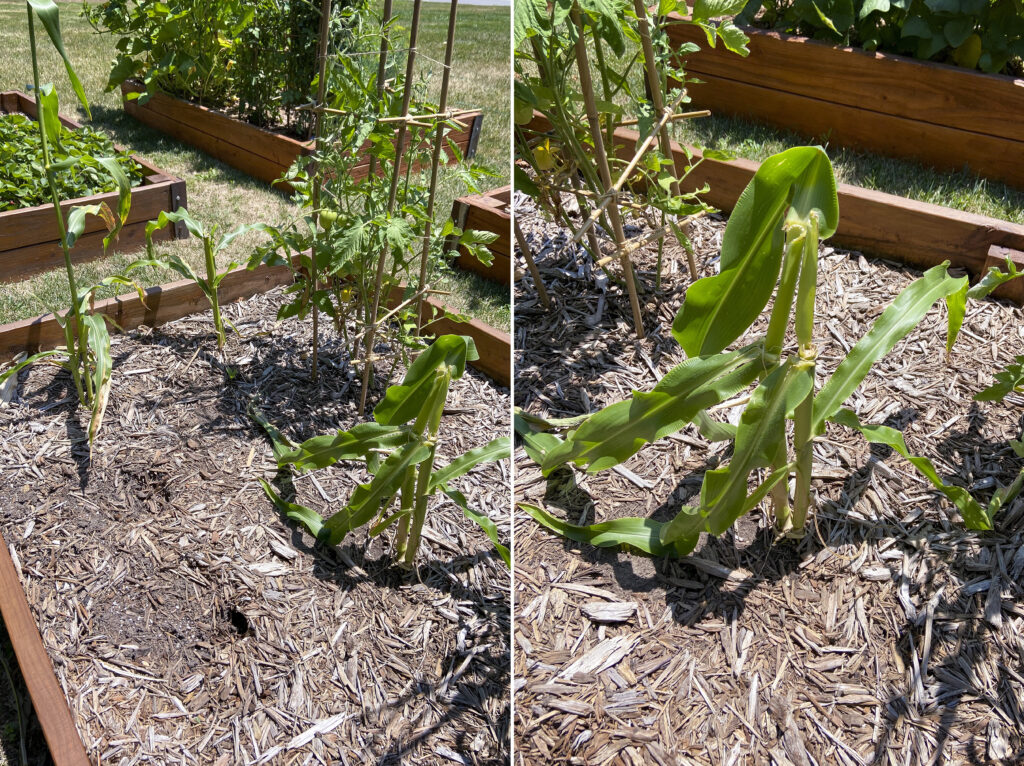
Fortunately, I took photos of the garden just before the local deer had a party in the backyard. My cute little baby corn ears and cucumber vines must have been a delicious midnight snack. Unfortunately for me, having to practice patience and slowly add features to the garden meant the deer got to enjoy some of the vegetables before we did this year. Next year, gravel and a fence are on the list of additions.
This is the first year the deer have bothered my garden. It’s also the first year I did not plant marigolds, a nature deer repellant, around the perimeter of each bed because i wanted the space to plant more veggies. I will now be including merigold flowers in my beds every year. That just means my son will need to plan on adding two more beds for Mother’s Day sooner rather than later.
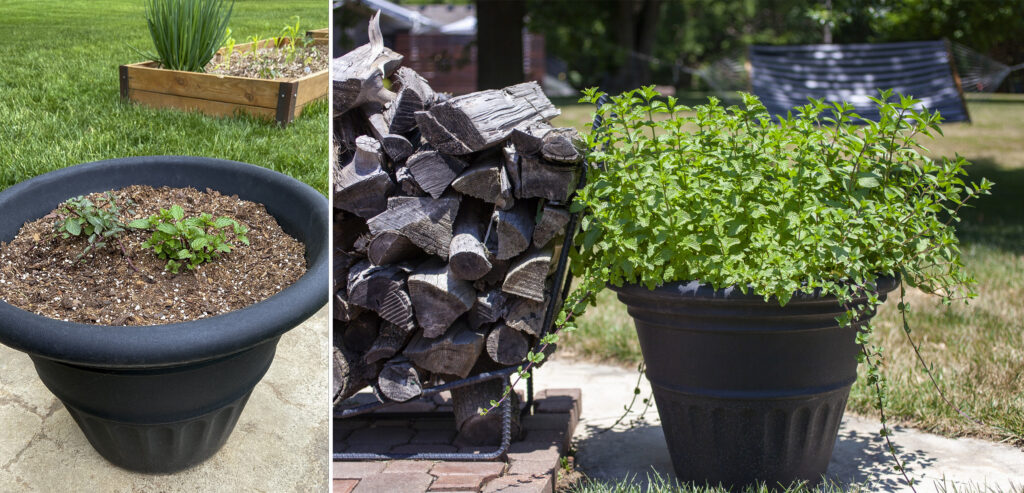
In addition to the garden beds, I have a large container that holds two varieties of fresh mint for my favorite Splendito Mojito drink. The left show the two small plants I started with. The right shows how much those two little plants grew in one month. The mint is in it’s own container because it will spread like crazy if planted in the ground. Another lesson learned from our last house. An individual planter keeps it contained and close-by for snipping as needed. And it you keep mulch to the pot over the winter, chances are the mint will grow right back the next year.
My dream garden with a gorgeous flowering arched entry, pretty fence and a small greenhouse will come to be in due time. For now, I’m thrilled with the four beds my son built me as Mother’s Day gifts. Getting older does have a few plusses, one being children old enough to build and create things for their momma. ♡
Check back tomorrow to see how I made the bamboo tomatoes cages and trellaces for green beans, melons, cucumber and pumpkins.
