
HOW TO BUILD A SHIPLAP ACCENT WALL | DIY
08/22/2018My advice: When you are starting a remodel on an entire home while living in it, begin with one of the easiest rooms first. A spot where you can quickly put your stamp on it and make it start to feel like home. For us, that was our son’s bedroom. A little paint, a fun accent wall build and done. One room down, a lot more to go.
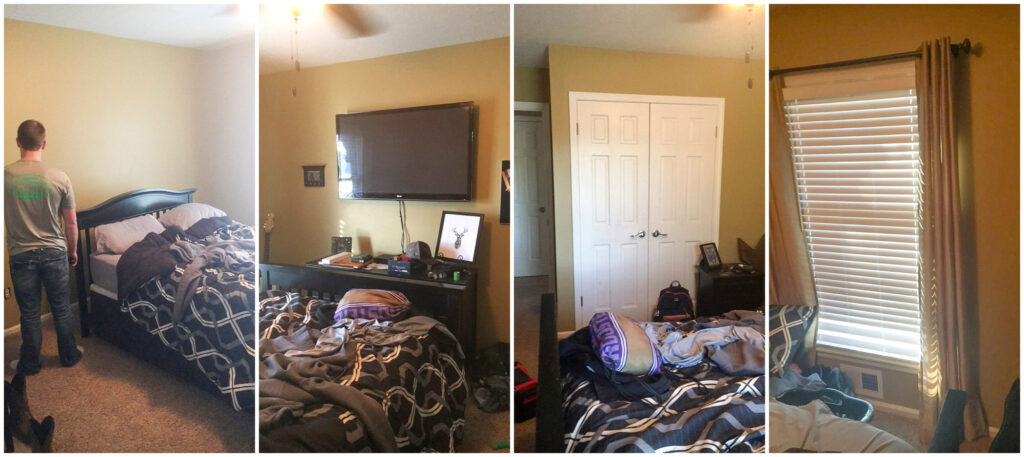
This is a look at the room before the makeover. (We started the remodel before I remembered to take photos.) The walls were a tan/mustard/gold color. With only one window in the room, the darker walls soaked up the little natural light available.
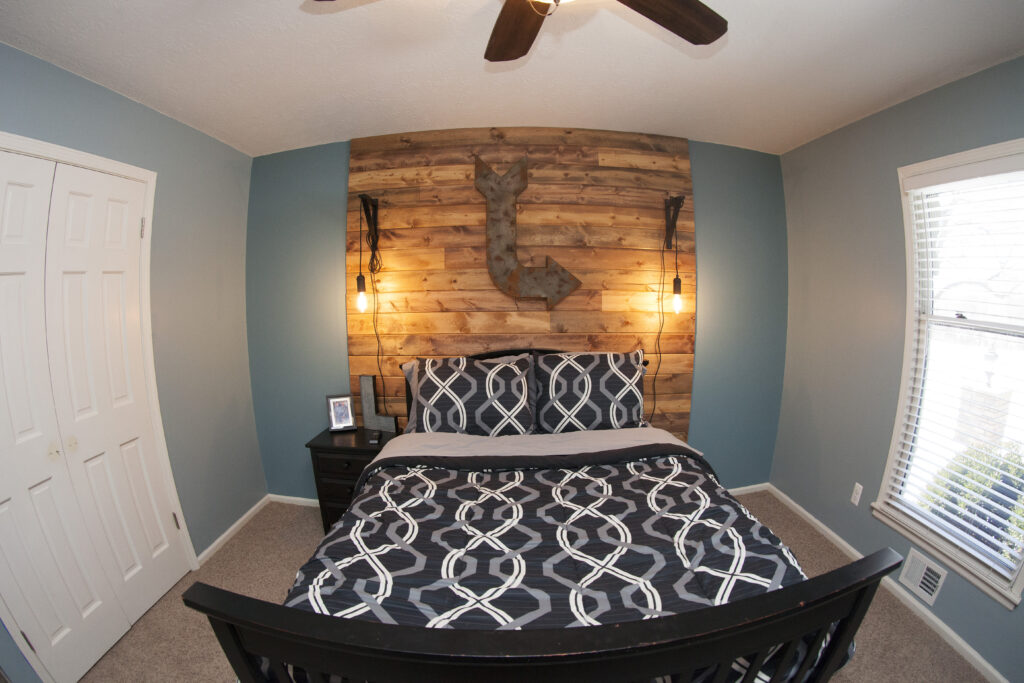
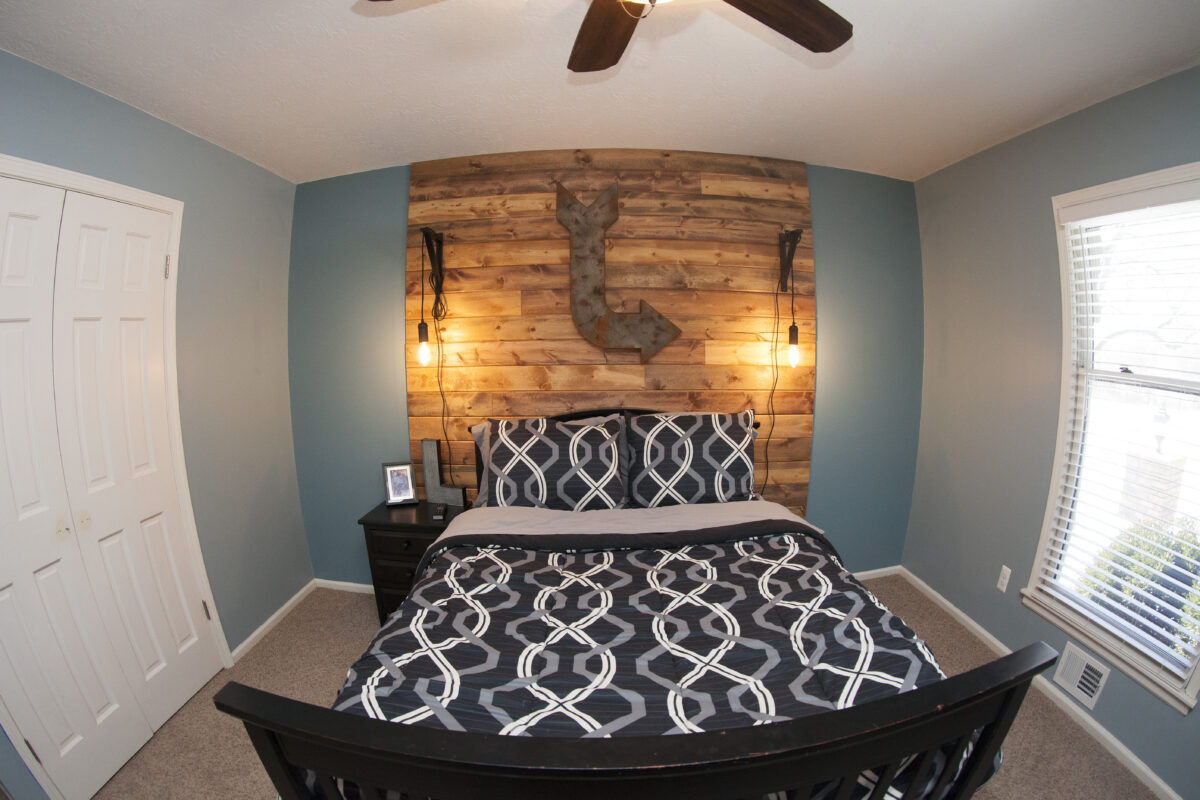
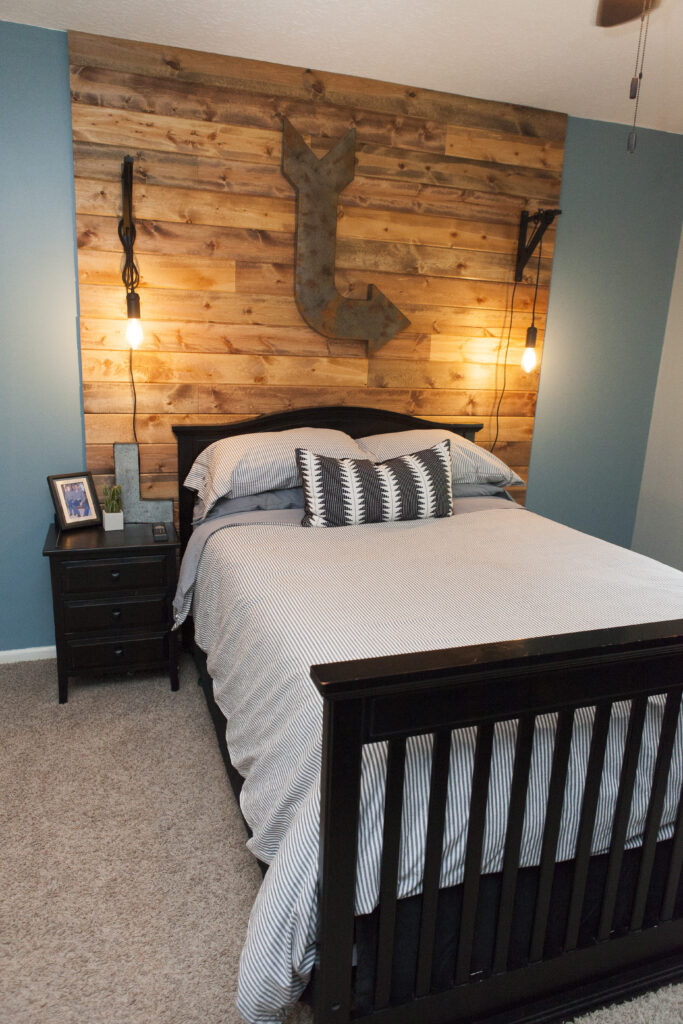
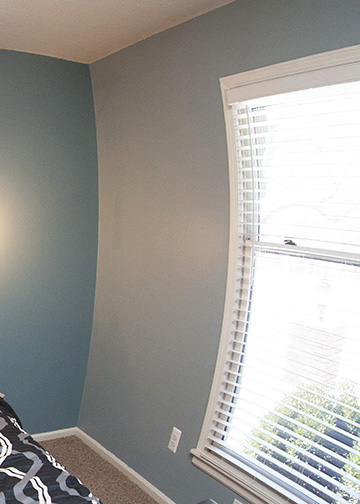
Despite my love for light, bright, white, we let our son chose the paint colors. He went with three walls of a lighter blue color and the main wall a shade darker – all still light enough to allow as much light in as possible and please his momma.
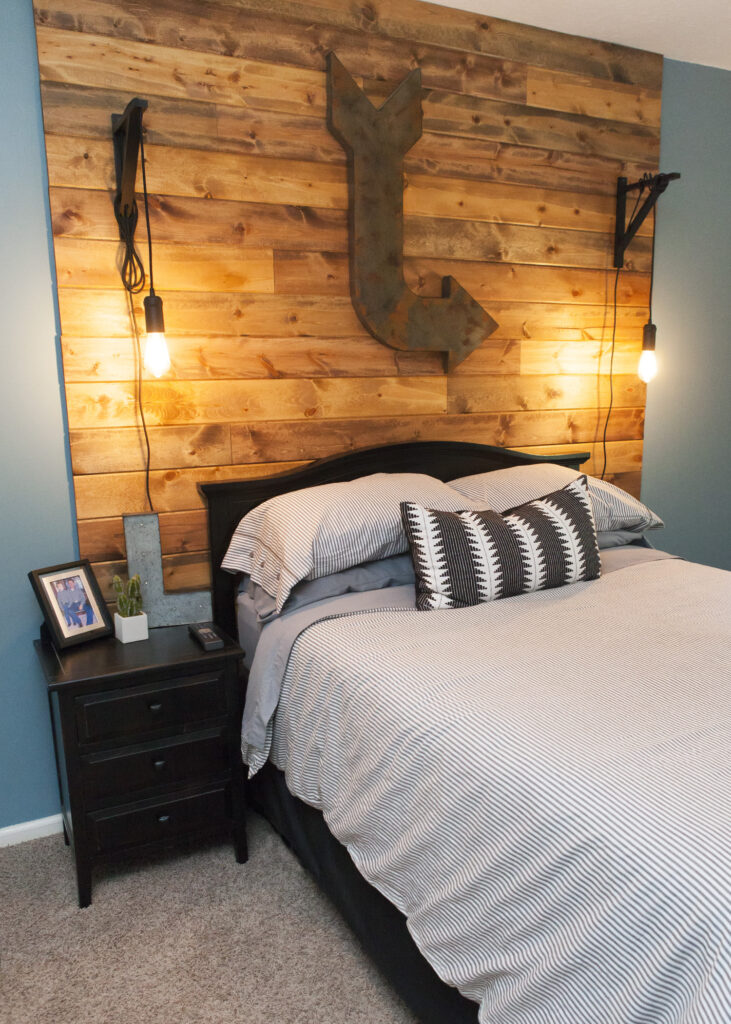
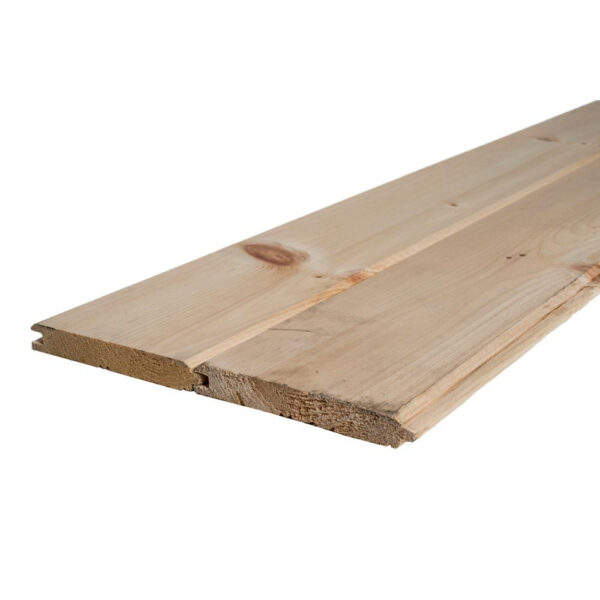
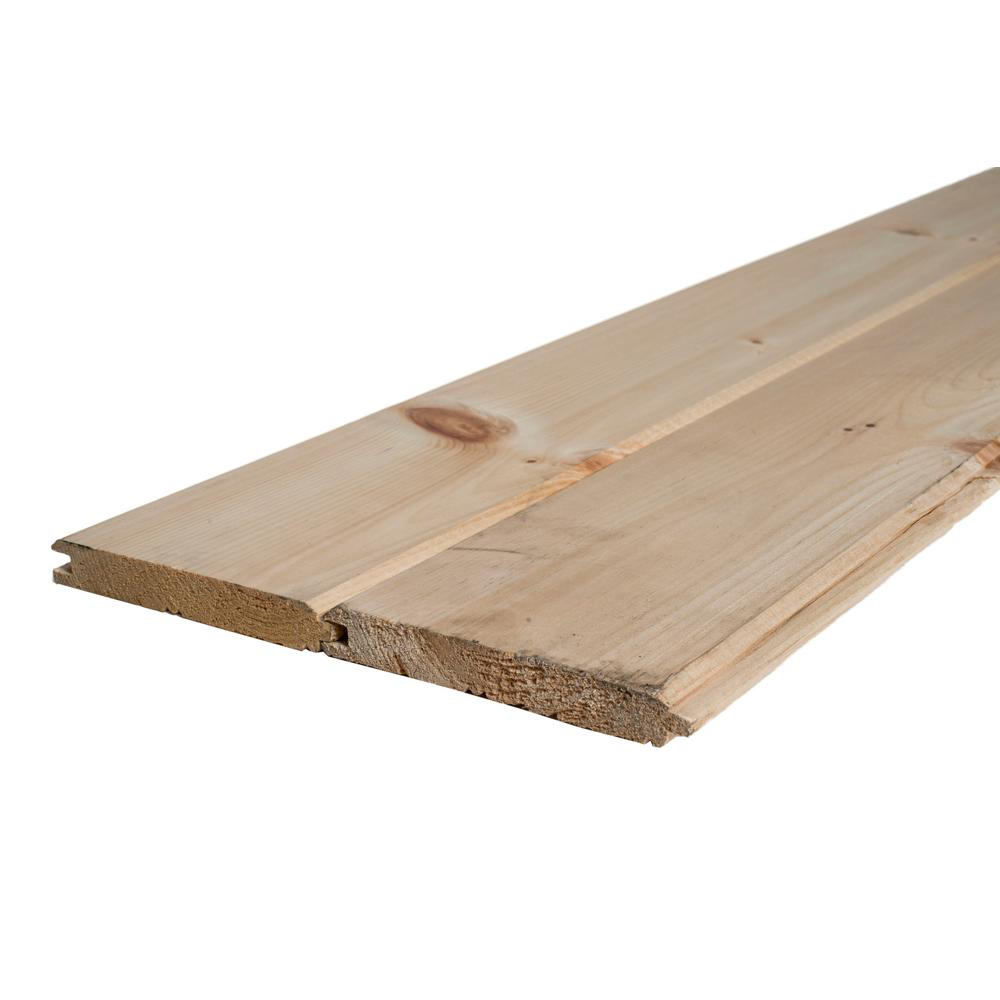
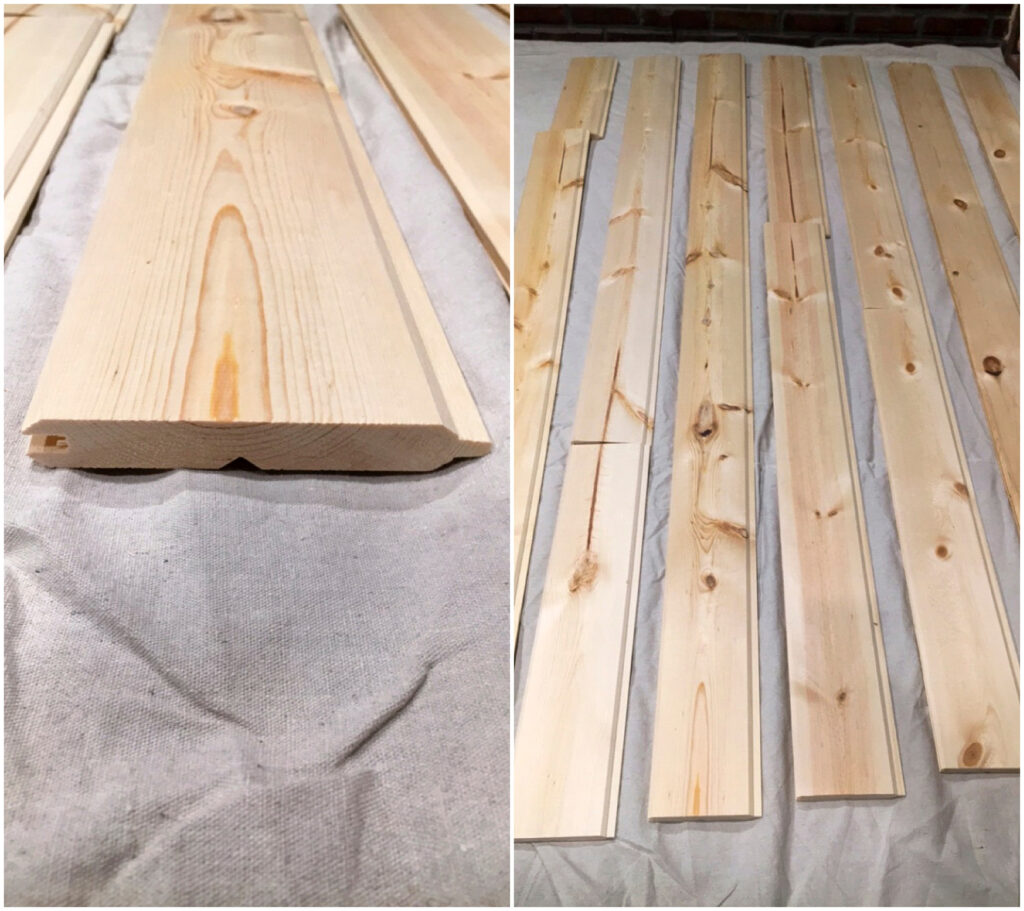
Next we added warm wood tones with a shiplap accent wall. We used 1″x6″x8′ tongue and groove whitewood boards.
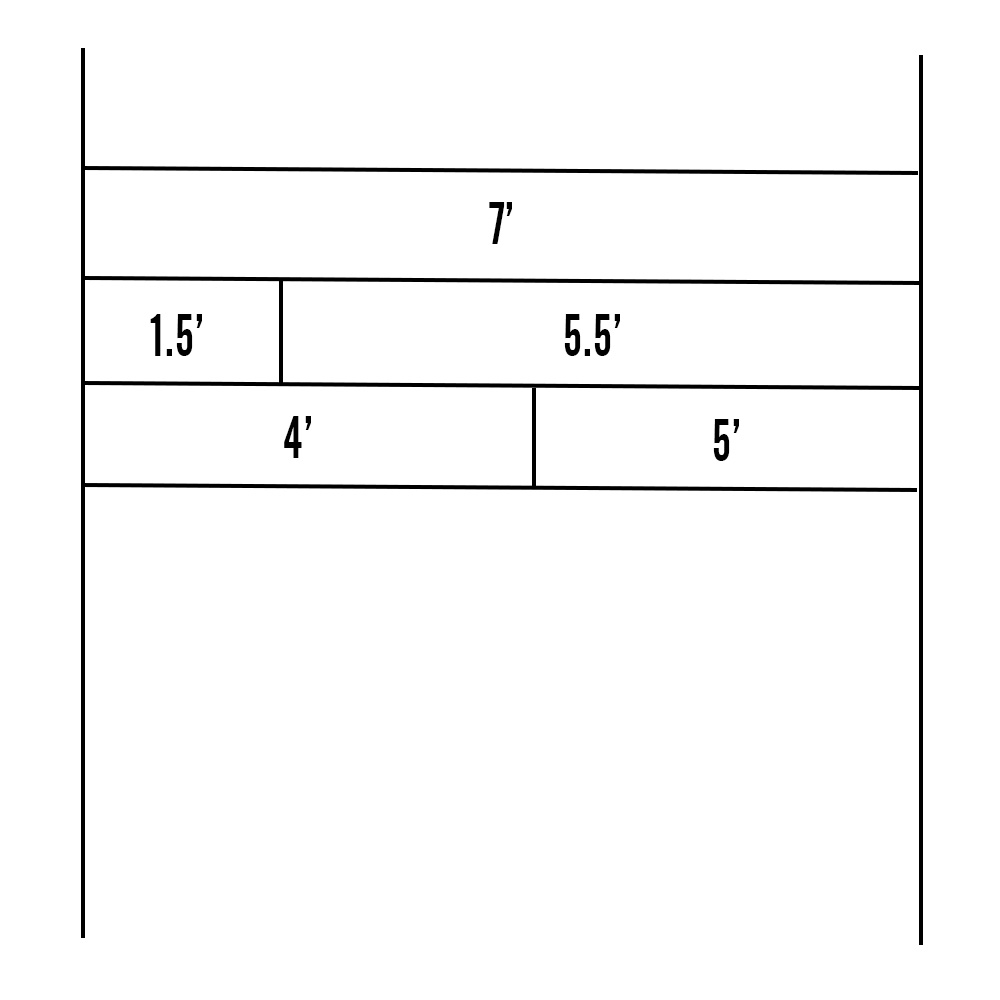
We wanted the wood wall feature to be just wider than the bed and run floor to ceiling. With our 8′ ceilings we needed (19) 8′ whitewood boards. To add a little interest to the wall, we opted to go with three different cuts to vary the lengths of the strips. This diagram will help explain what we did.
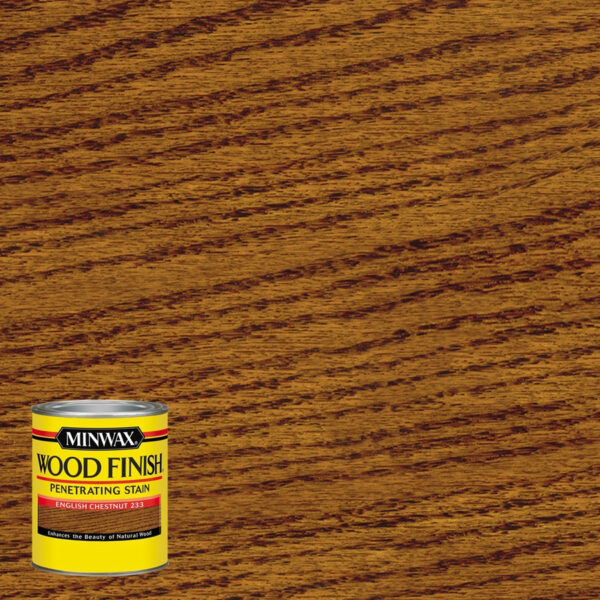
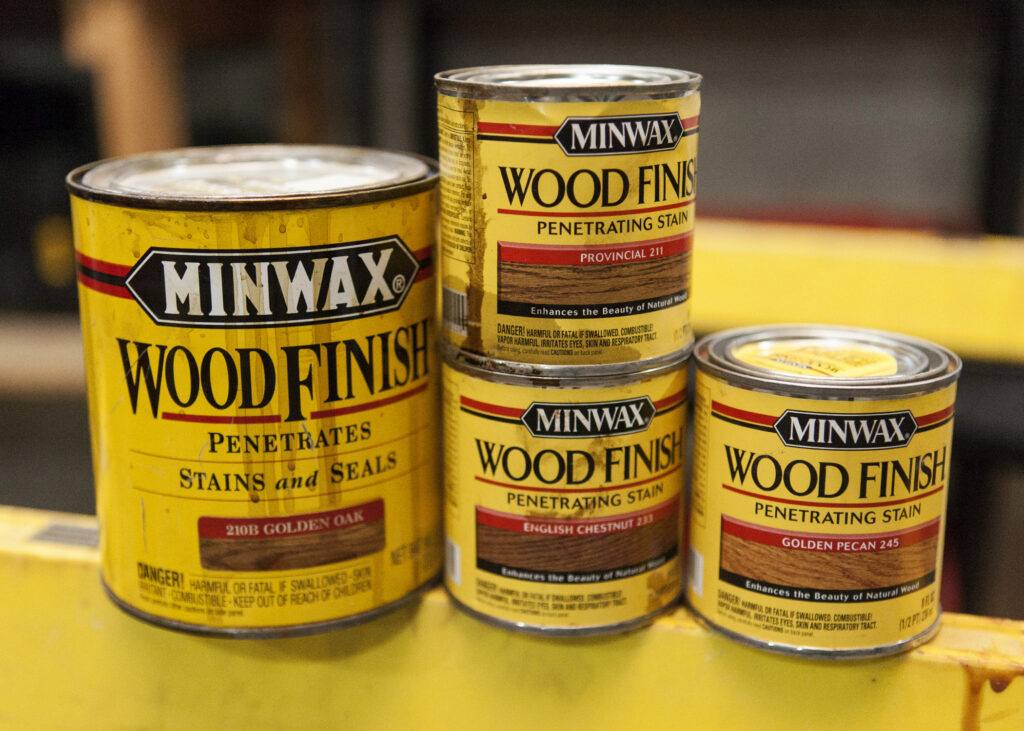
The next step was to stain the boards. We wanted some variation in the colors of the boards. These are the stains we used.
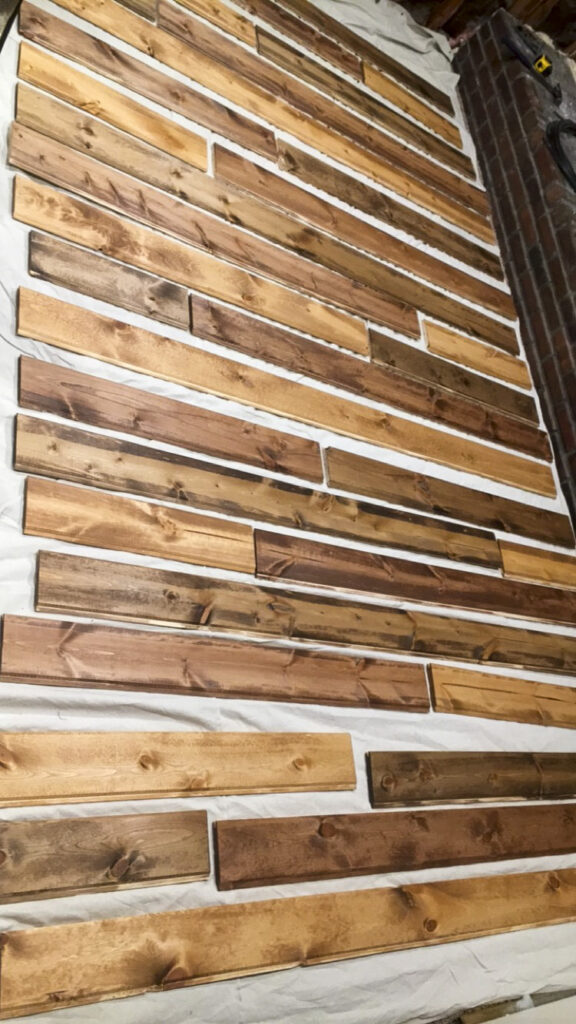
We laid the cut boards out as we wanted them on the wall. Then we used a clean cloth to rub on the stain and another dry cloth to wipe off the excess. We didn’t sand anything and or use anything other than stain to seal the boards.
To install, we noted the wall dimensions in pencil on the wall where we wanted it, found the studs and marked them by drawing straight lines floor to ceiling. We chose to begin at the top of the wall. Note: when you finish at the bottom, you might need to strip down the final board to fit properly. Doing this hides the smaller stripped board behind the bed.
The first board was a solid 7′ piece against the ceiling. Using a brad nailer and the lines drawn on the wall as a guide, we nailed the first board into the studs. Then we just continued down the wall picking up the boards as they were laid out on the floor when we stained them. Not shown is an electrical outlet that had to be cut around, as well.
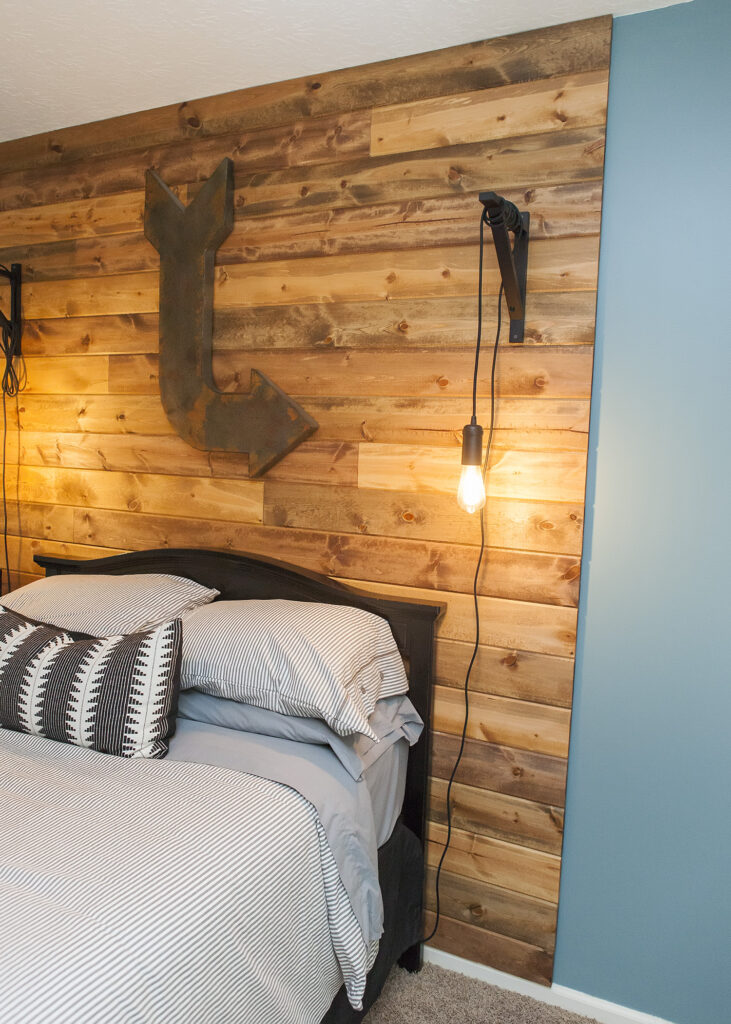
We opted for a rough, natural look so we didn’t fill the nail holes.
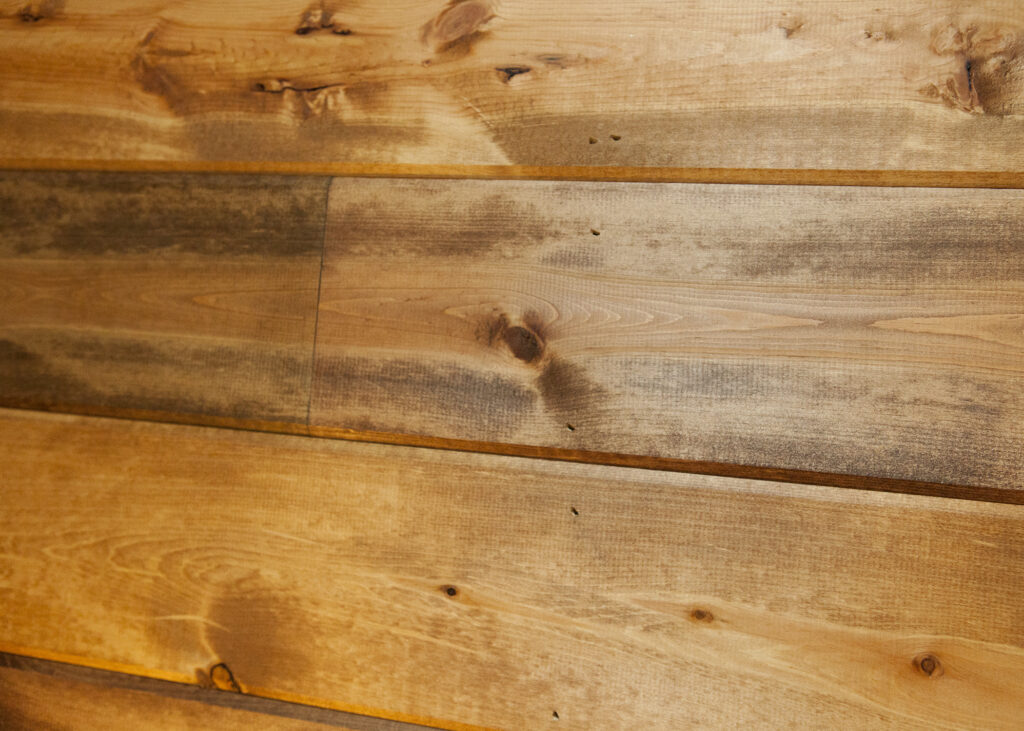
On a scale of 1 to 10 for difficulty, I would say this project is about a 4 or 5. The hardest part is trying to keep the boards looking level if the walls and ceiling aren’t square. We were able to stay fairly level to the naked eye on the way to the bottom and stripped the last piece as needed to meet up with the existing trim.
