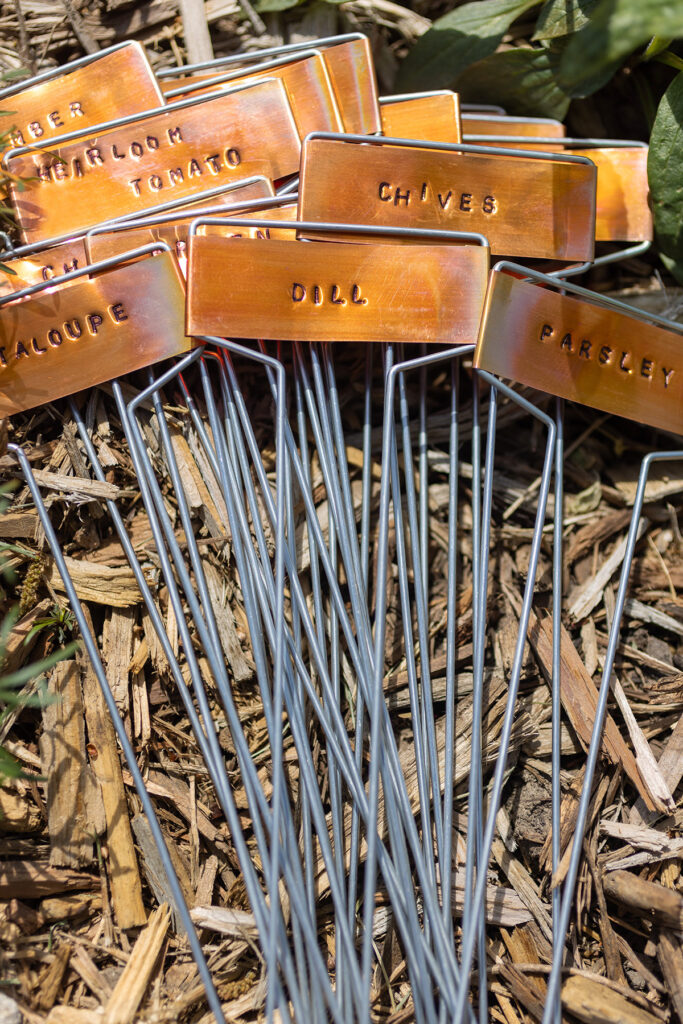
DIY STAMPED GARDEN PLANT MARKERS
04/18/2023I’m always on the lookout for cute garden markers that I can customize to what I have in my garden. I’ve used these copper garden markers for several years now by just writing on them with a Sharpie marker. Then I had a genius idea to make them even cutter by using my metal punches to stamp the plant names into them. Granted, other people have done this before me, but I thought it was genius when the idea hit me.

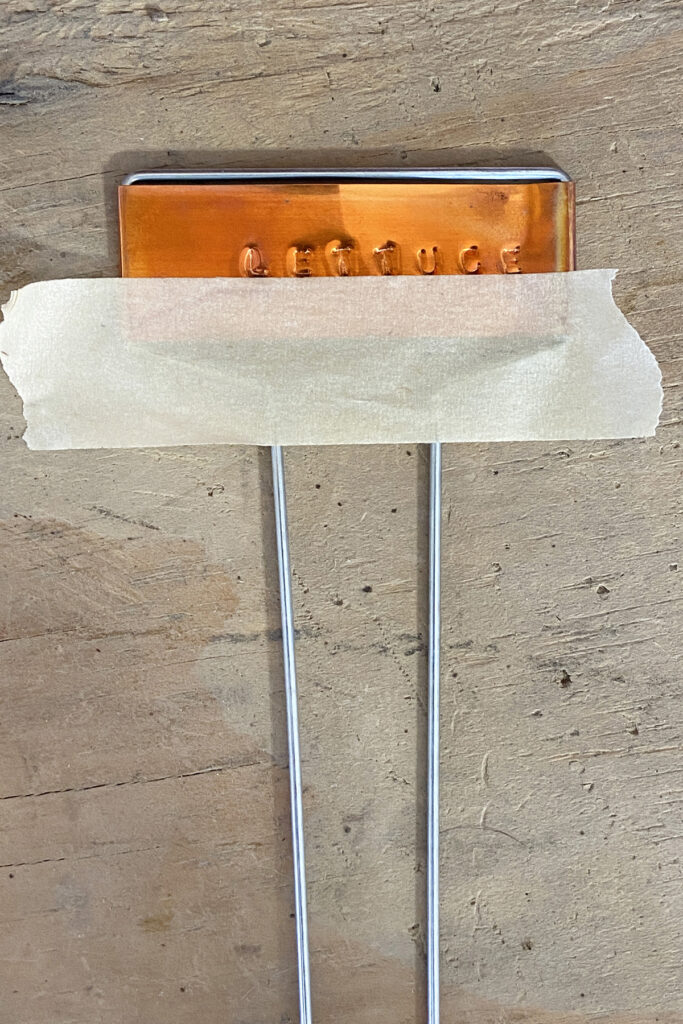
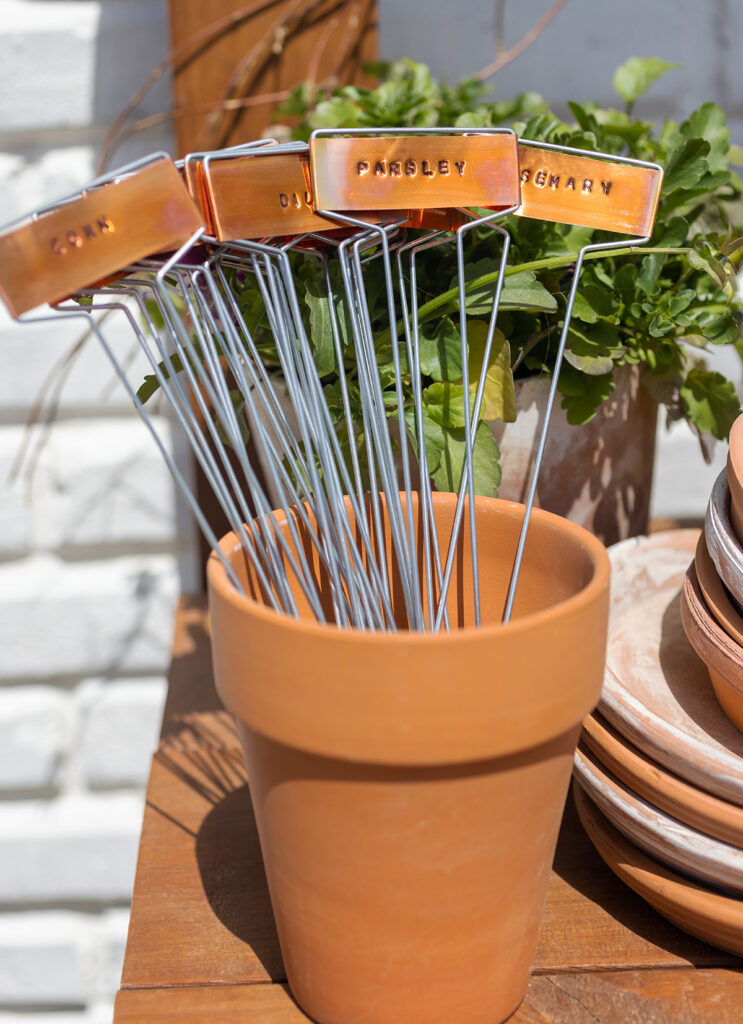
The charm of them is their quirkiness. The names are not evenly spaced or in a perfect straight line. To me, that’s what makes them fun.
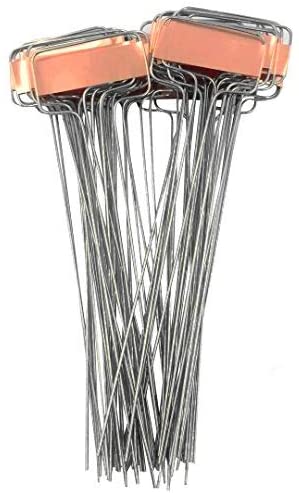
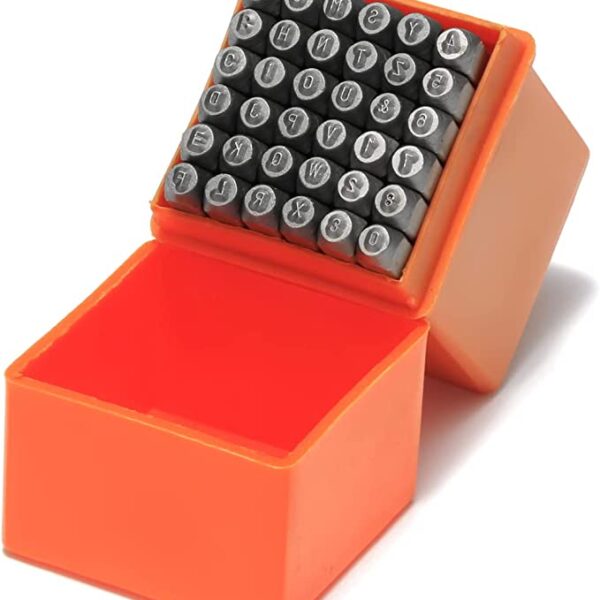
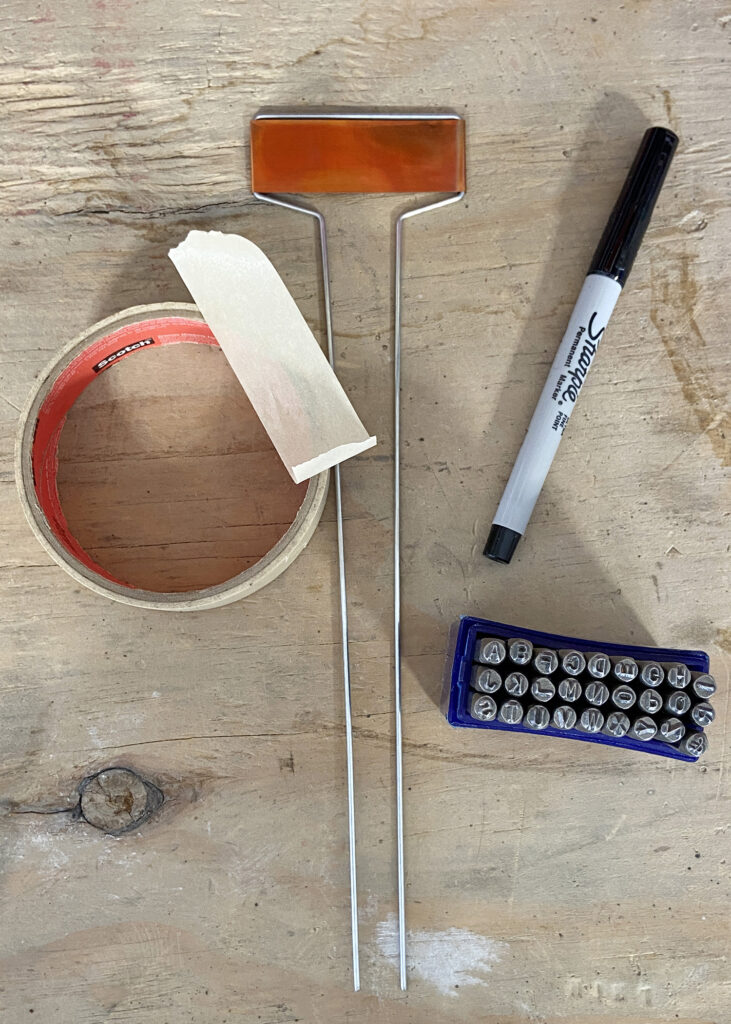
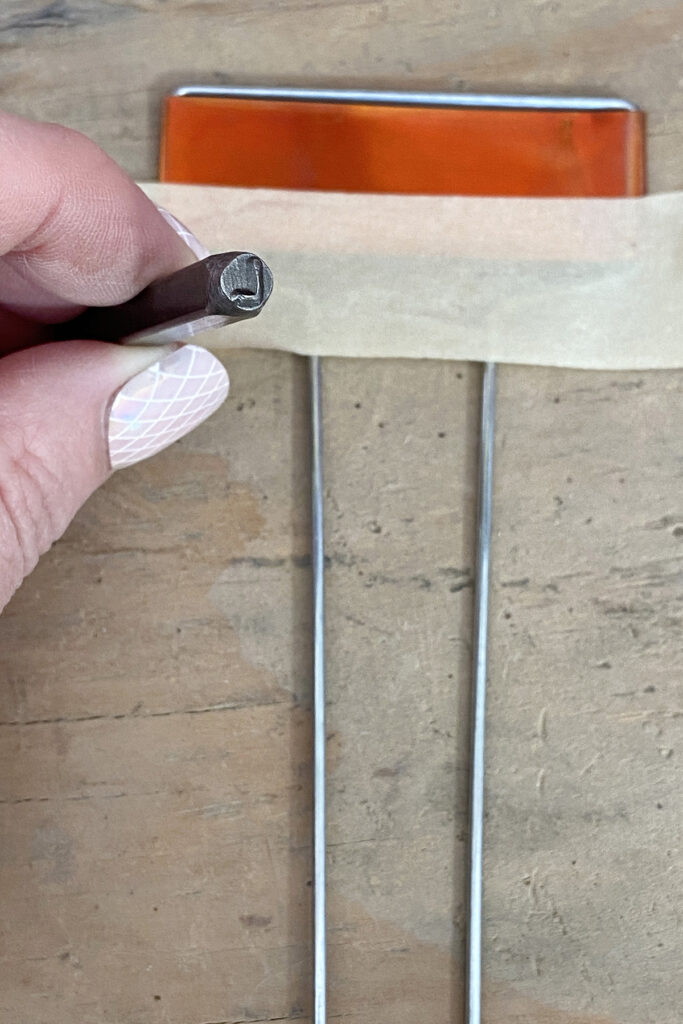
Supplies needed are copper plant markers, a fine-point Sharpie, masking or painters tape, metal letter punches and a hammer.
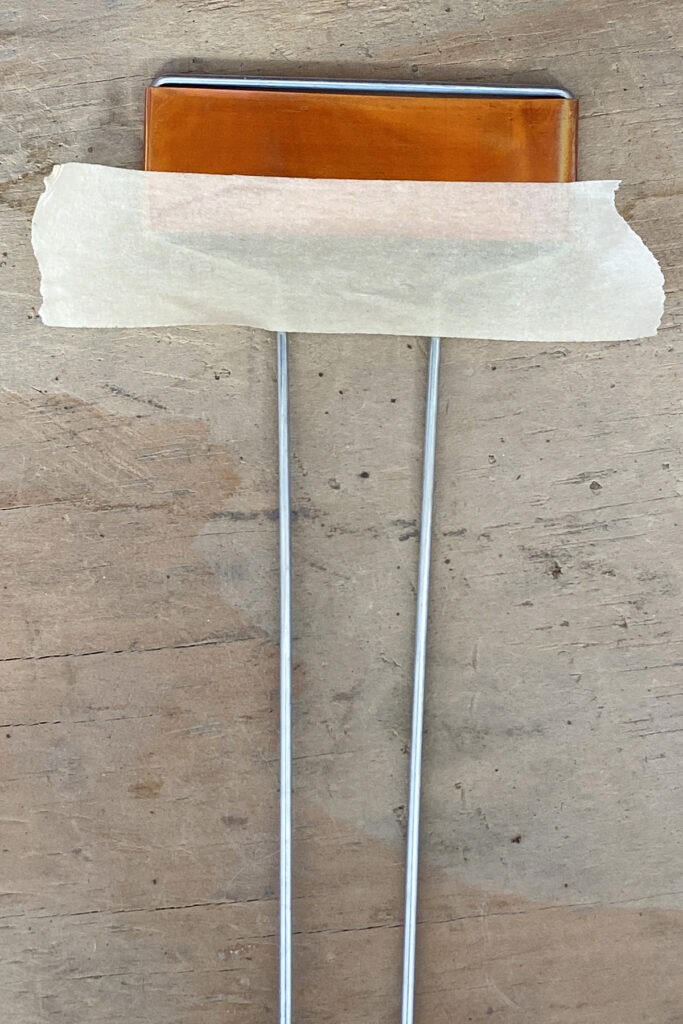
I used the masking tape to help keep the letters as straight as possible.
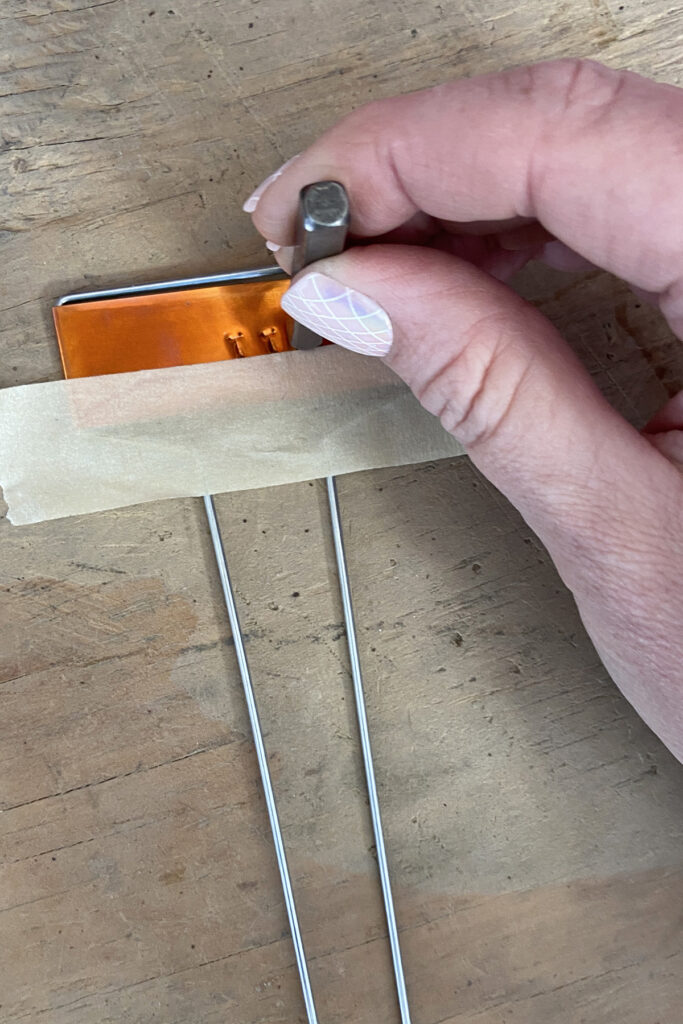
Using metal letter stamps and a hammer, punch out the plant name on a hard surface.
This was my first try. Clearly I didn’t do a good job of centering the letters. But it wasn’t a big deal to me. Again, my goal wasn’t perfection. I like the quirkiness.

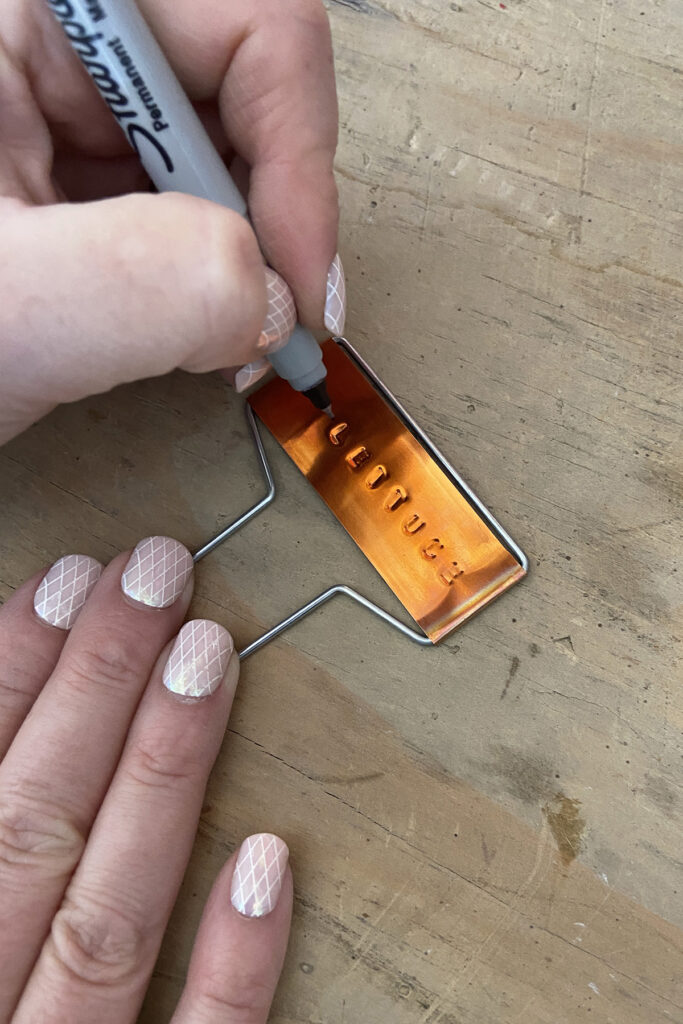
Finally, fill in the letter with a fine-point Sharpie. If you mess up, simply use acetone to remove the Sharpie and try again.
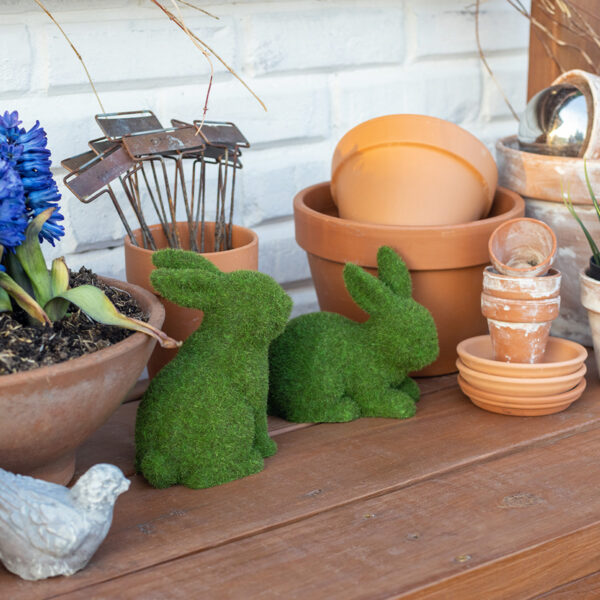
I’m excited to get these into the garden in the next week or two and put them to good use.
Shop This Post