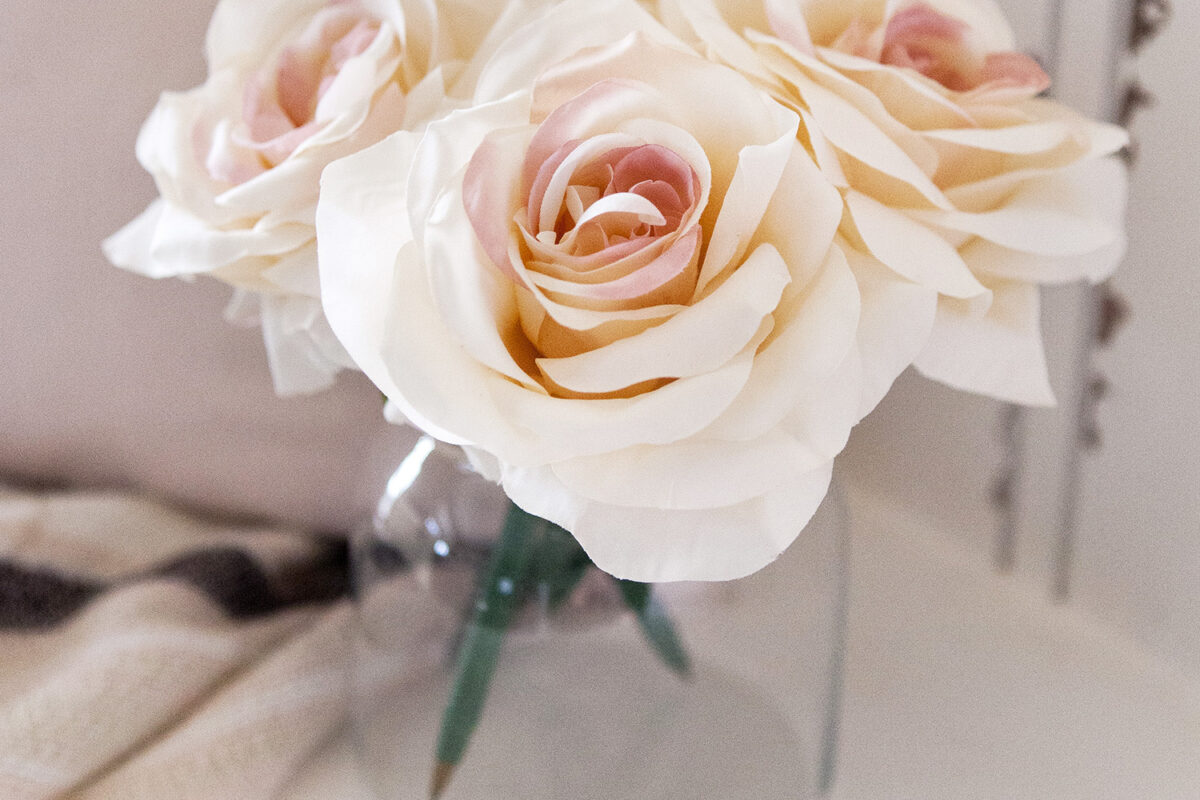

DIY FLOWER PENS + SPRING DECOR
04/11/2018Why not do double duty and DIY something not only useful but also pretty? I was needing pens for my desk in the office. Regular ball point pens are not display worthy. It took just a few supplies I had on hand to create not only a pretty spring/summer decoration for my desk but also fun pens for customers to use while jotting down their favorite images from their photo session.
The process is super simple even for beginner DIYers. Here are the the steps if you would like to recreate your own pretty DIY flower pens.
ITEMS NEEDED:
Ball Point Pens // Floral Tape // Artificial Flowers // Wire Cutters // Hot Glue Gun
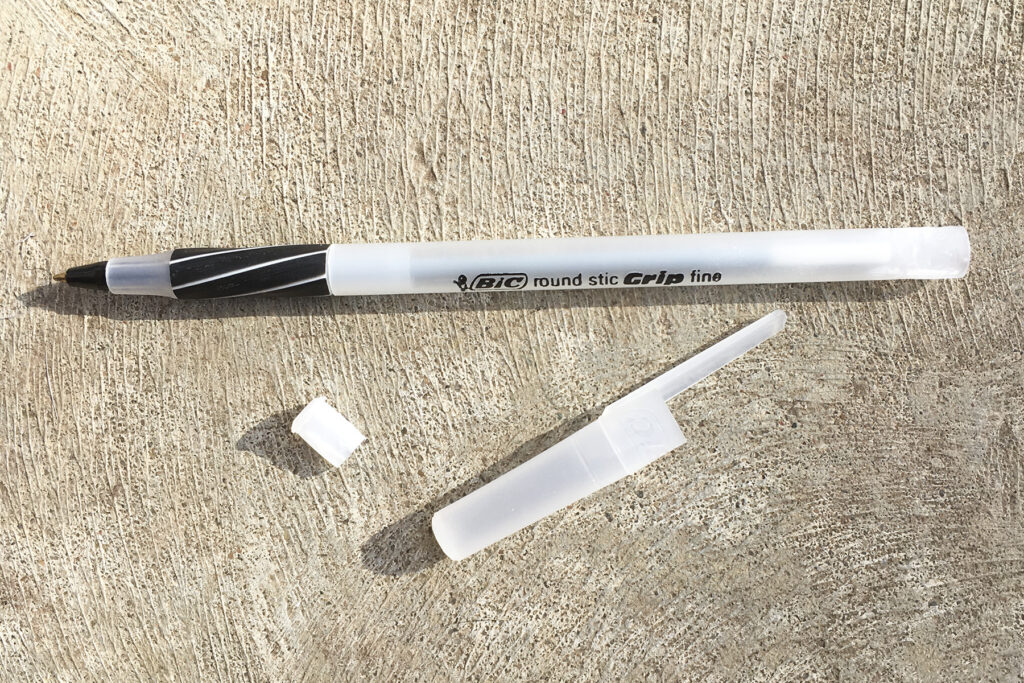
STEP 1: Remove and discard both ends of a ball point pen. You may need to use your wire cutters to help pry off the top end of the pen. It’s okay if the end gets messed up a little from prying. It will be covered up with floral tape.
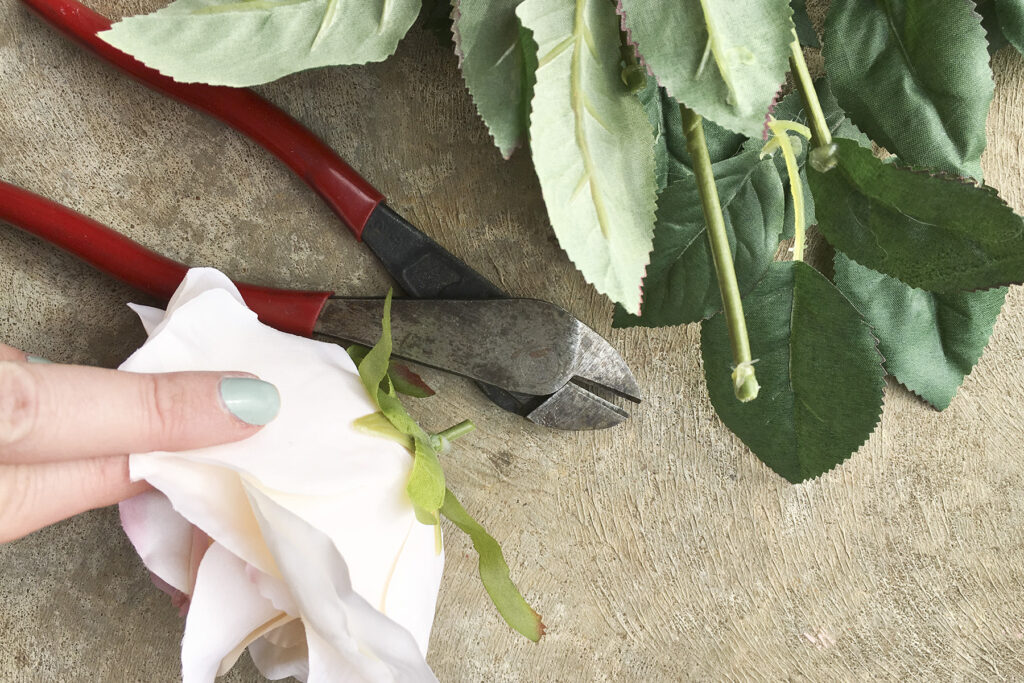
STEP 2: Using the artificial flowers of your choice, cut the flower head from the stem leaving about 1/4″ of stem.
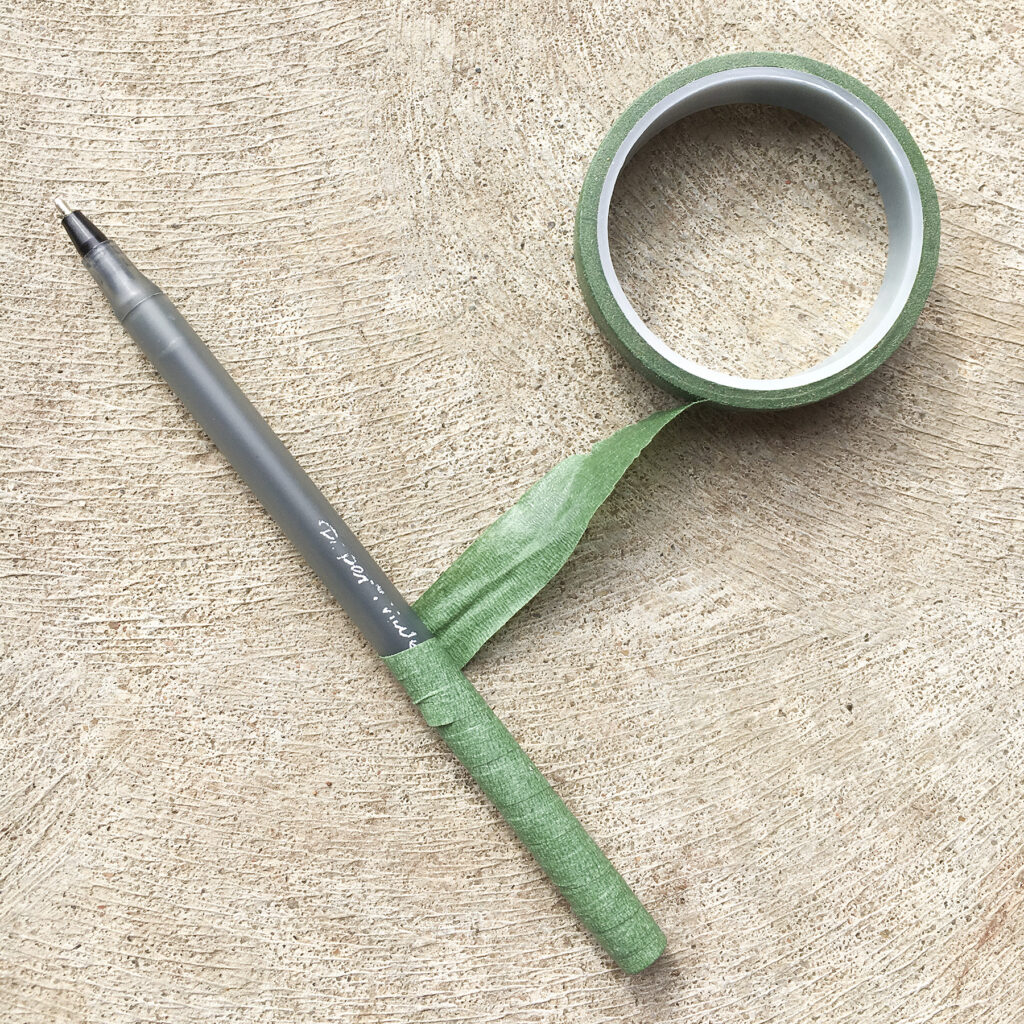
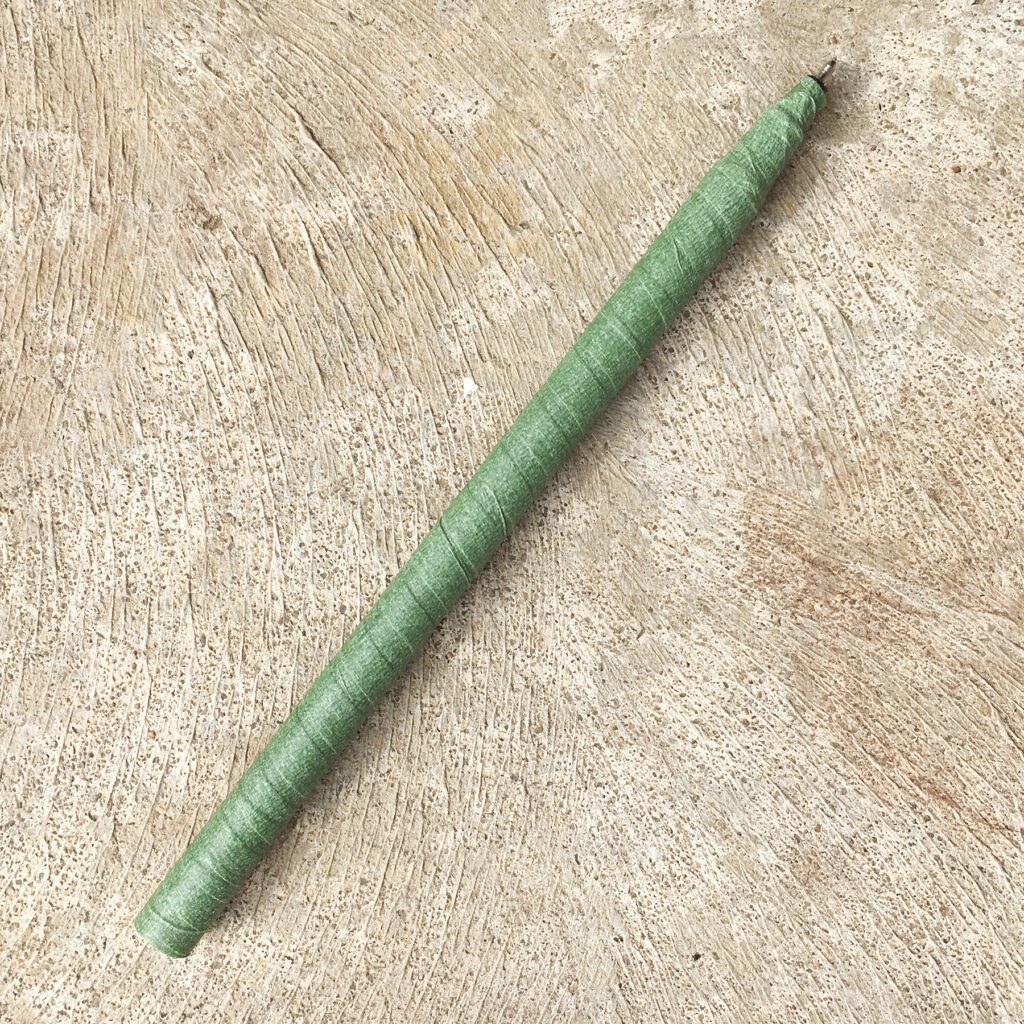
STEP 3: Using floral tape, wrap the tape around the pen until it’s completely covered. Be sure to pull slightly as you wrap. The stretching of the tape is what makes it stick to the pen. If the tape accidentally breaks before you are done, it’s fine! Just start where you left off. You won’t be able to tell.
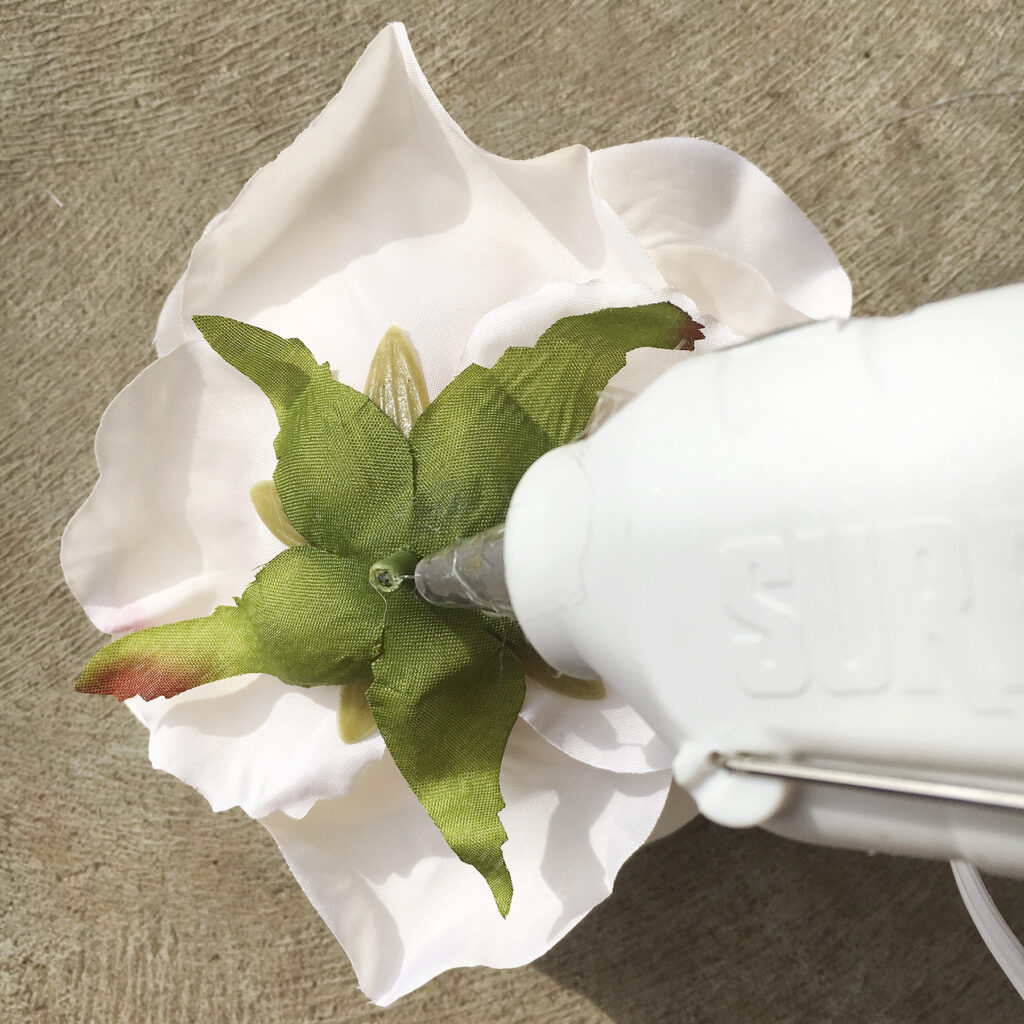
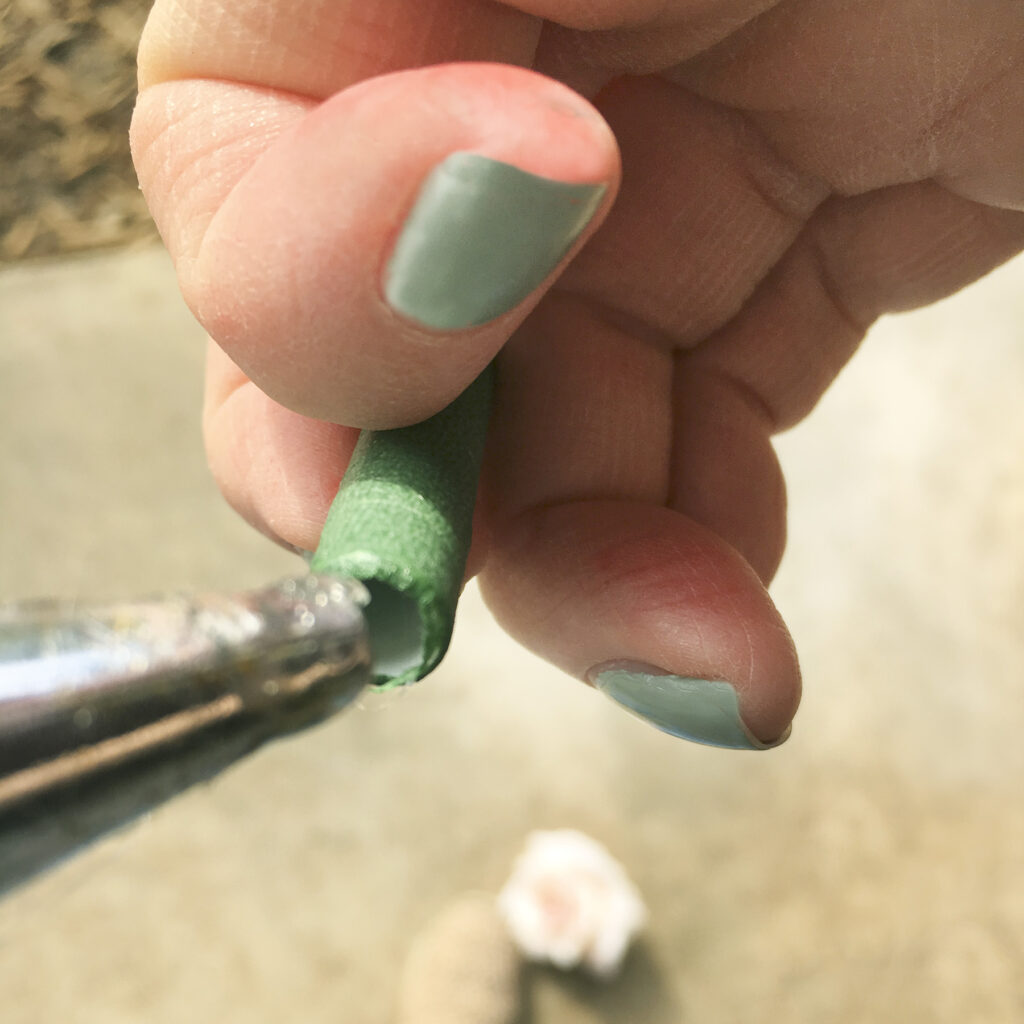
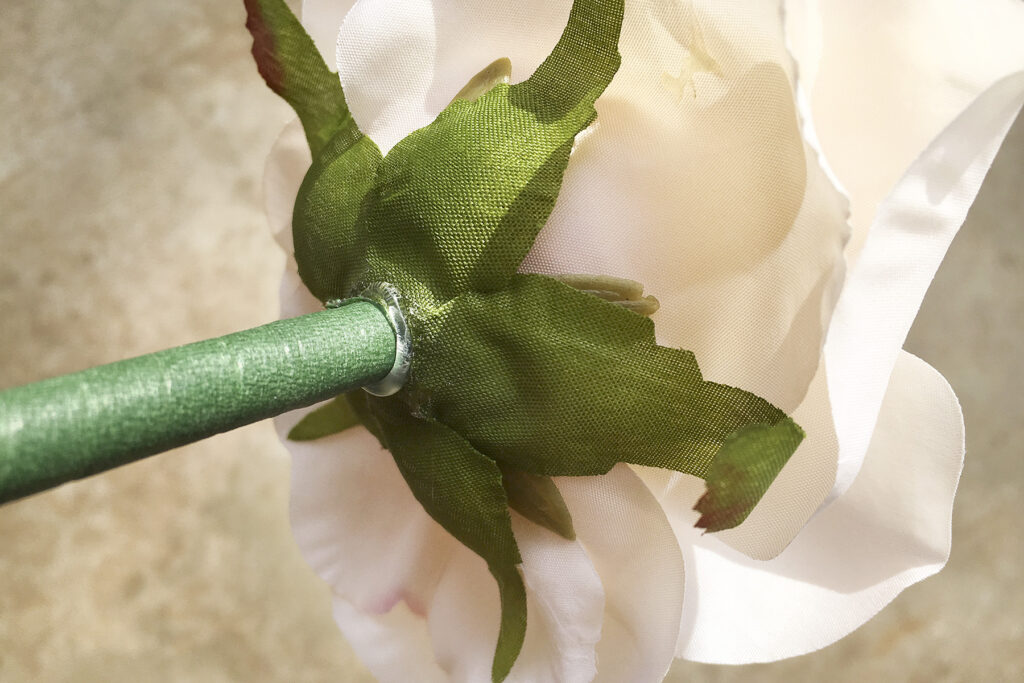
STEP 4: Using a hot glue gun, put a dab of glue on the 1/4″ flower stem and fill the open end of the pen with a dot of glue. Working quickly, press the flower into the open end of the pen. (Excuse my alien hands. It’s harder than you think to hold a pen and hot glue gun in one hand while you take a photo with the other hand.)
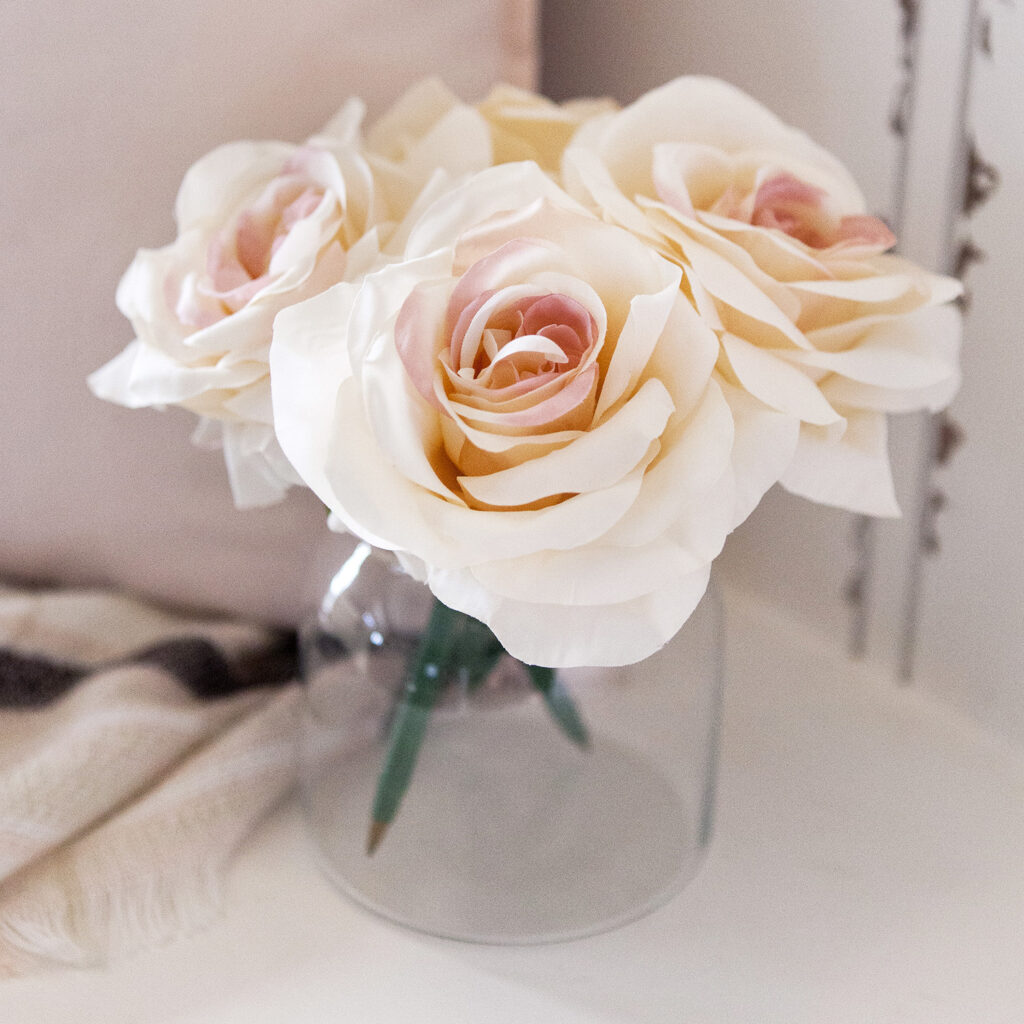
STEP 5: Place your completed pens in a container. I always clean and save my empty candle containers to reuse. This glass candle jar was perfect to hold my finished pens. See? DIY flower pens – easy and cute! And it literally cost me nothing because I had all of the supplies on hand.
