
DIY DISTRESSED WOODEN RISERS
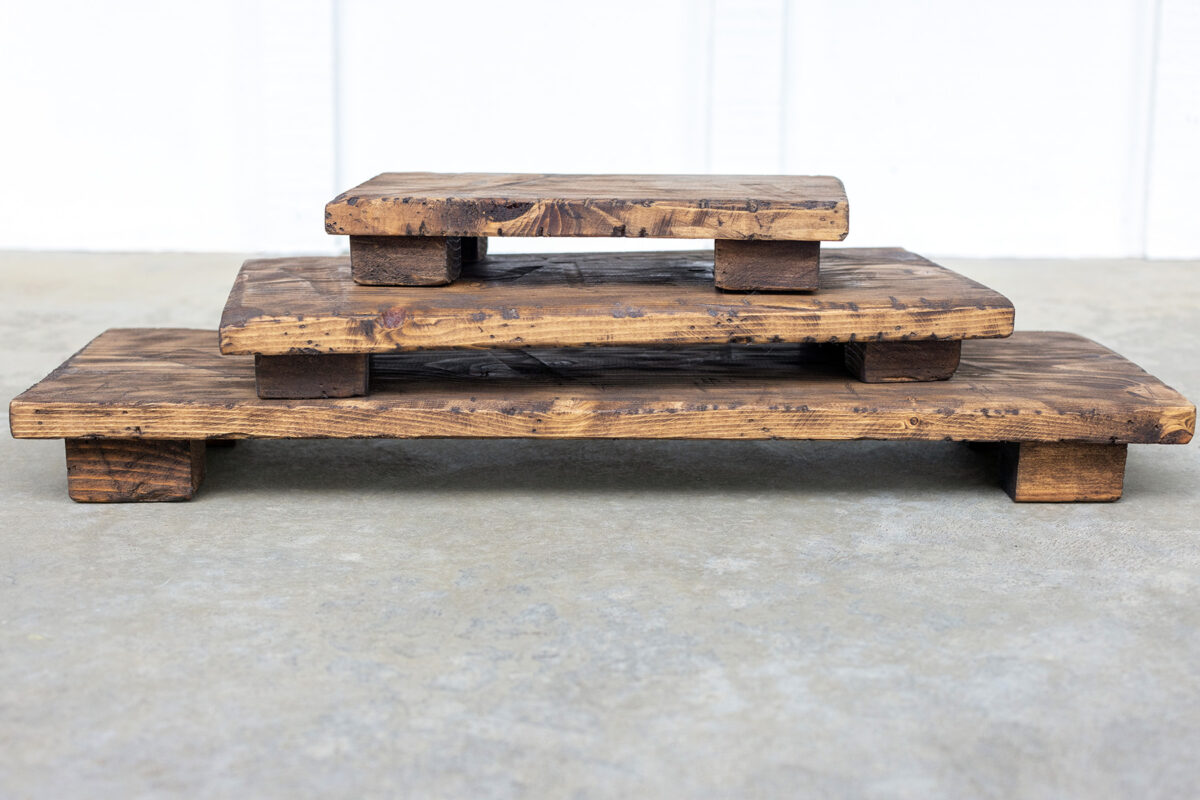
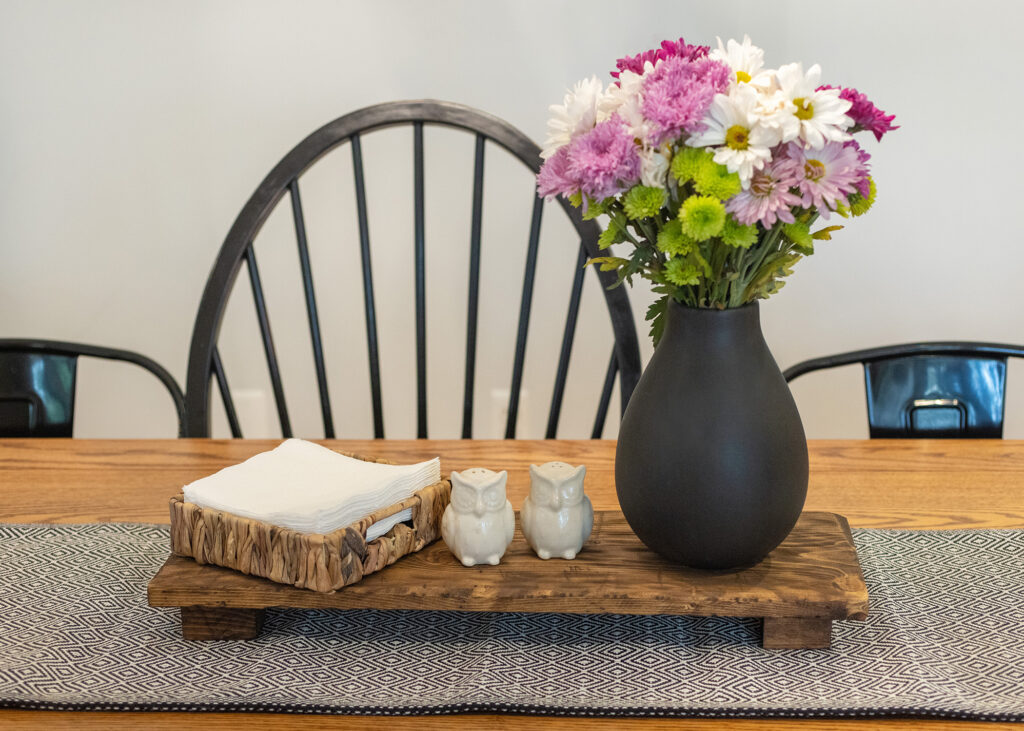
04/28/2023Several years back I made wooden risers from scrap pine leftover from our trim and baseboards. I made plenty for myself plus enough to give to family as gifts. And it only took about an hour.
I used 1″x4″ pine but the look and size can be varied by using different widths and lengths of wood. For those that don’t have scrap on hand or can’t cut it to the desired lengths, a piece of wood can be purchased from a hardware store and most stores will cut the wood to desired lengths.
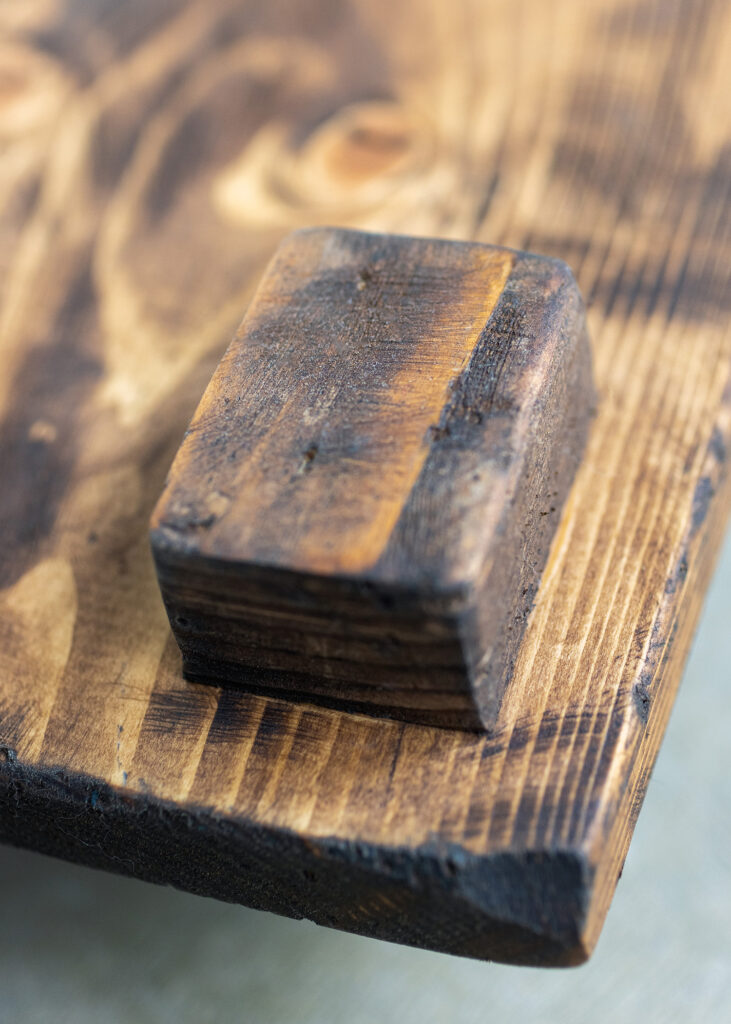
For the feet, I used whatever scrap I could find. Some pieces were 1″ x 2″ and others were 2″x2″. Feet can be glued with wood glue, tacked with brad nails or both.
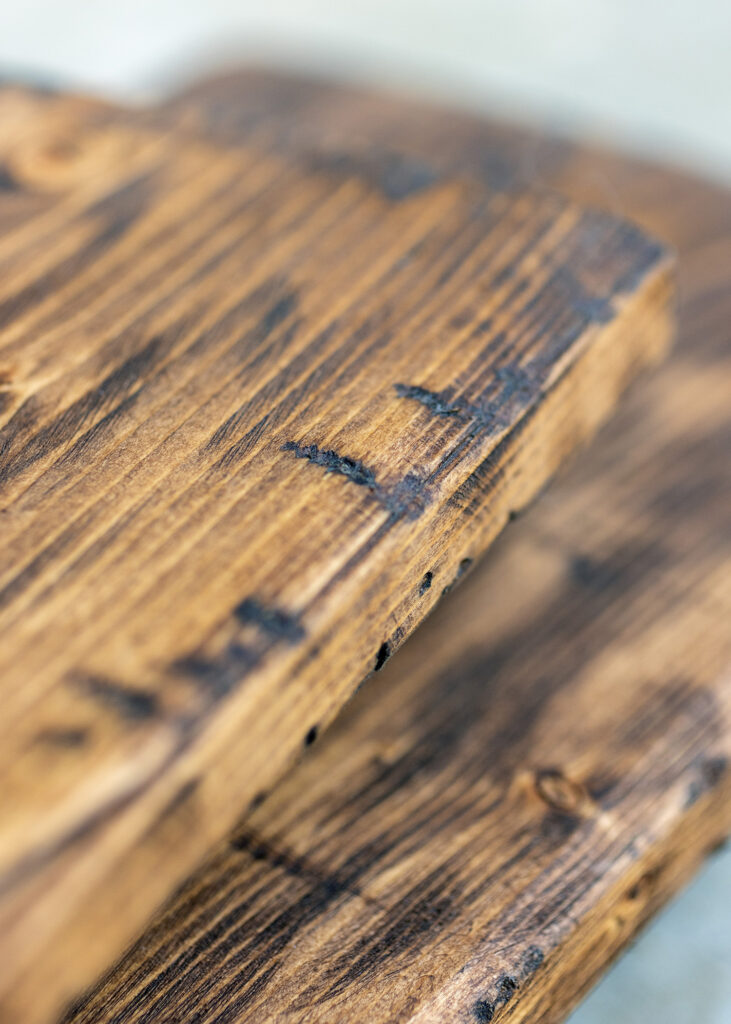
The next step is to distress the wood. Beat it with a hammer. Hit it with a chain. Use a jigsaw to make gashes in the wood. Scratch the wood with a wire brush. Remove small chunks with a handheld planer. Anything works. Distressing marks appear darker when stain is applied and adds character to the finished risers.
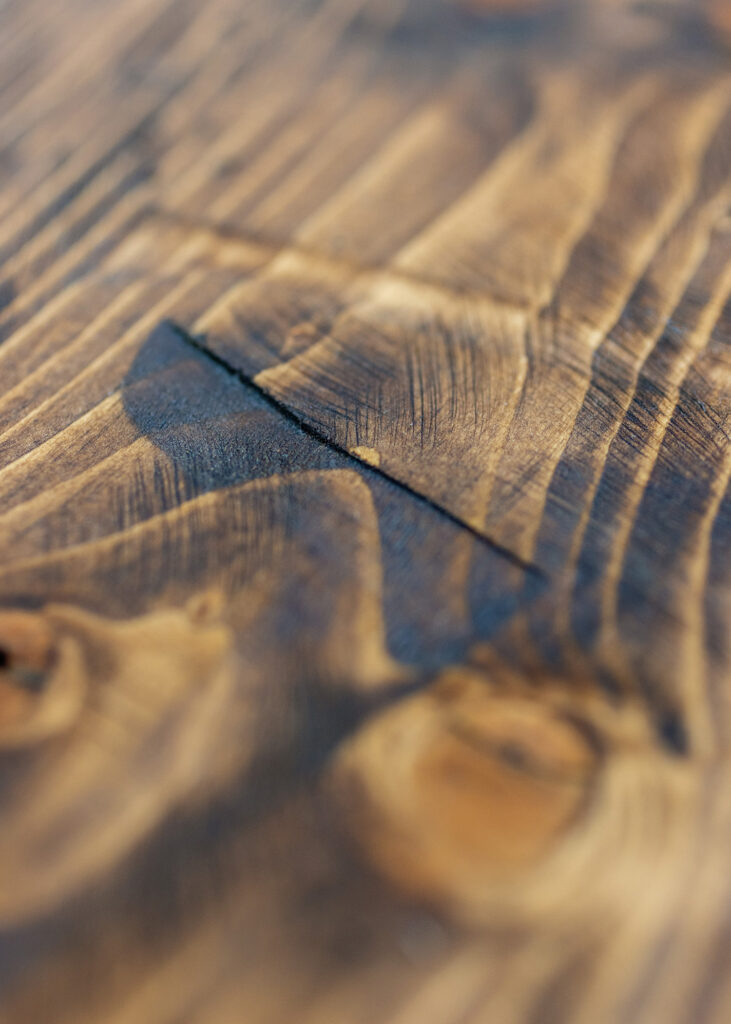
That’s all there is to making DIY risers.
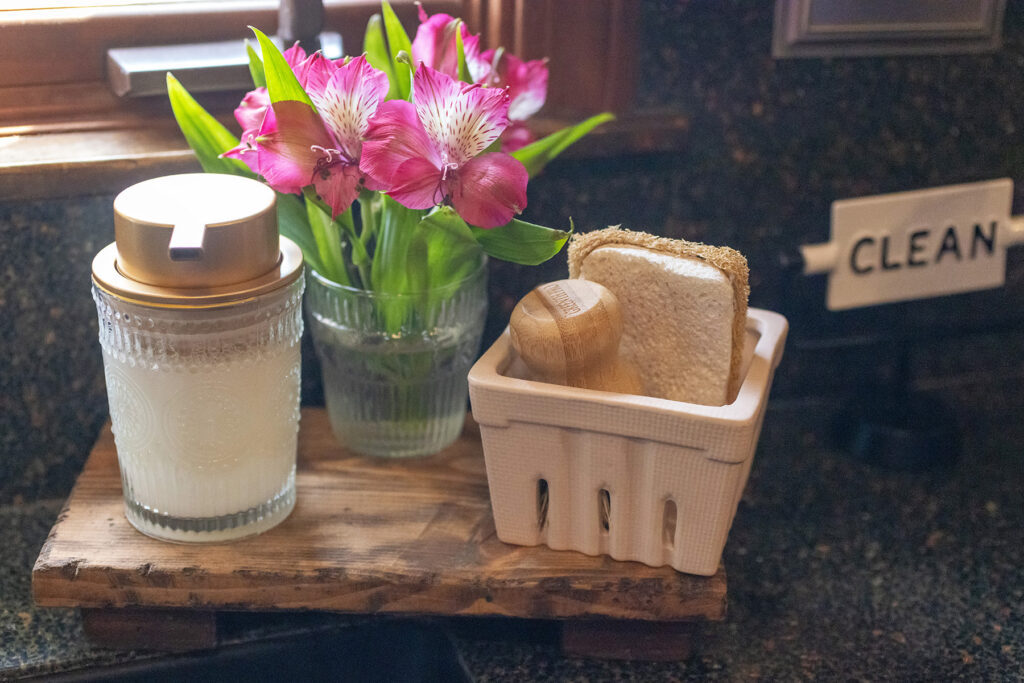
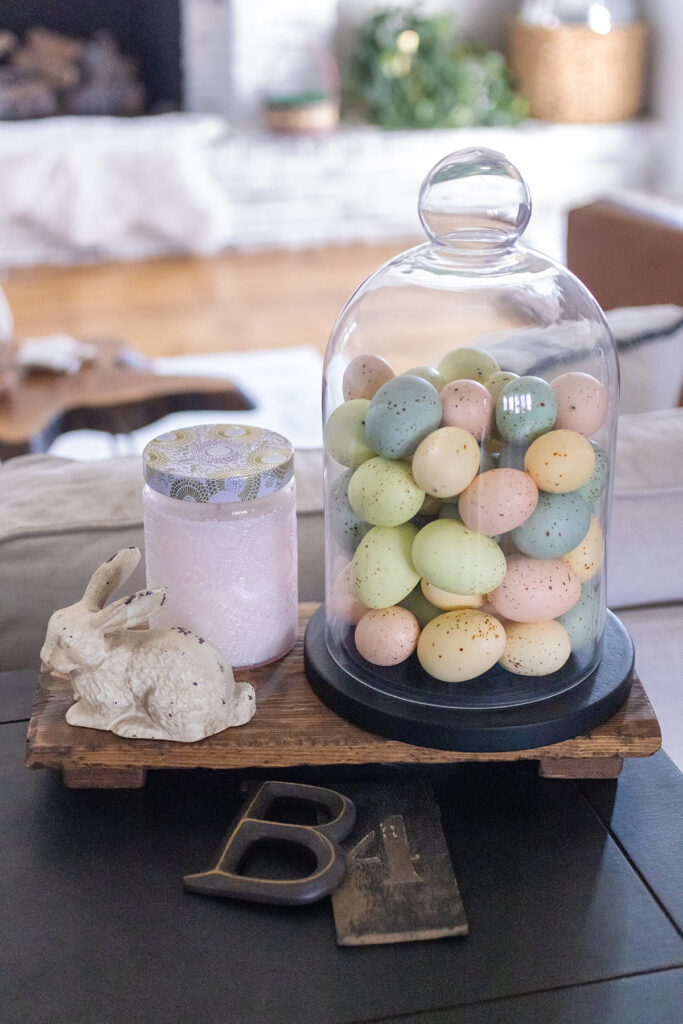
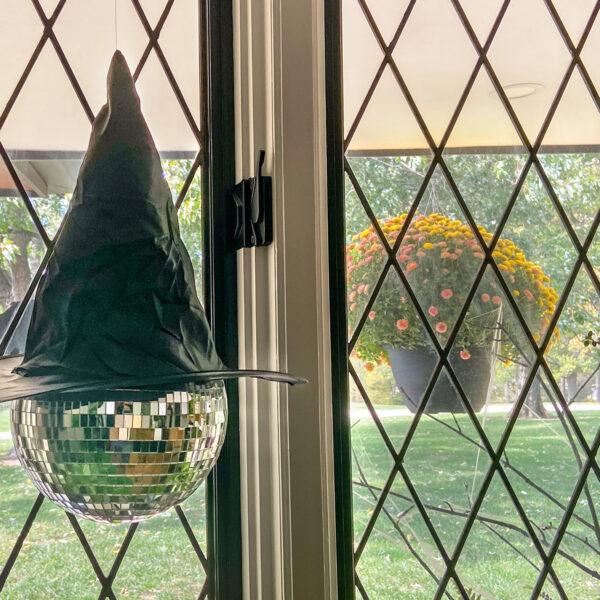
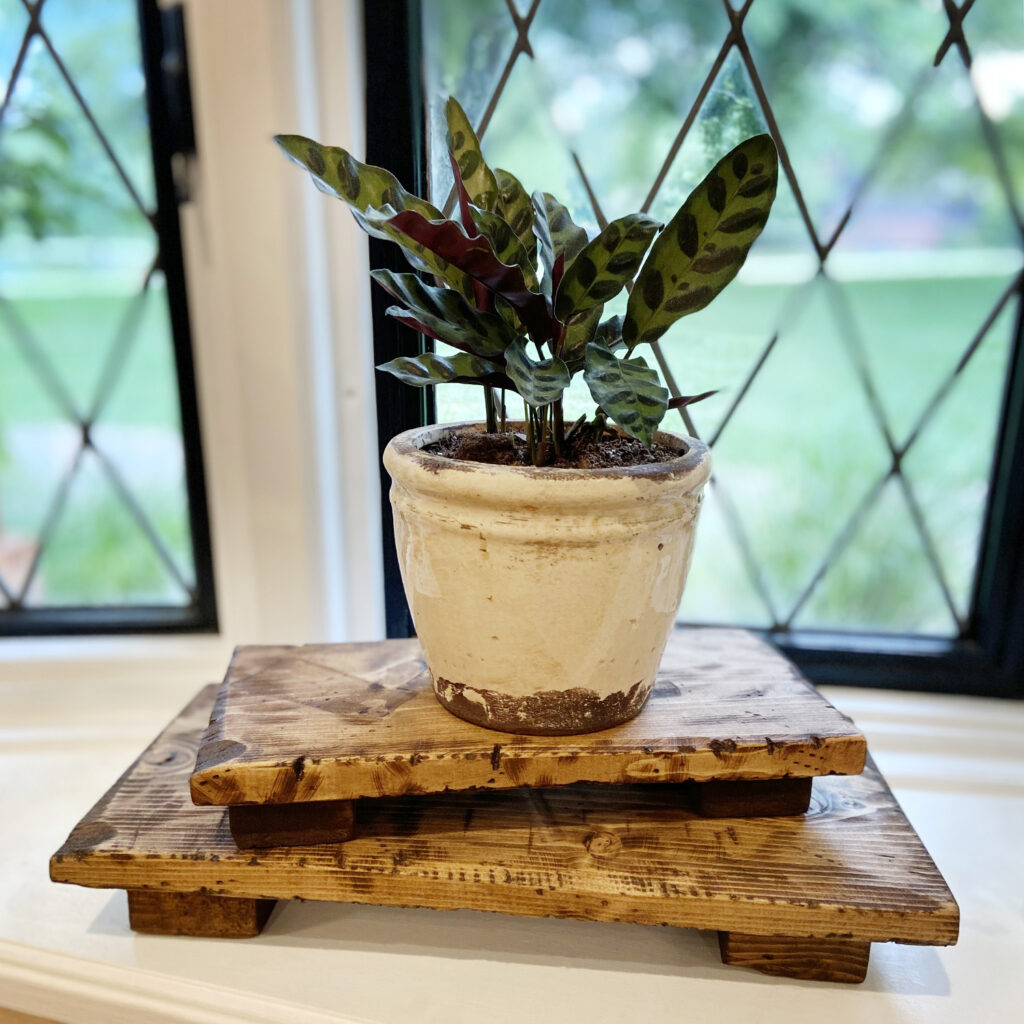
I have DIY wooden risers all over my house as a way to display decor and elevate plants. I have also used them at parties to add varying heights to the food table. The possibilities are endless.
