DIY DISCO BALL GARLAND
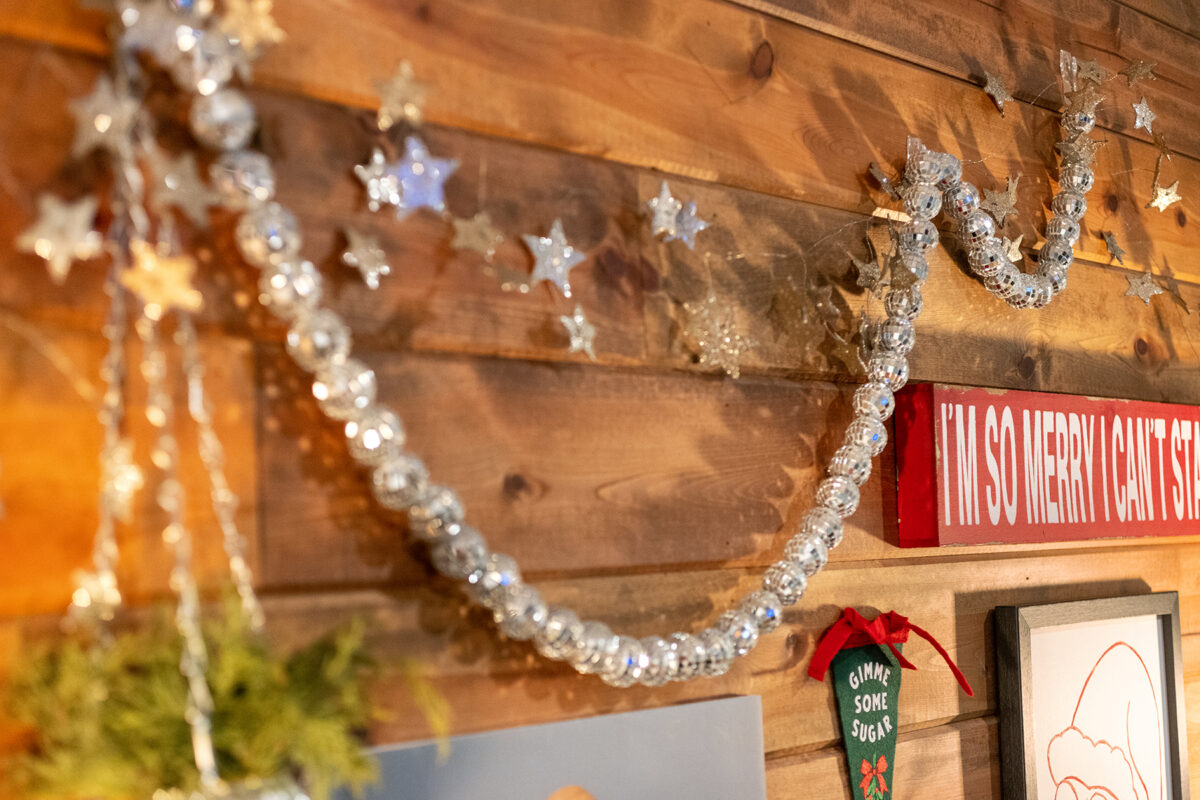
12/16/2022Continuing with the disco ball themed Christmas decor in my office, today I’m sharing how I made this 5′ disco ball garland.
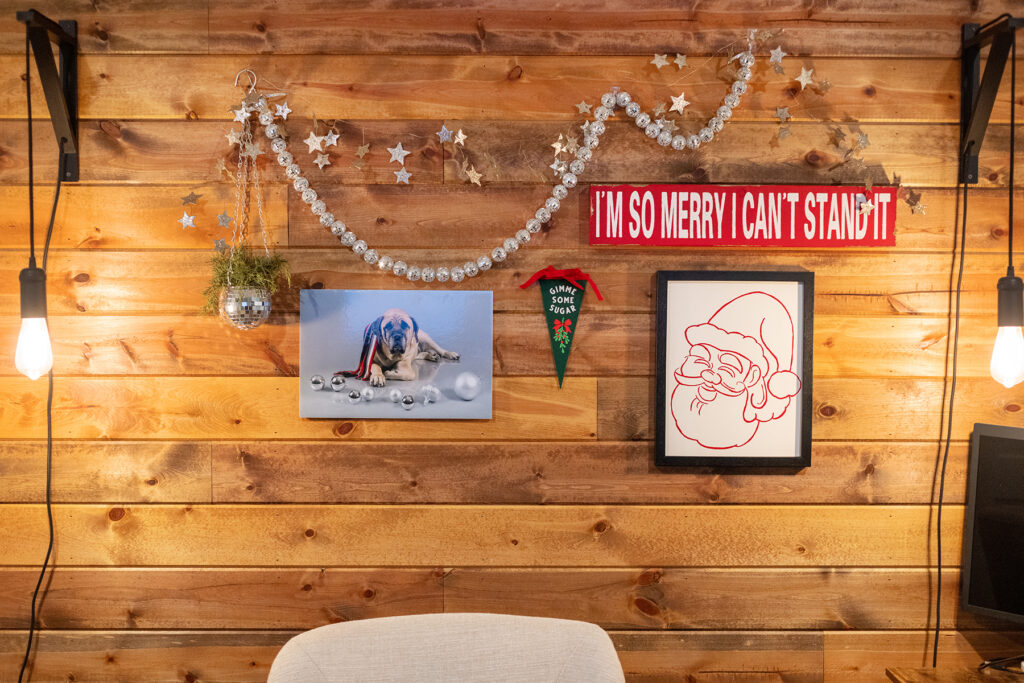
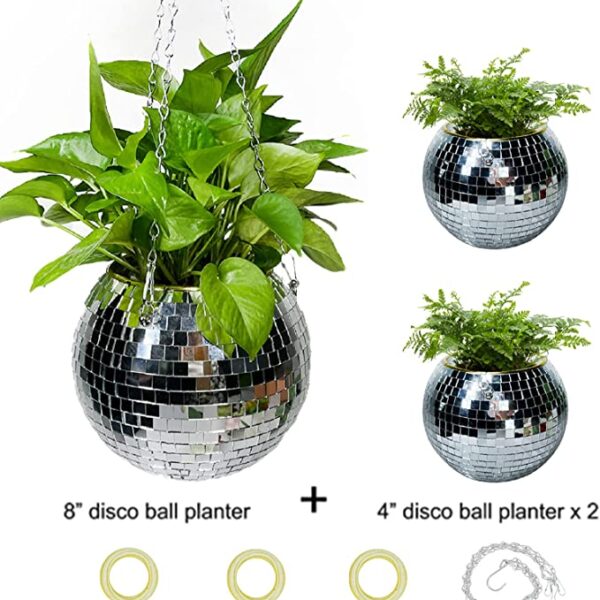
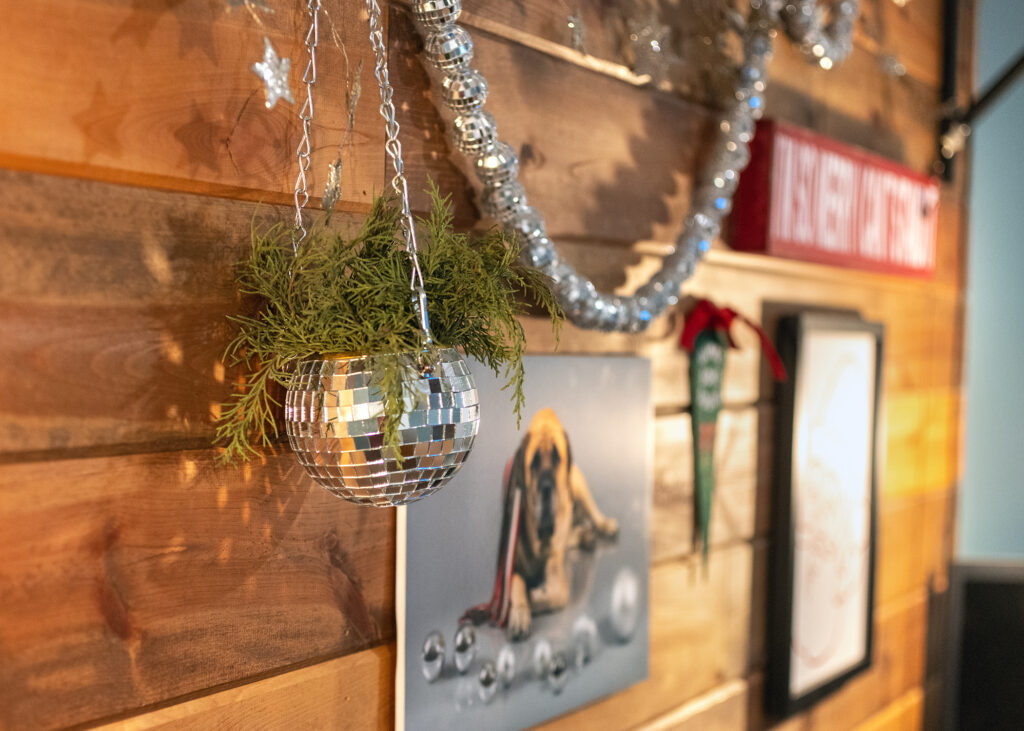
One can never have too many disco balls. I stuck cedar sprigs cut from the roadside in my disco ball planter and hung it next to my disco ball garland which is across the room from my disco ball Christmas tree.
Just look at how it sparkles.
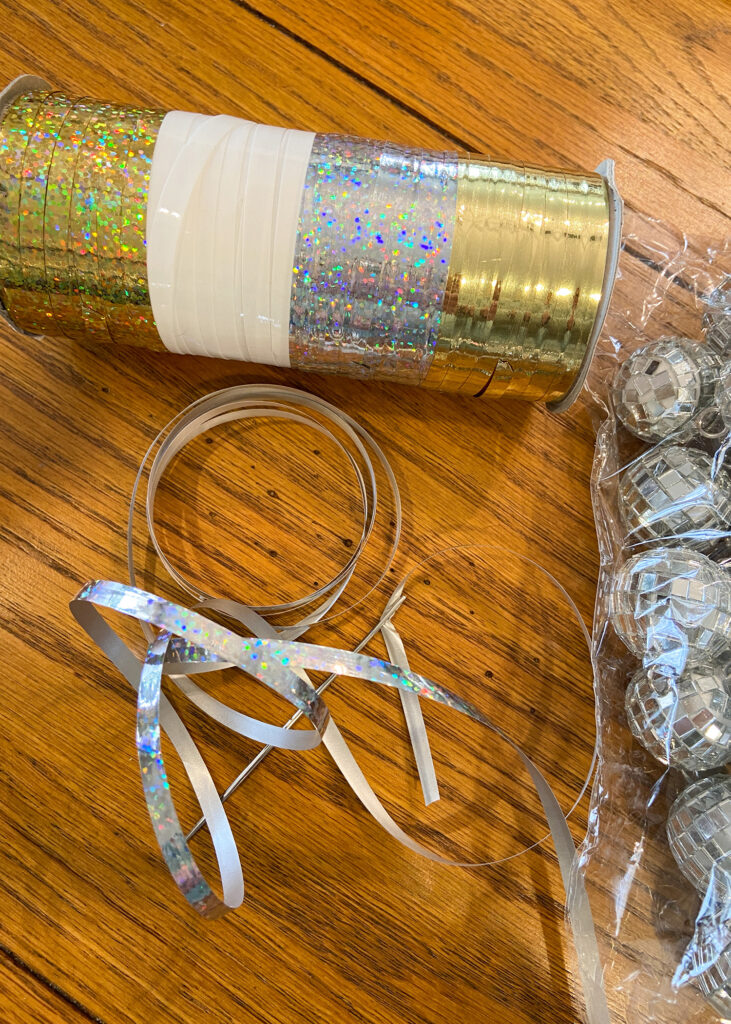
Here is how I made my garland. Sources linked below.
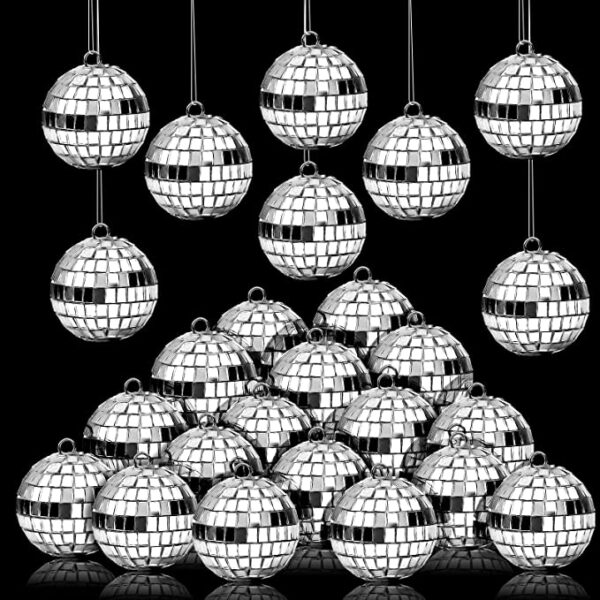
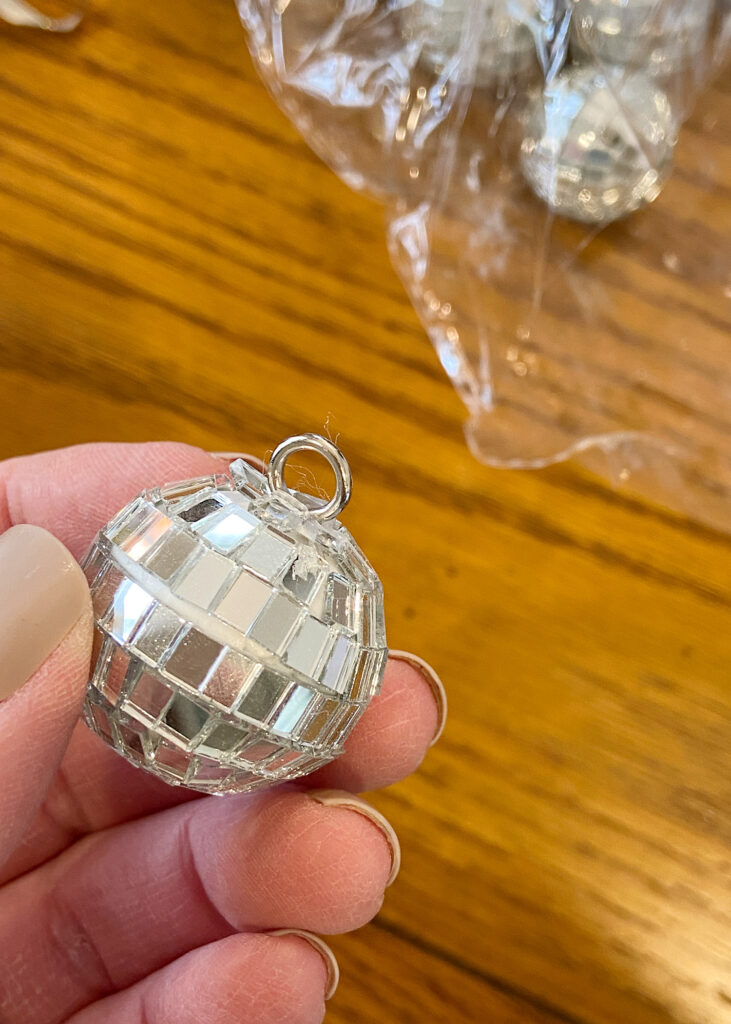
Start with a bag of 50 mini 1.2″ disco balls.

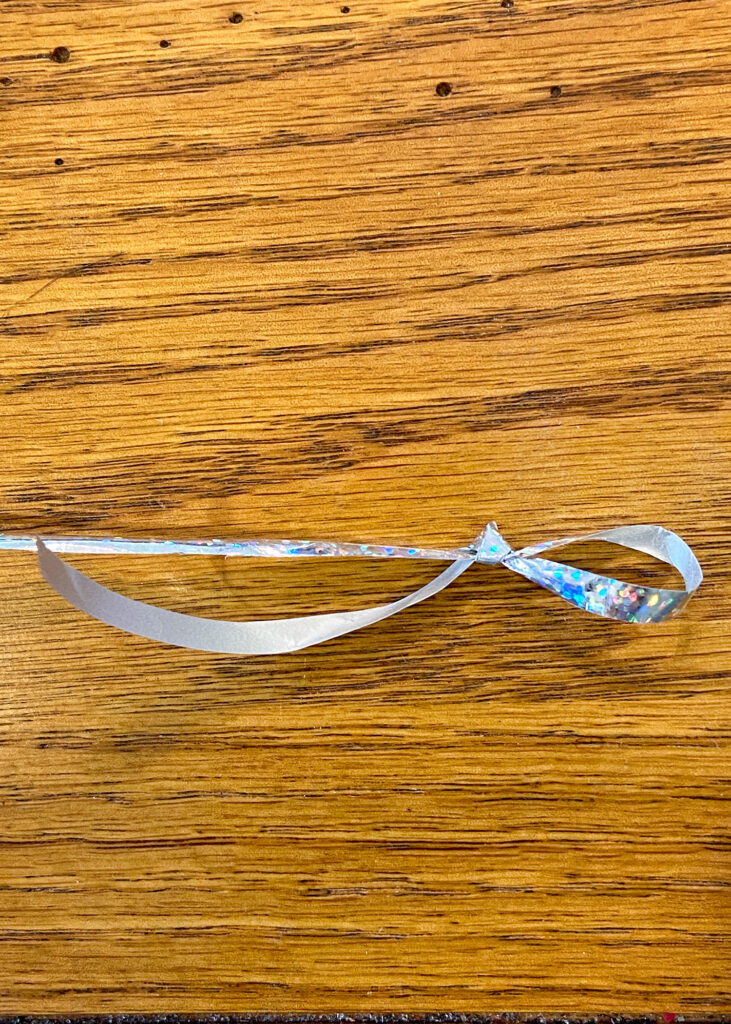
Use anything from string to ribbon to yarn to fishing line to thread the disco balls onto. I opted for silver curling ribbon.
Tie a loop in the end of the ribbon. This will be used to hang the completed garland.
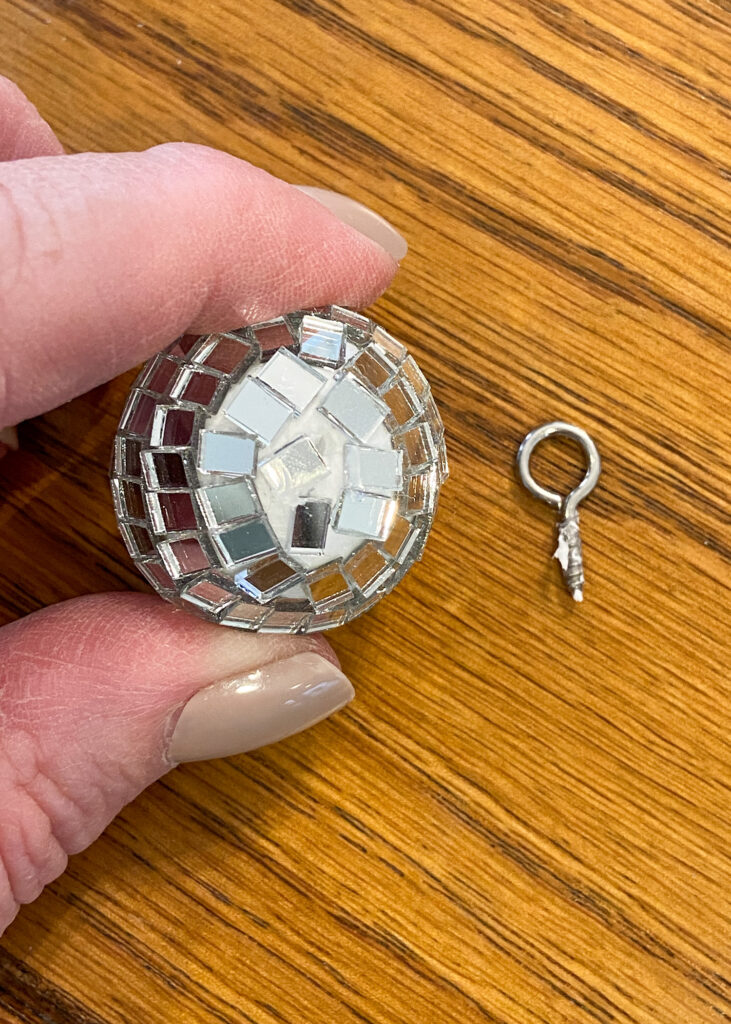
Next I removed the eye screws in each disco ball. They unscrew very easily. Occasionally a mirror tile would pop off as the screw was removed. My tiles were sticky enough that I could just push them back onto the disco balls and they would stay put.
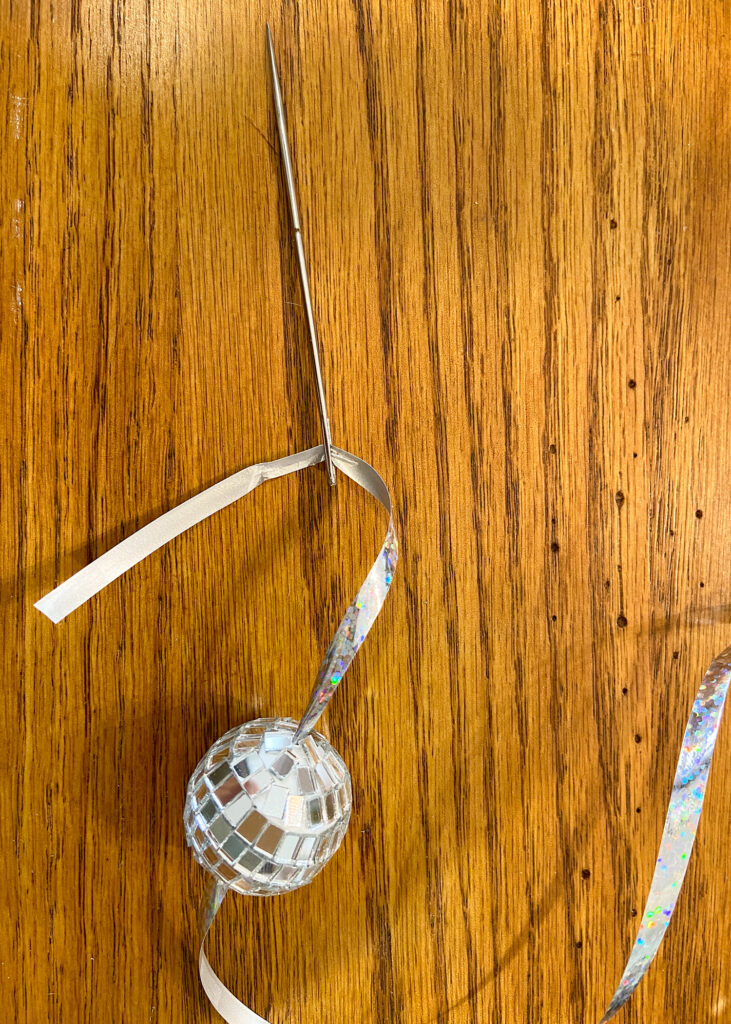
When the eye screw is removed, you will see the hole in the end of the disco ball. This is where you will thread the ribbon through to the other side.
I used a sturdy, long needle to pull the ribbon through the disco ball.
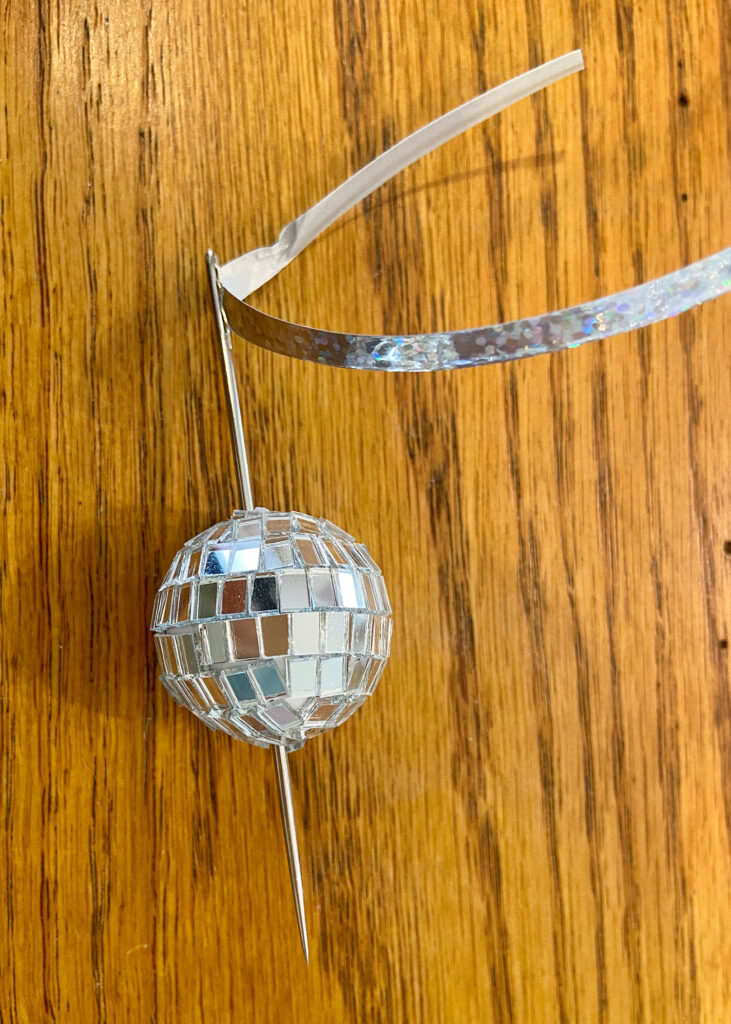
Pulling the needle through the styrofoam balls was a little rough on the fingers. I ended up using the bottom of a ceramic mug to help push the needle through being careful not to poke off any mirror tiles as the needle exits the opposite side of the disco ball.

Thread the disco ball onto the ribbon.
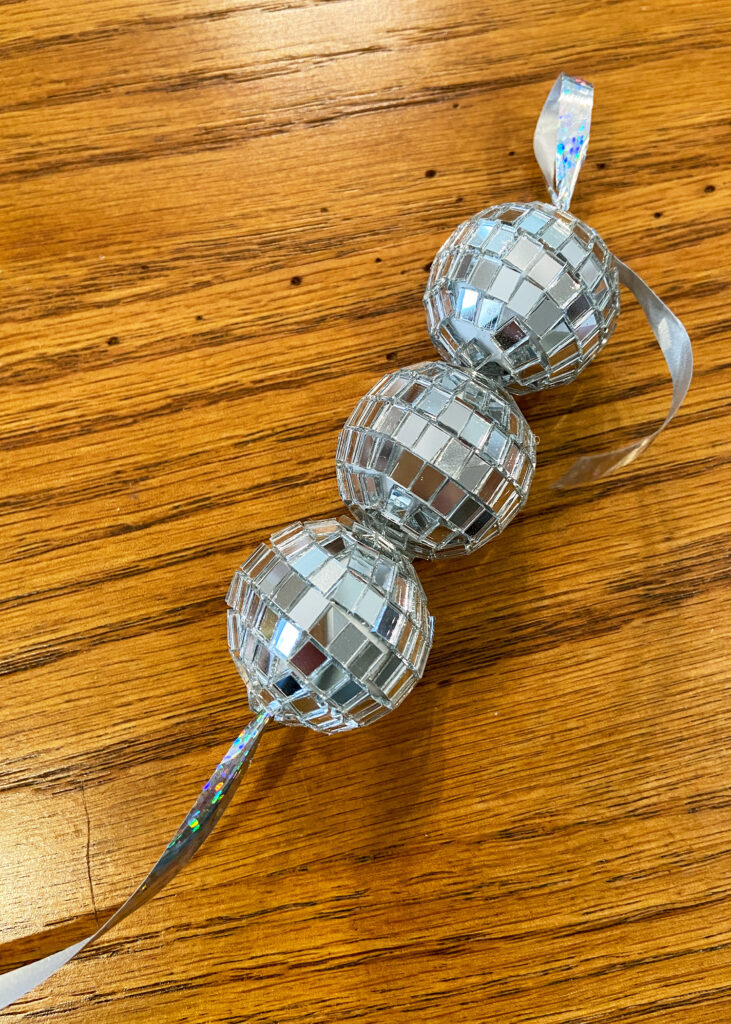
Repeat the process until all 50 disco balls have been strung.
Tie a loop in the other end of the ribbon to complete the 5′ garland.
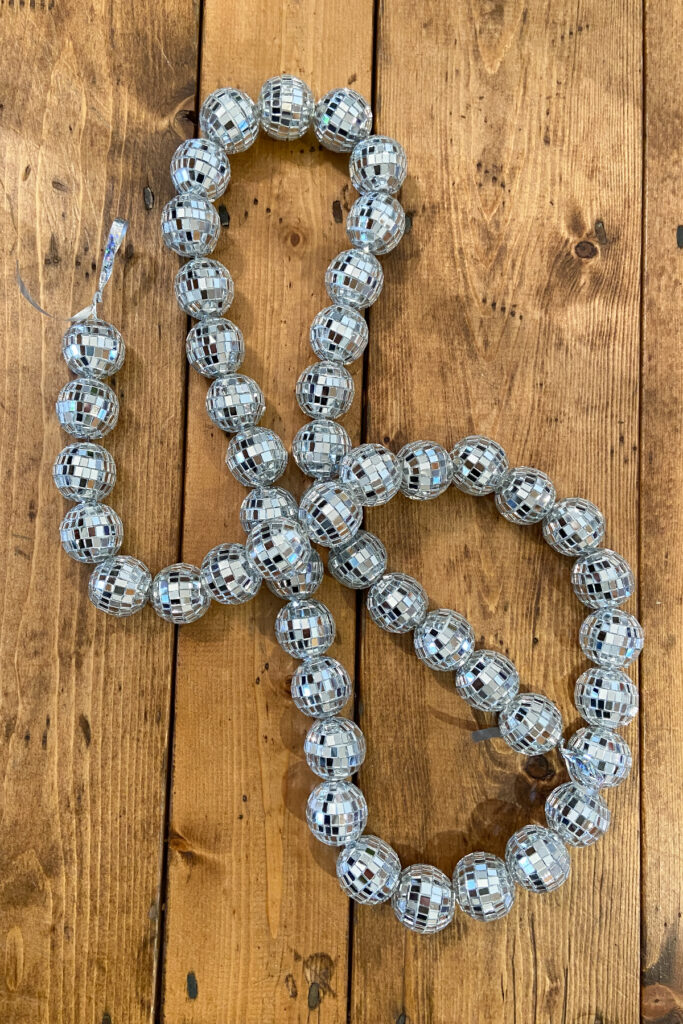
I foresee the garland being used all year long throughout the house. Next stop will be in the dining room for New Year’s Eve.

Shop This Post