DIY CORNHOLE GAME SET
08/16/2022When I shared my family’s summer bucket list awhile back, a homemade cornhole game set was on that list. It knew it would be the perfect mother-son project that would hold special memories each time we used it. Bonus, the quality would be so much better than the pricey options online that fall apart after a few uses which we once had and have since had to throw away. We spent part of the fourth of July weekend on this project and I’ll remember the time spent working on it with my son forever. (ick – sappy, I know, but true.)
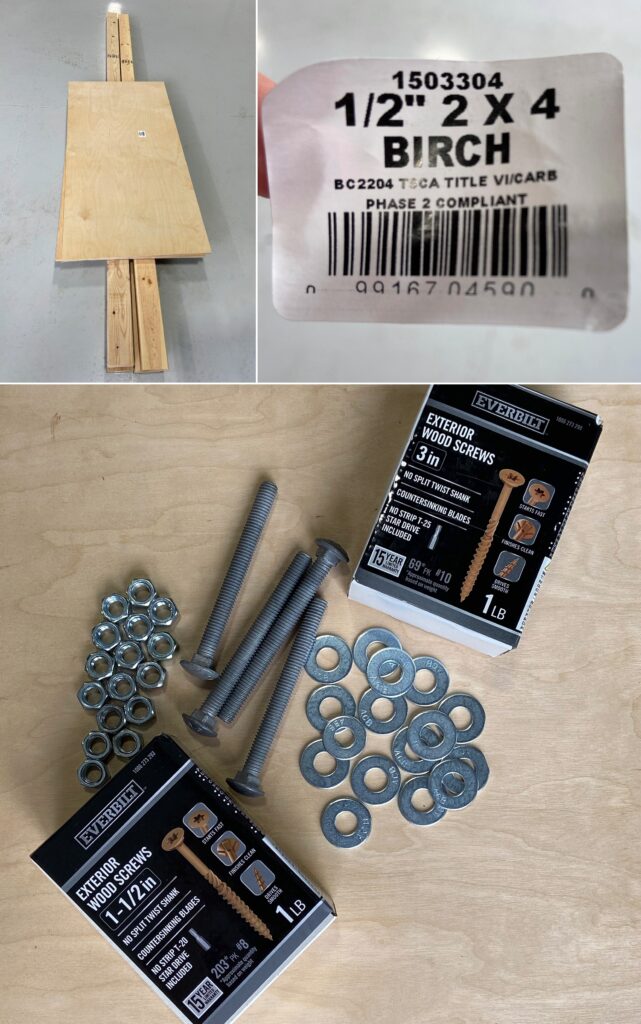
We used these instructions from Home Depot to create our cornhole set. I’ll share a few steps along the way of creating our game boards but if you want to build your own, the Home Depot instructions will give more details. Below are the products we used based on the instructions.
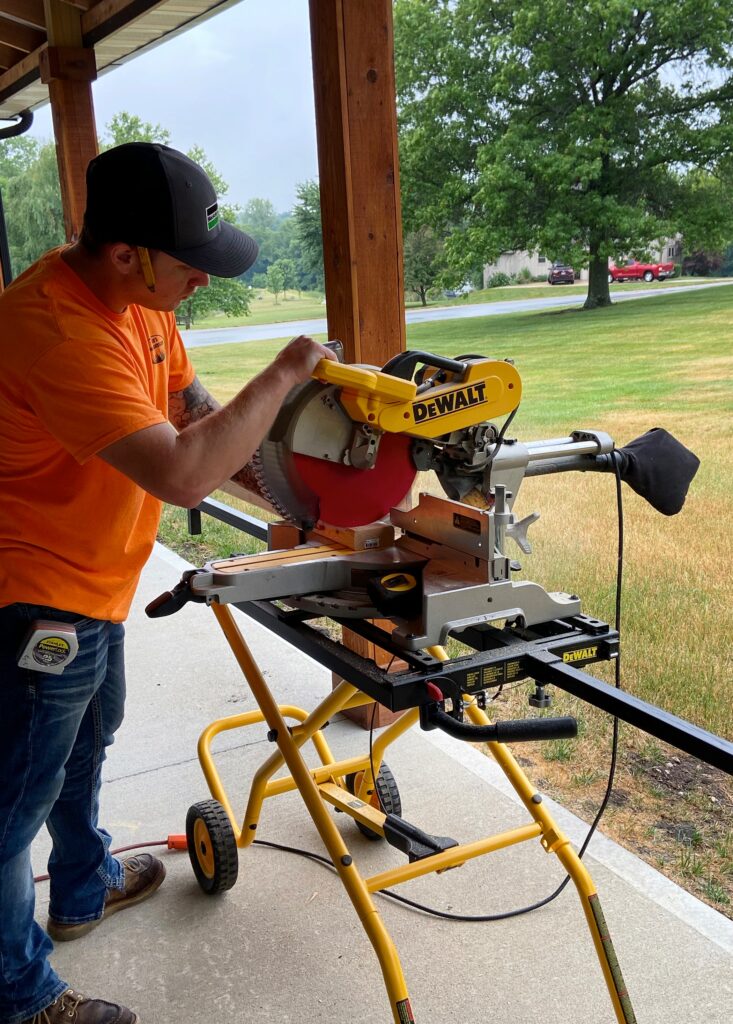
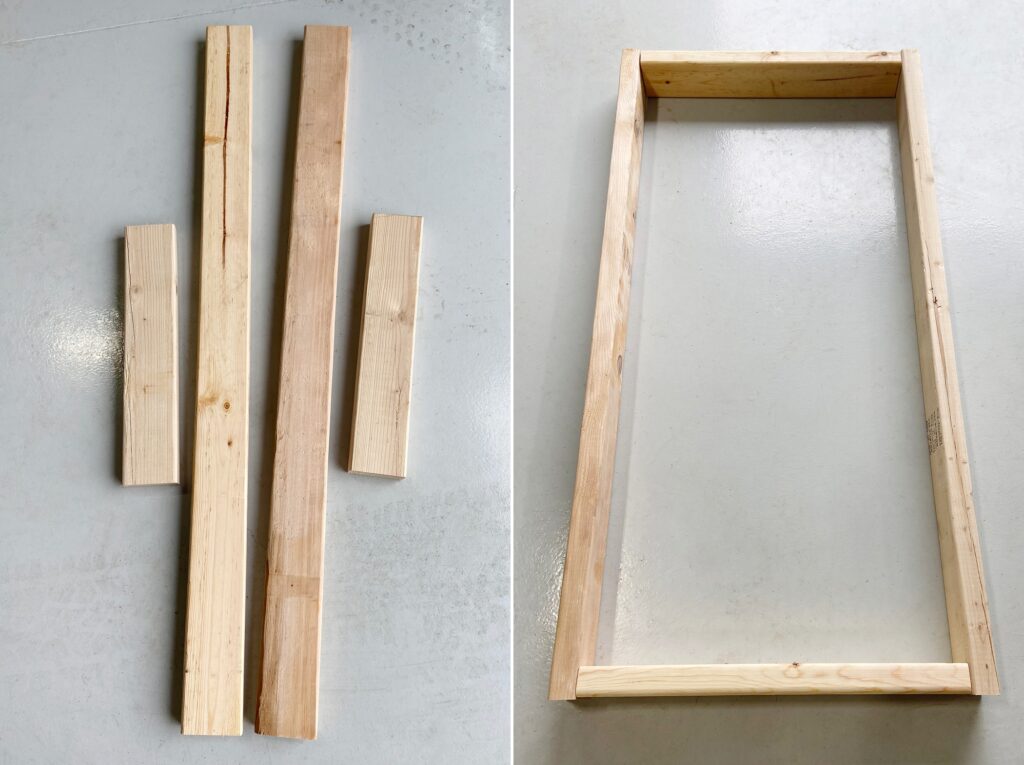
Cutting down the 2″x4″x8″s.
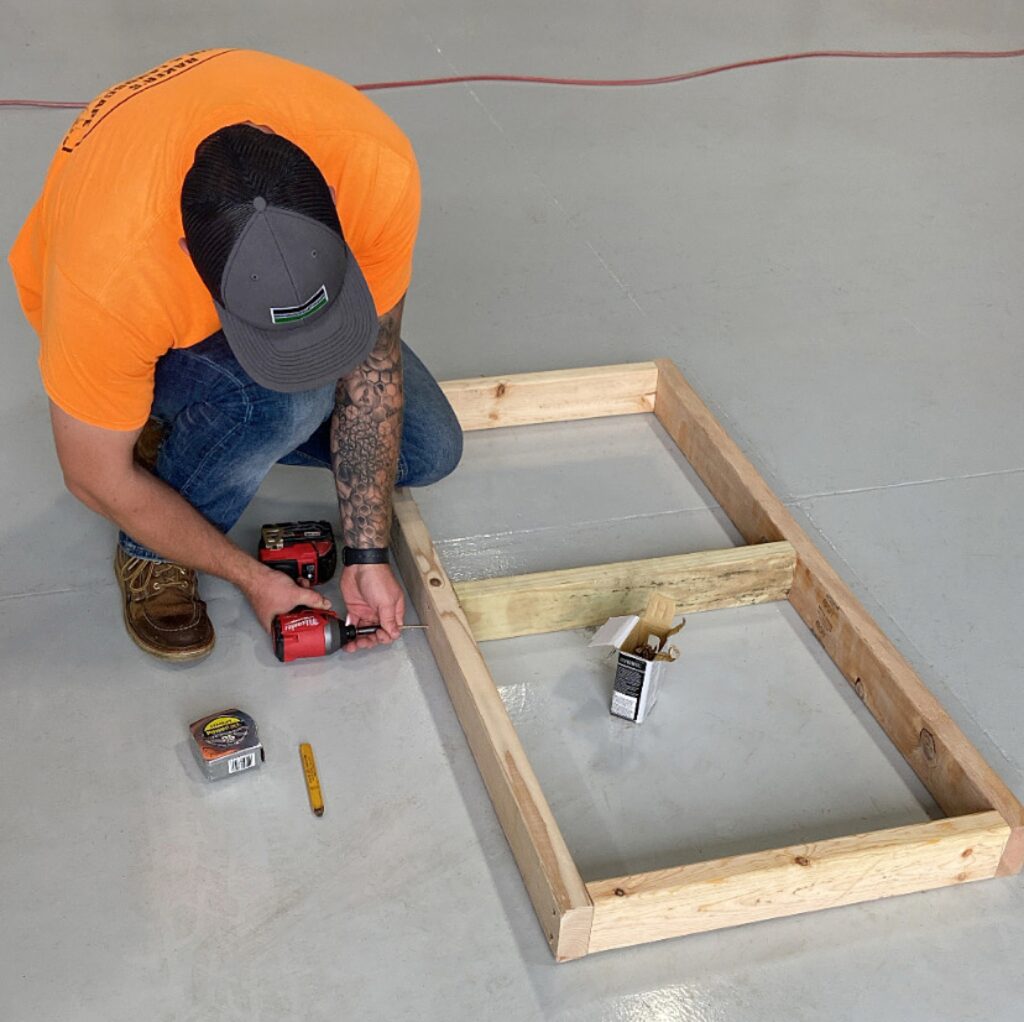
We started with the base frame.
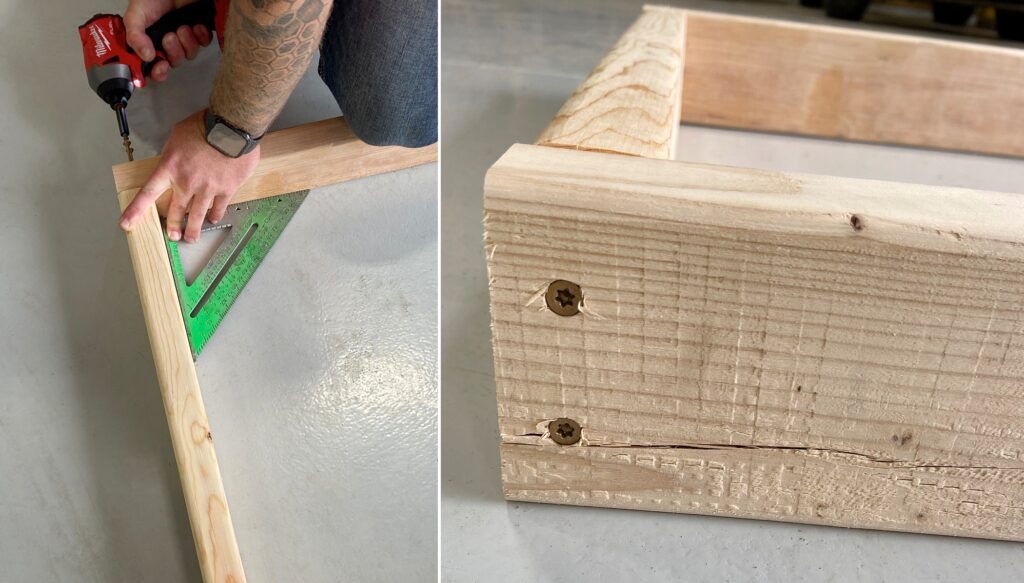
NOTE: The center brace shown below was a scrap 2″x4″ piece that we added to help keep the frames square and solid but are totally optional.
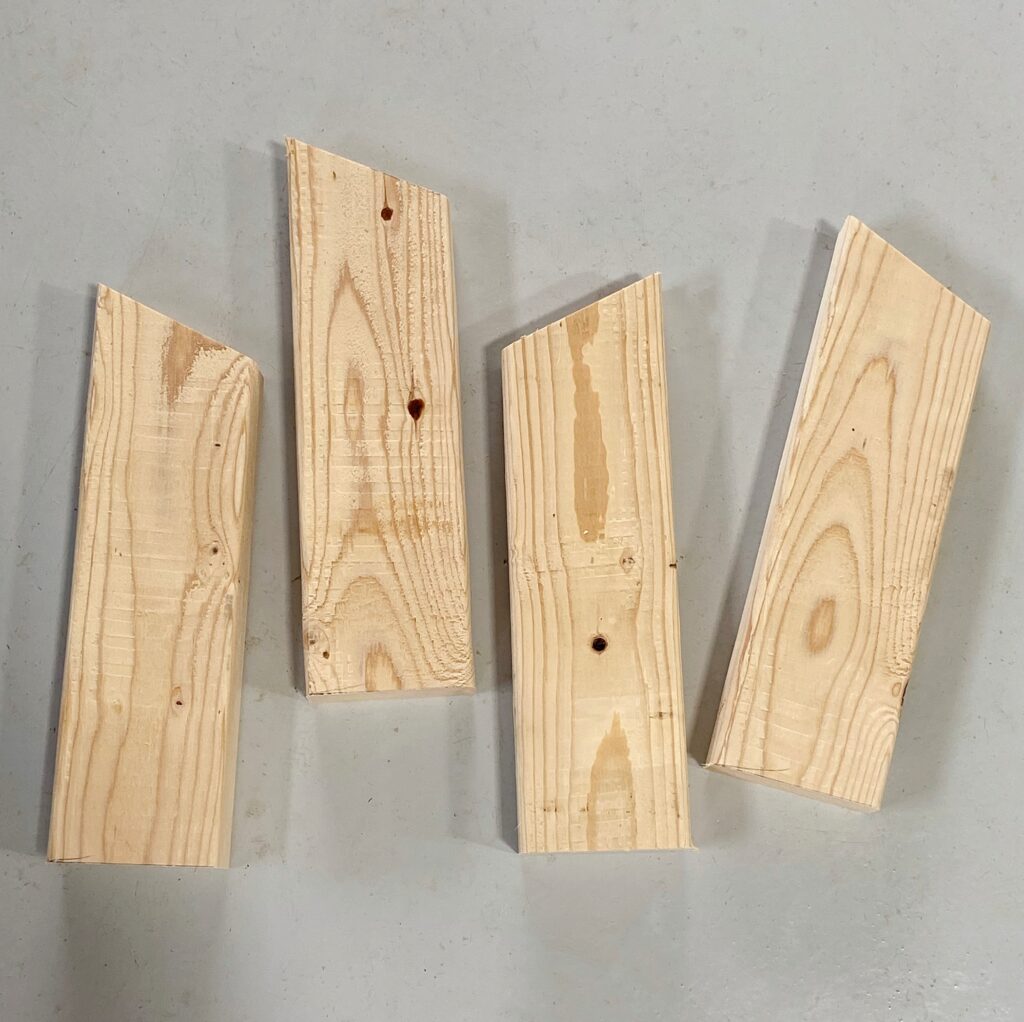
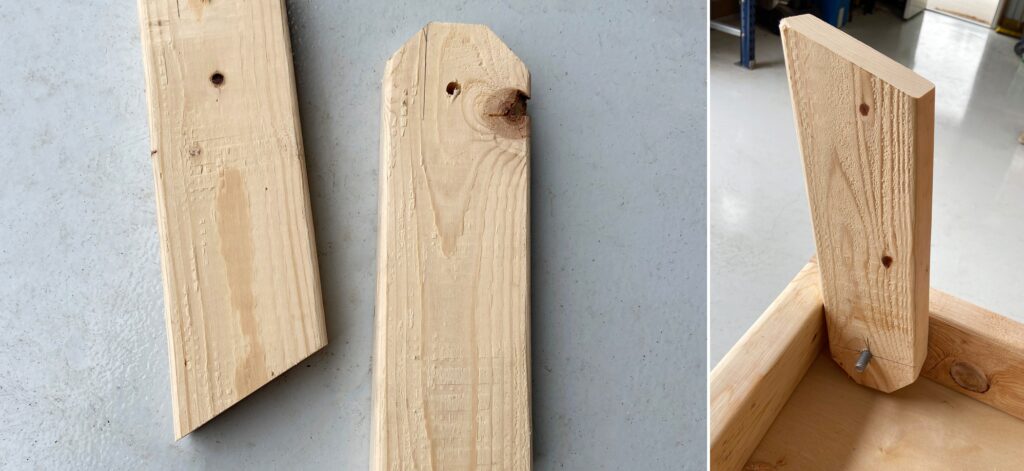
The remaining 2″x4″ after the frame was used to cut the legs for the boards.
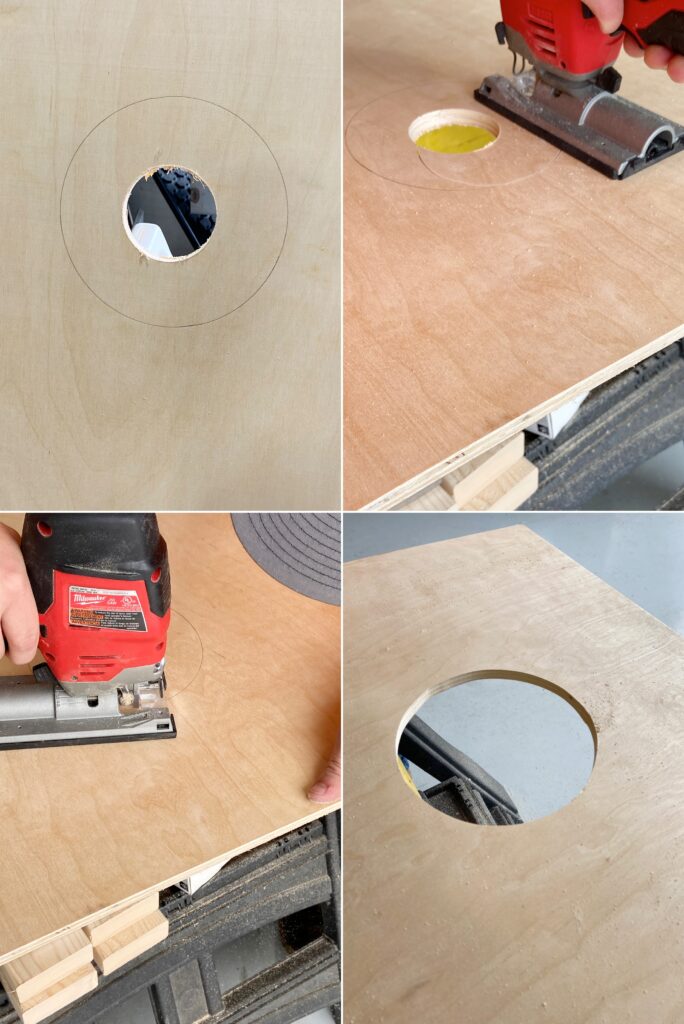
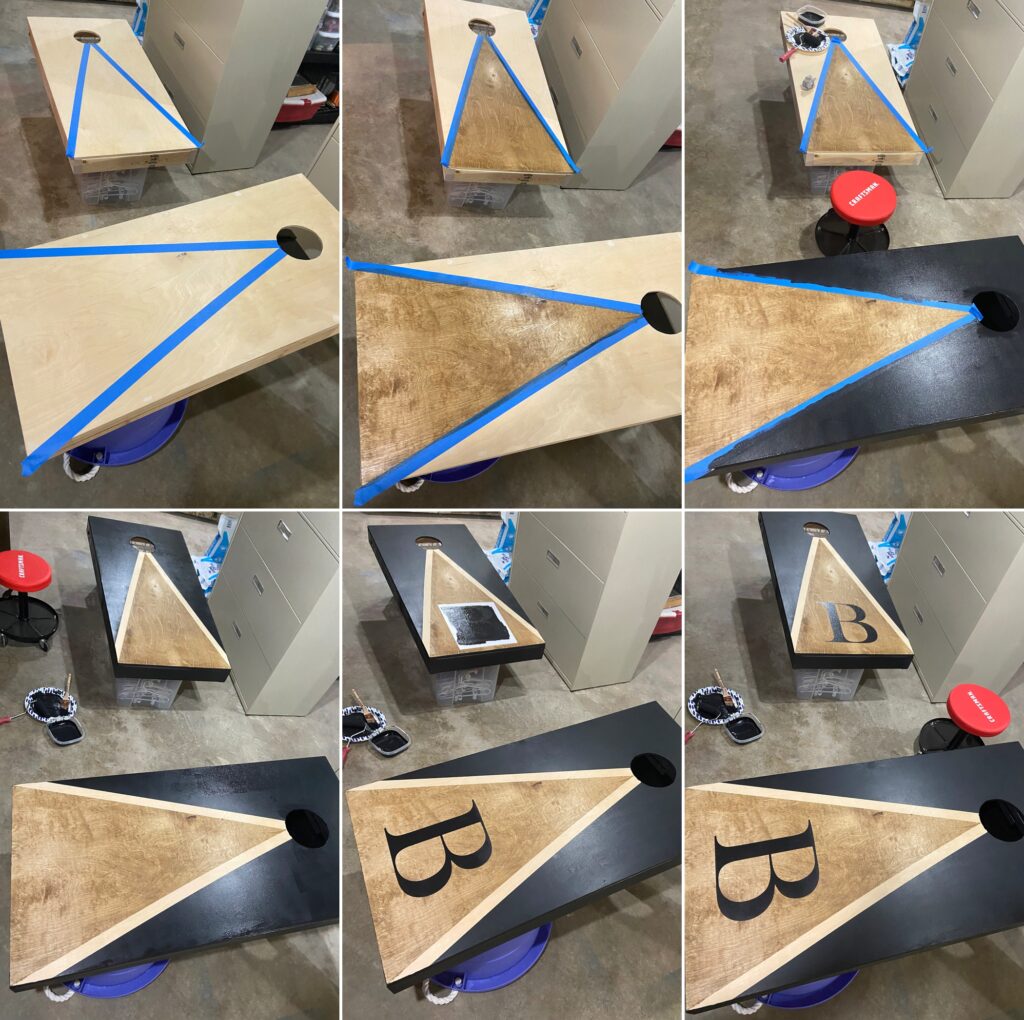
We did not have a 6″ hole saw on hand and didn’t want to run to the hardware store so we (as in my son) used a smaller hole saw to start the circle and then a jig saw to finish cutting the circle. It certainly would have been quicker, easier and a more perfect circle to use a hole saw but he did a pretty nice job of getting the circle almost perfectly round.
Then he secured the top to the base.
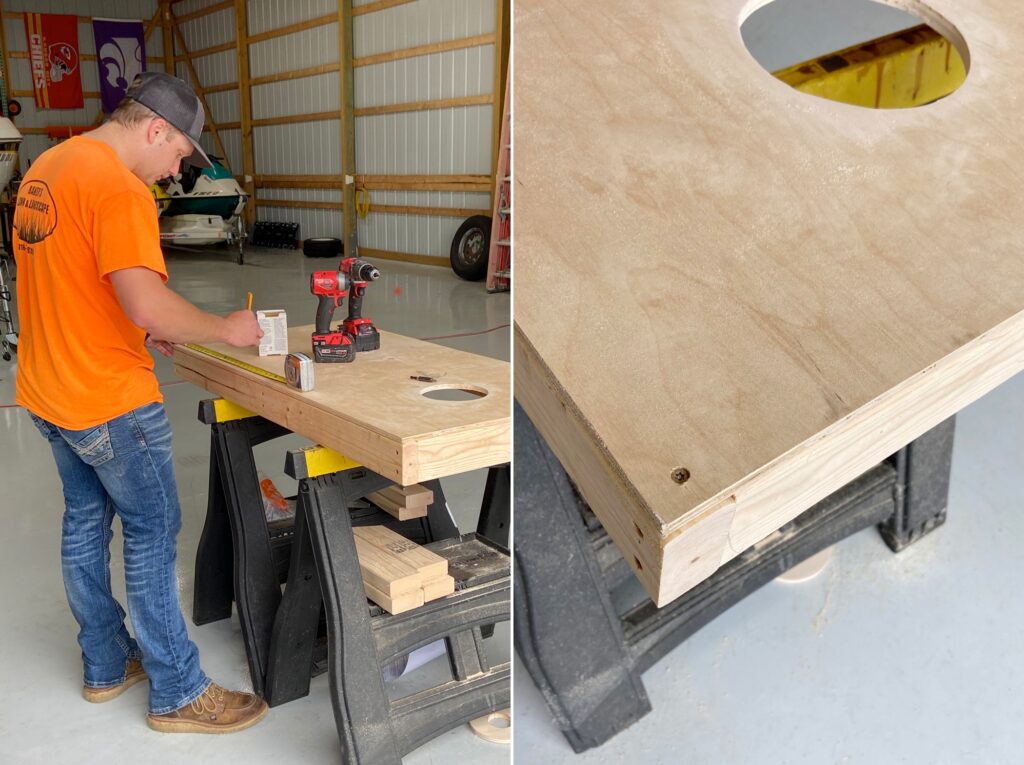
Holes were drilled in the legs and attached to the carriage bolts but were not secured so they could be removed for sanding and finish paint.
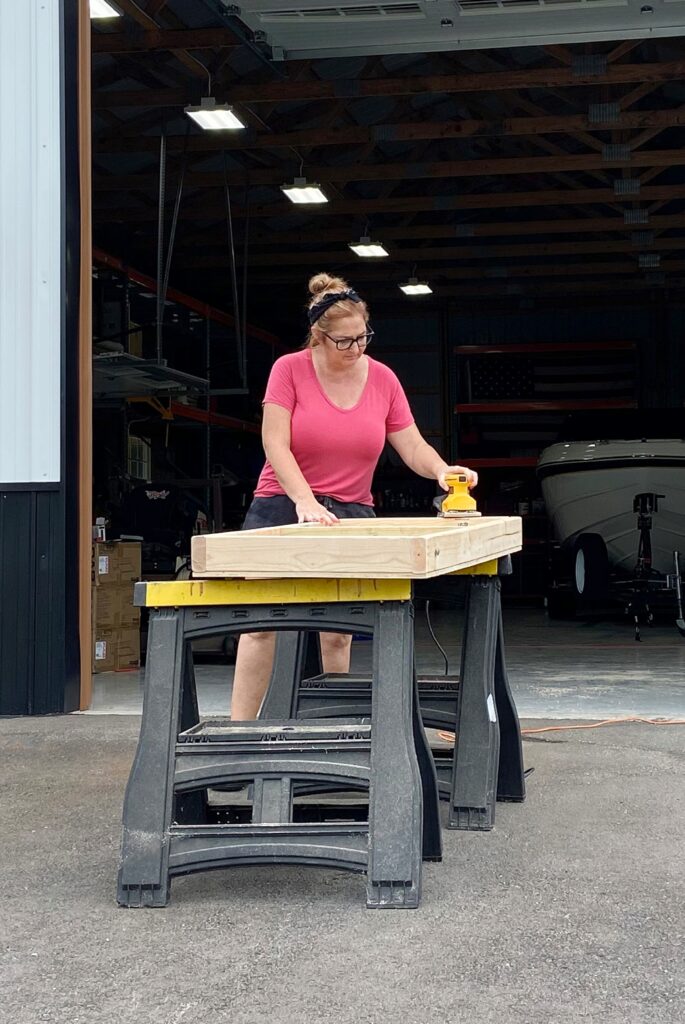
This is where I took over the project. See, I did help. I sanded everything down well and filled the screw holes with wood filler to hide them.
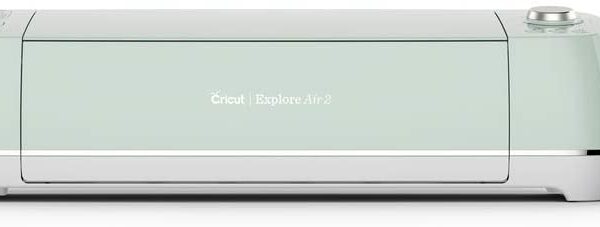
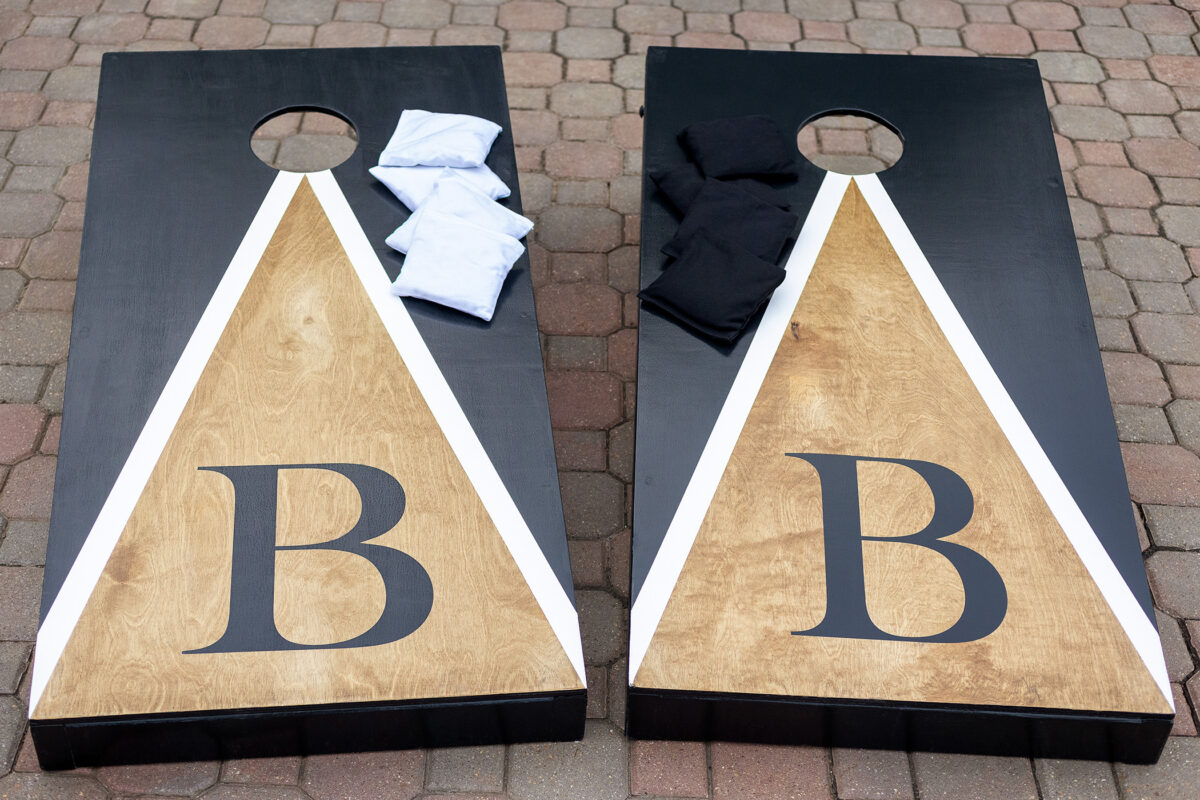
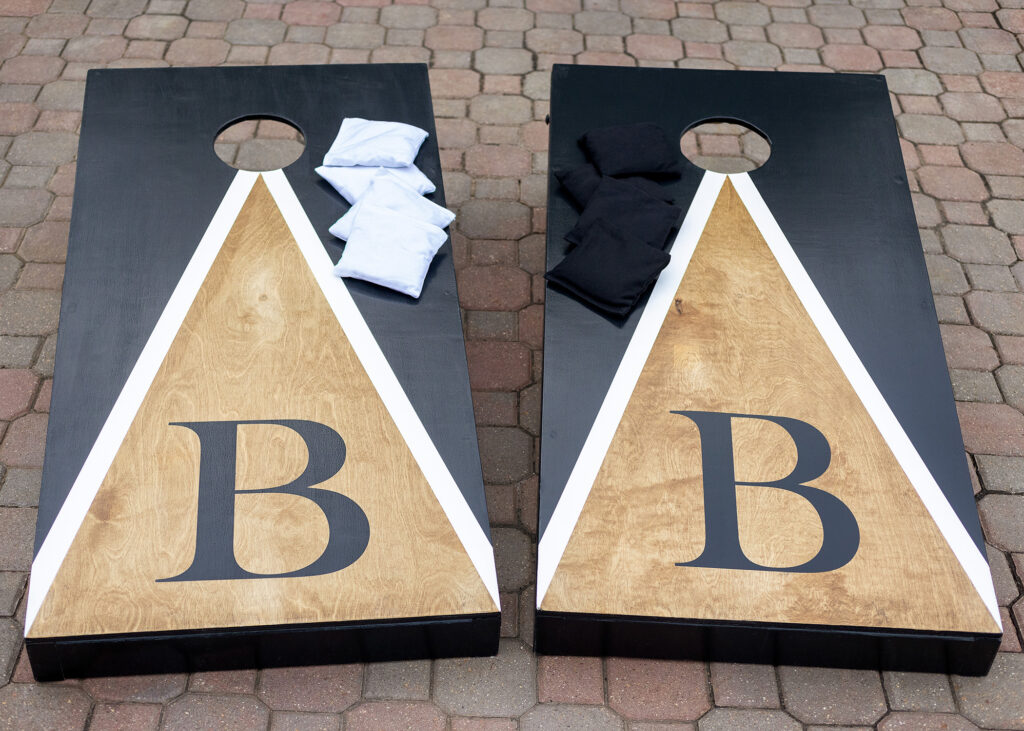
Next came the fun part. I searched the internet for design ideas and this is what I landed on. Our last name is Baker, my photography business is “Christy B Photography“, this blog is “It’s Me, Christy B”, our barn has a metal “B” on it. Of course I needed a “B” on our cornhole set. I used painter’s tape, stain and exterior paint I had on hand from our exterior remodel. My Cricut came in handy to make a stencil from removable vinyl to get the perfect “B”. I finished by sealing everything with five coats of satin polyurethane, sanding between each coat to achieve a smooth surface to allow the bean bags to slide well.
I have to admit, I surprised myself with how nice the finished design looked. I’m beyond thrilled with the way they turned out.

Of course Amazon had the perfect color coordinated bean bags that even came with a nice storage bag.
♫♪ Memories like the corners of my mind. Misty watercolor memories. ♩♬

In my opinion, it was 100% worth the effort to build our own family cornhole set. These will last for years to come and I will never, God willing, forget the summer we made them.
Wouldn’t these make the coolest unique wedding gift? Let me know if you make your own cornhole set!

Shop This Post