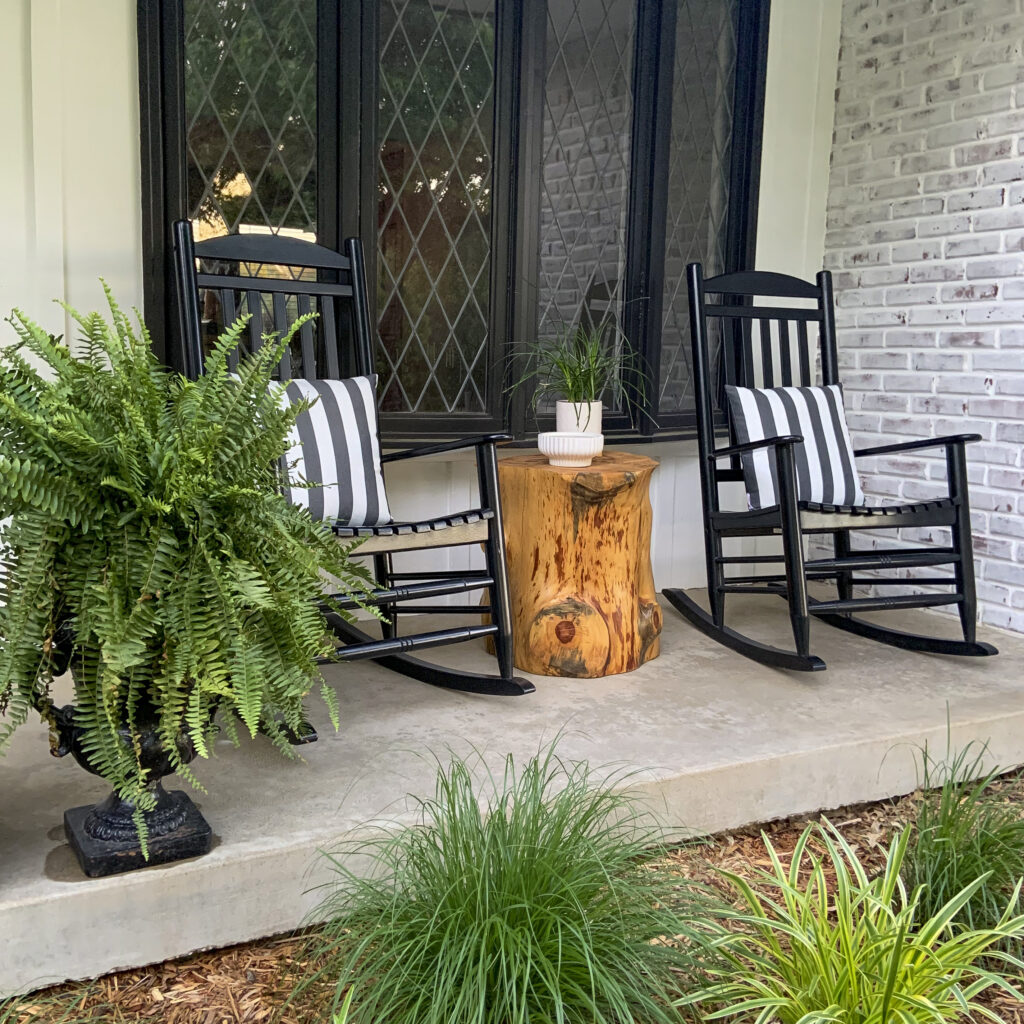
[…] plants paired with my yearly Boston ferns, black rockers and DIY tree stump table all work together to bring my idea to reality. It makes me so […]
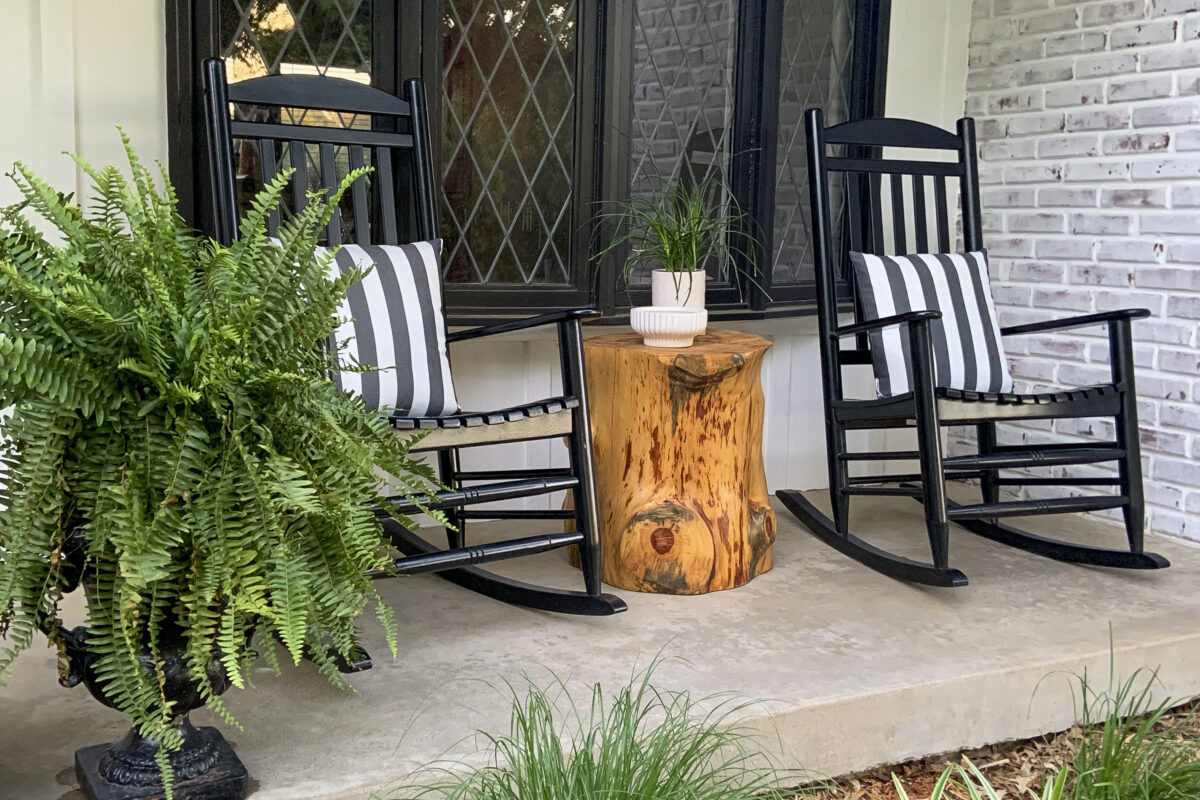

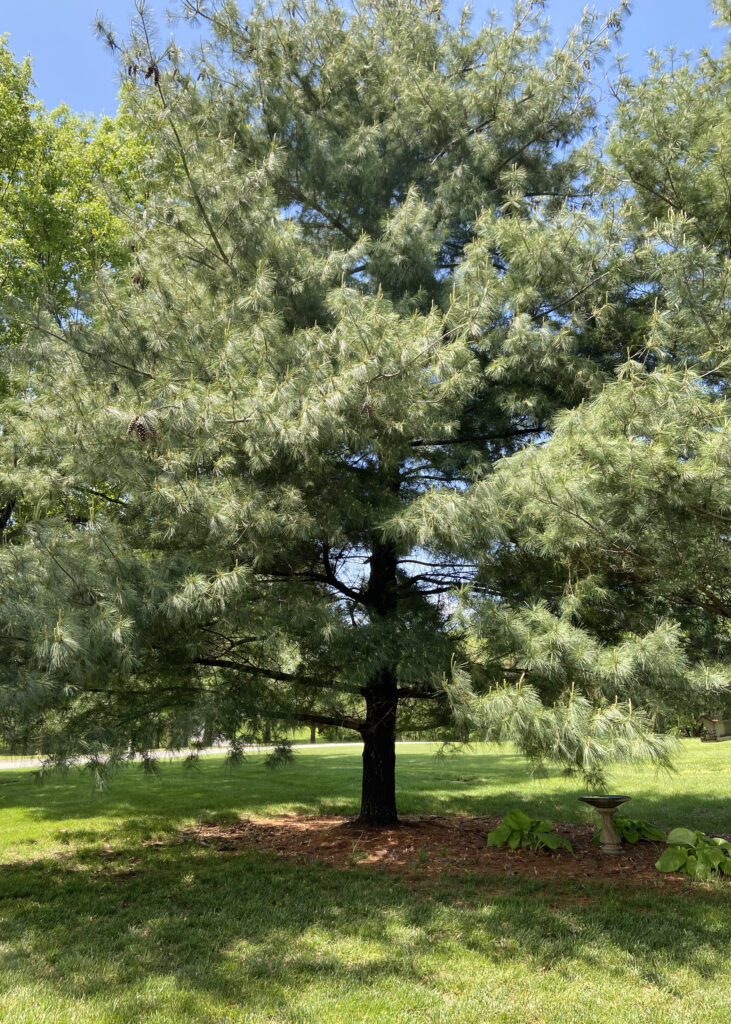
Some make lemonade out of lemons. We made a side table out of an unfortunate dead tree. We have several beautiful, large pine trees in our yard. A few summers back a there was a disease that caused many pine trees to die. We treated and did everything we could and luckily only ended up losing one tree. As sad as I was to see it go, something good came of that dead tree.
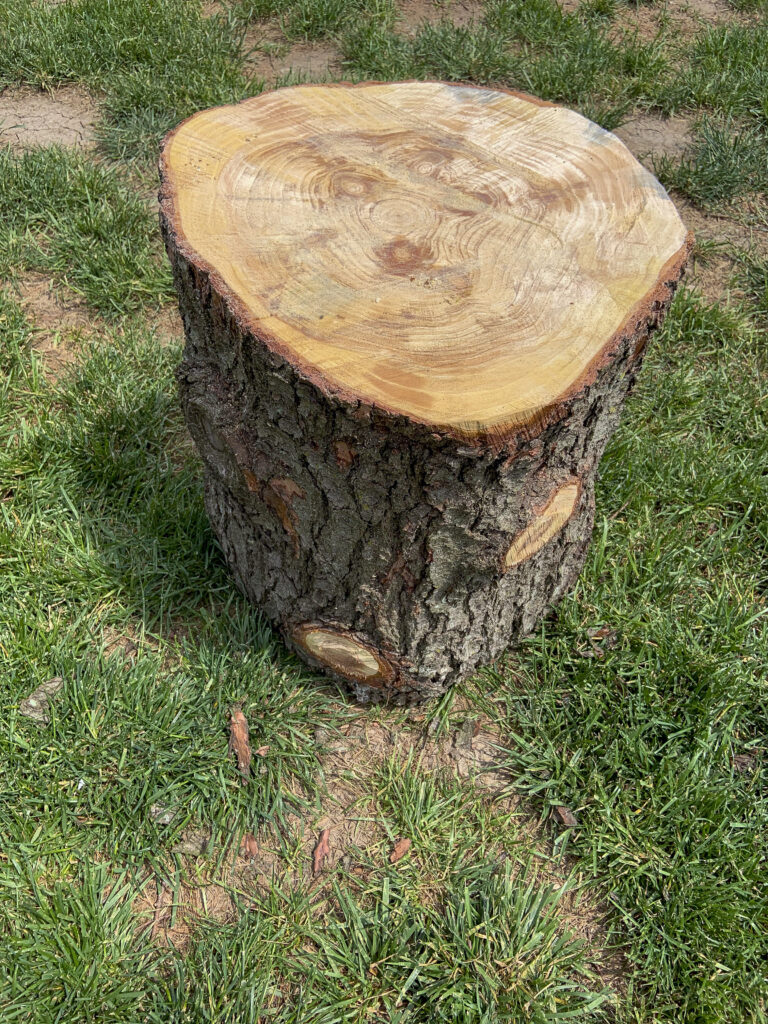
While cutting down the dead pine tree and loading up the pieces for firewood, I spotted this large stump sitting amongst the piles. As luck would have it, it was the perfect size and shape for one of those natural tree stump tables that can cost an arm and a leg to buy.
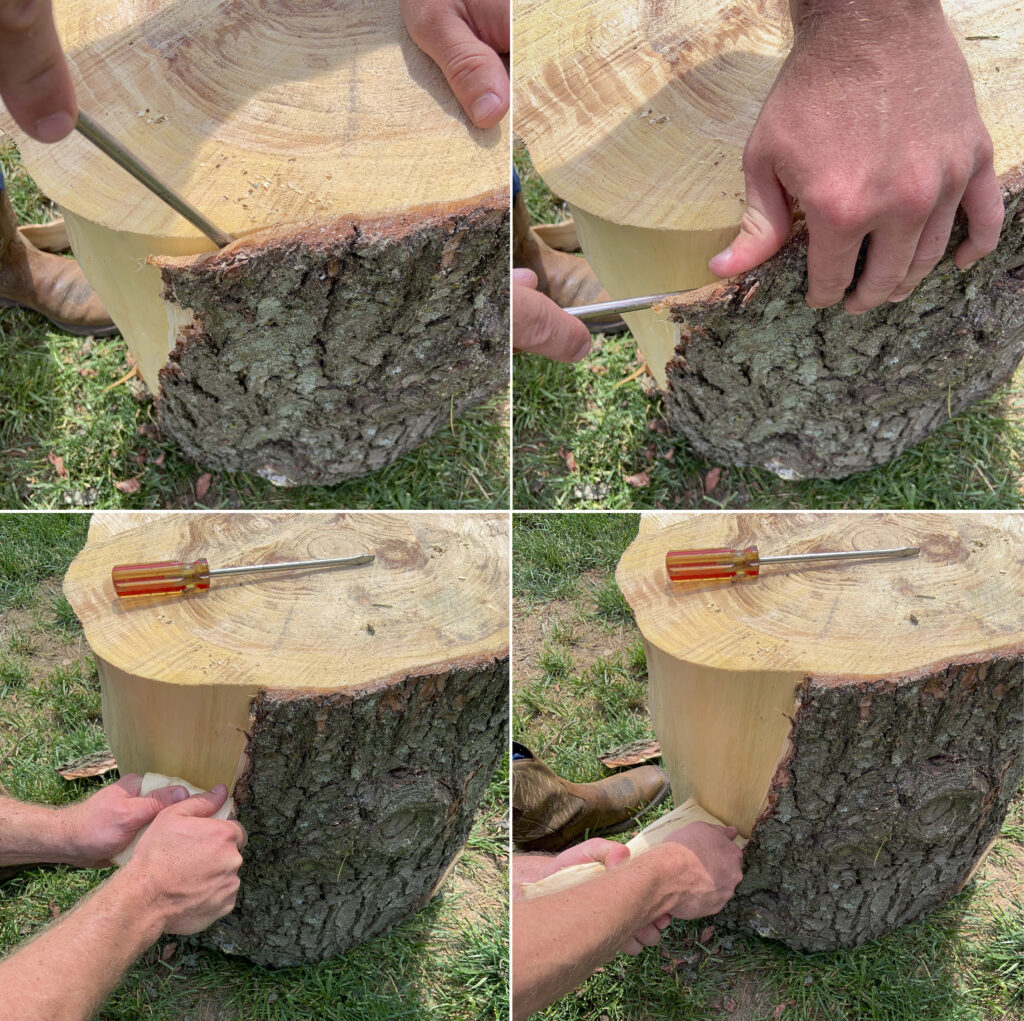
My son helped me pull the bark from the stump using a flat-head screwdriver. He just pried a bit back and then pulled it off with his hands. I’m sure it depends on the kind of tree as to hard easy or hard it would be to remove the bark.
Once all the bark was removed, we put the stump in the garage to dry out for about 6 months. (We cut up the tree in late summer and I finished the table the next spring.) Remember, the stump can have live bugs in it so be mindful where it’s placed it to dry. Also, the wood may crack as it dries and that is totally fine. The cracks give the final product more character.
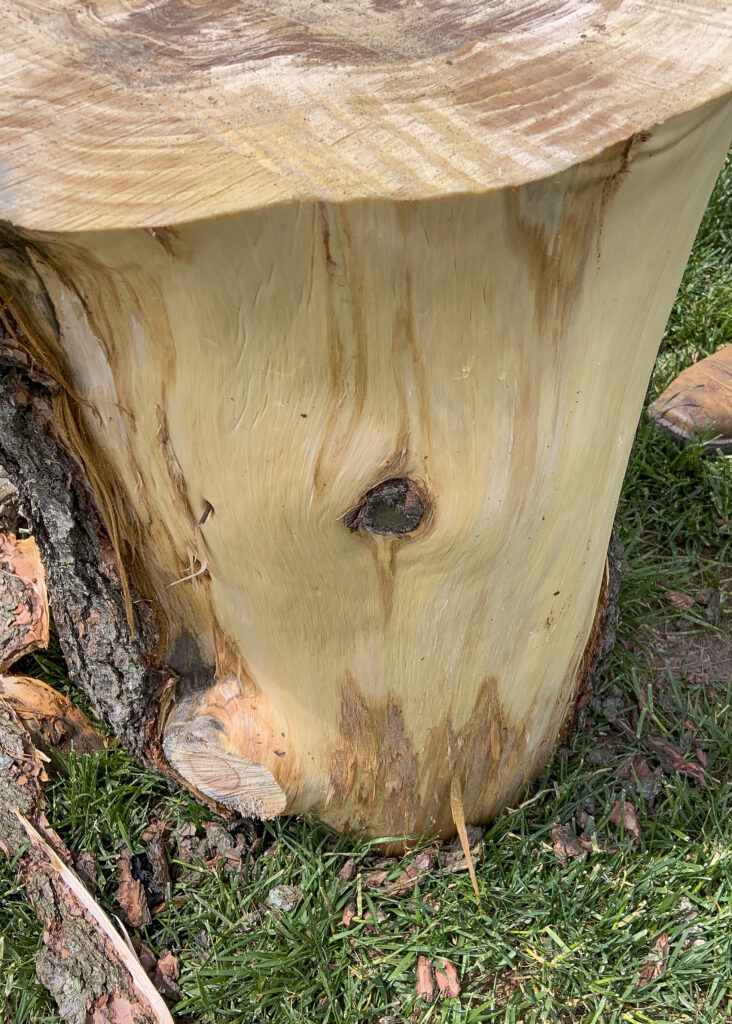
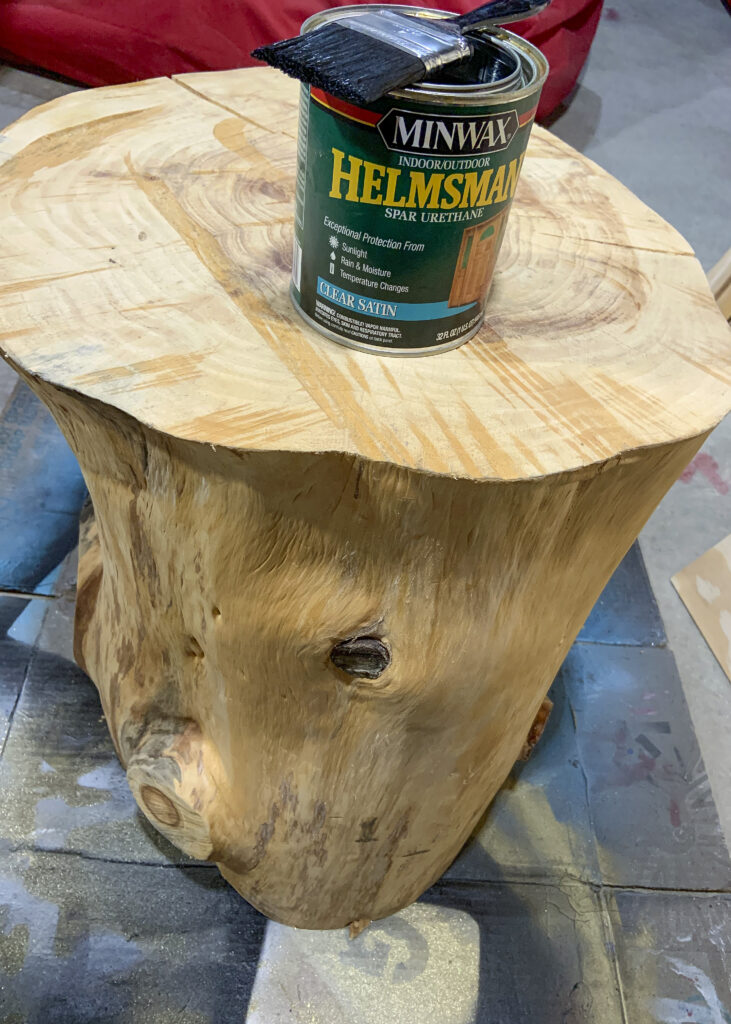
Once fully dried, I sanded the entire stump using a 120-grit sandpaper and finished with a 220-grit sandpaper to make everything smooth. Then I wiped it down to remove any excess dust particles.
I wanted to to keep my table it’s natural color so I sealed it with a clear satin urethane. Tung oil, stain or polyurethane in a matte, satin or glossy finish could also be used. I planned to use my table outside so I applied four coats all over and, then for good measure, I sealed the top and bottom with a 5th coat to protect from water and the natural elements.
Here we are three years later with the table on the covered front porch year round and it’s still like brand new. Best of all it has special meaning to this house.
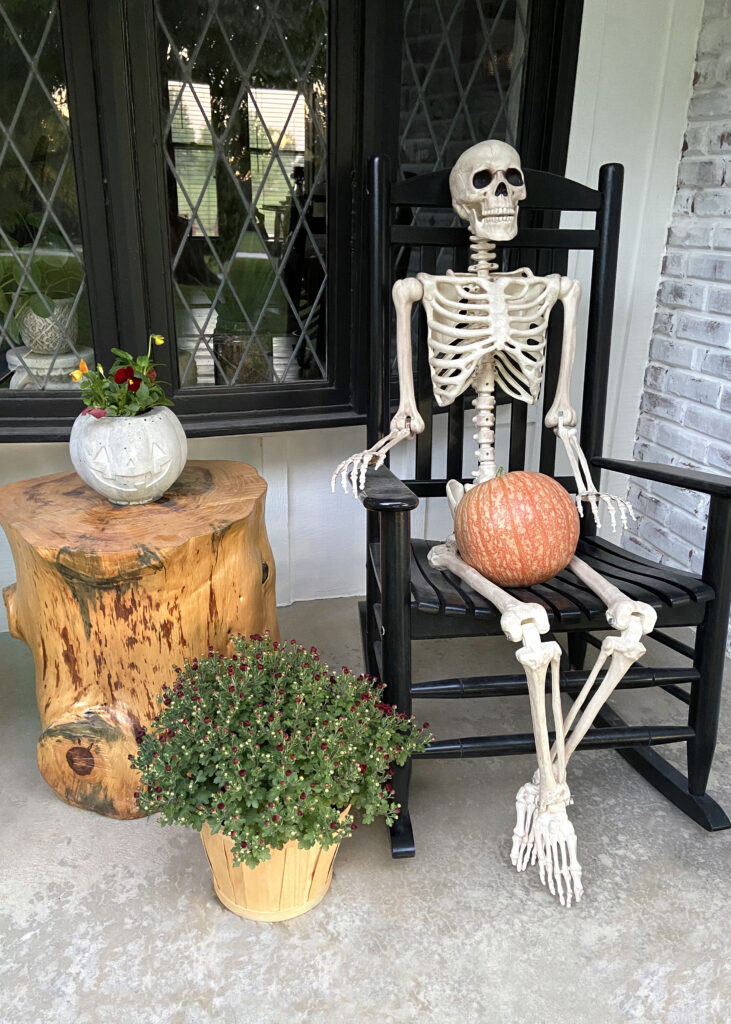
The wood used to create a natural wood stump table could be any size or shape. Table legs could be added to a smaller, flatter piece of wood. For a large, heavy stump, locking rollers could be added to the bottom for easy moving. Stumps could be used inside or outdoors as tables or seating. The possibilities are endless. The only requirement is 6-months of PATIENCE to let the wood dry before finishing. It’s a great way to make the best of losing a beautiful living tree by creating something special that allows it to live on.
[…] plants paired with my yearly Boston ferns, black rockers and DIY tree stump table all work together to bring my idea to reality. It makes me so […]