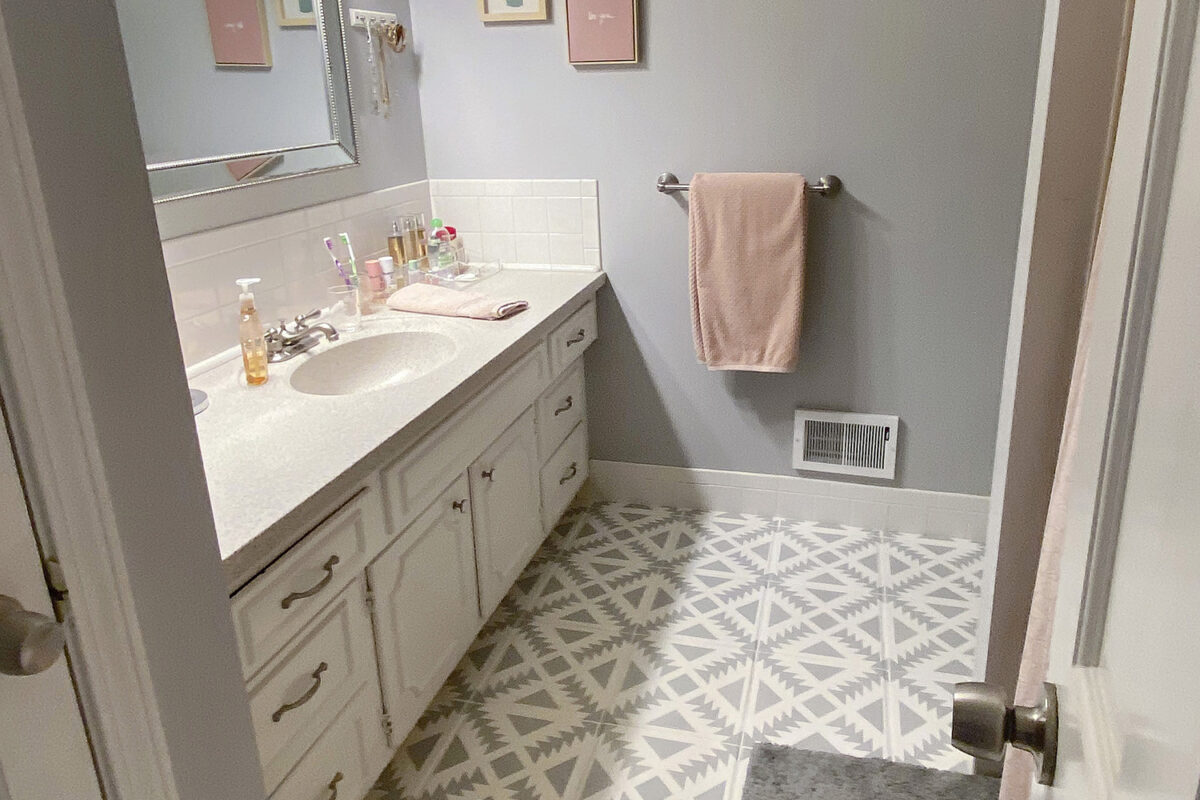

HOW TO PAINT A TILE FLOOR | DIY
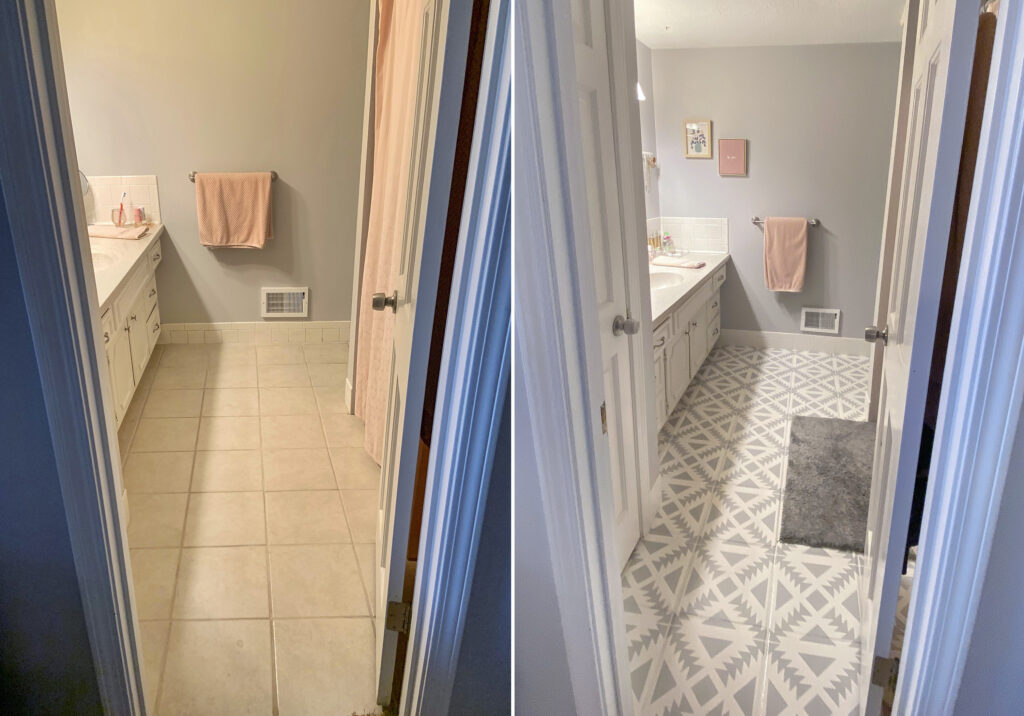
03/15/2022Never underestimate the power of a little elbow grease and paint. Two years ago I did a quick makeover in our daughter’s bedroom and bathroom. Just a little paint made a huge improvement. Here is what we started with in the bathroom.
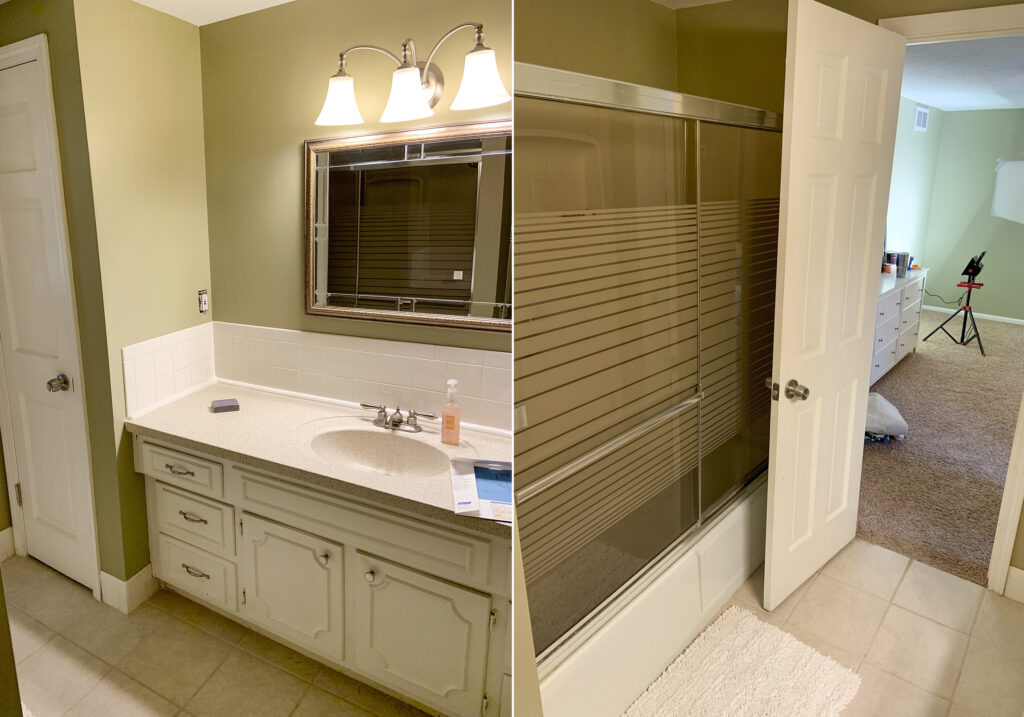
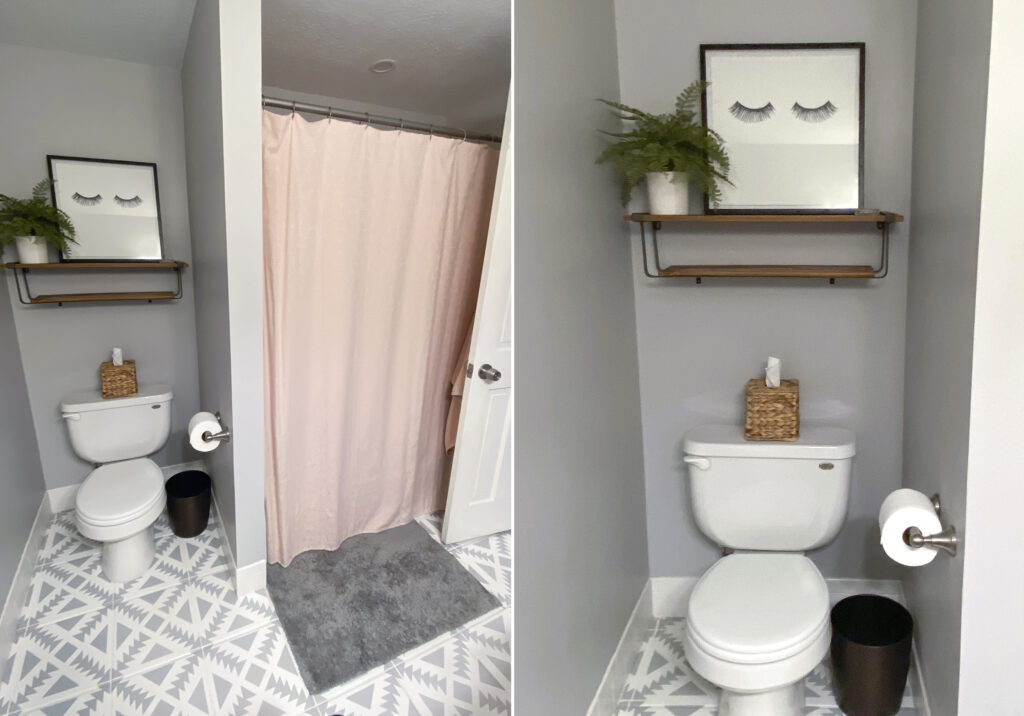
We removed the glass shower door that was hard to open, scrubbed the grime, re-caulked and it was pretty much like a new shower again. We painted the walls gray to coordinate with her bedroom. (I’ll share that makeover soon.) Then it was time to get rid of the tan tiles using – you guessed it – more paint.
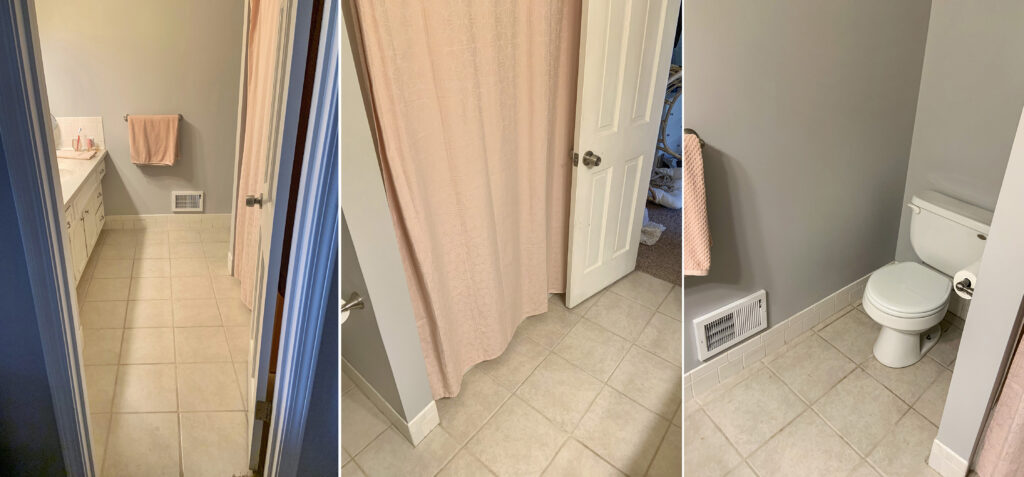
Before.
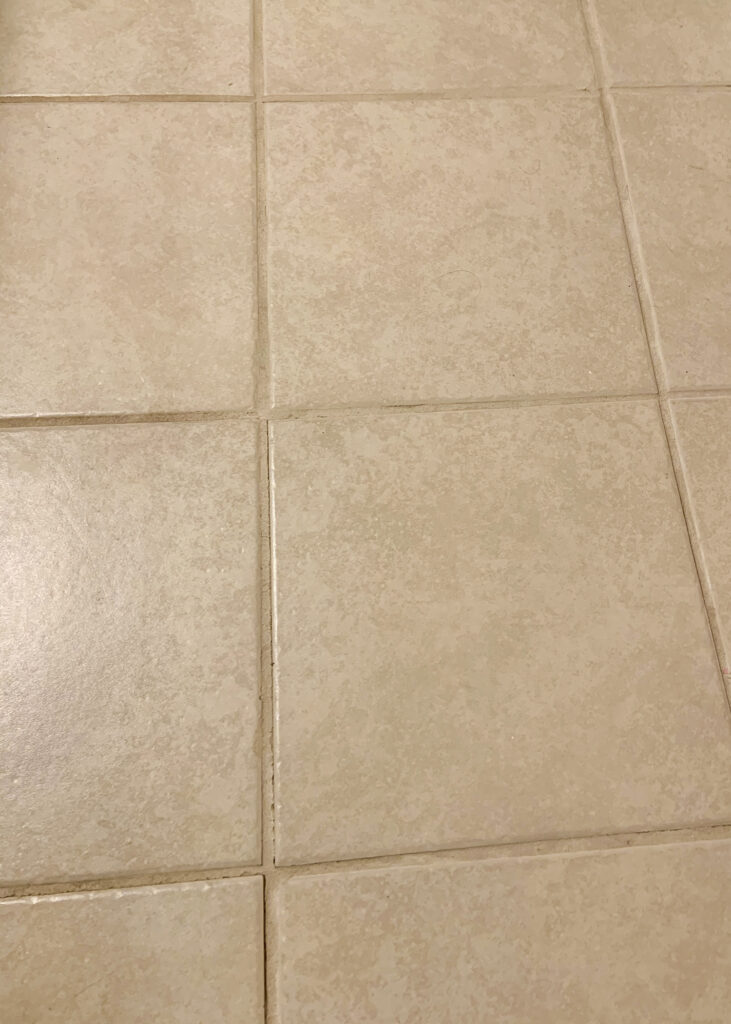
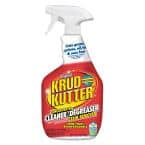
I prepped the floor by lightly sanding and then scrubbing with Krud Kutter to remove as much dirt and grease as possible.
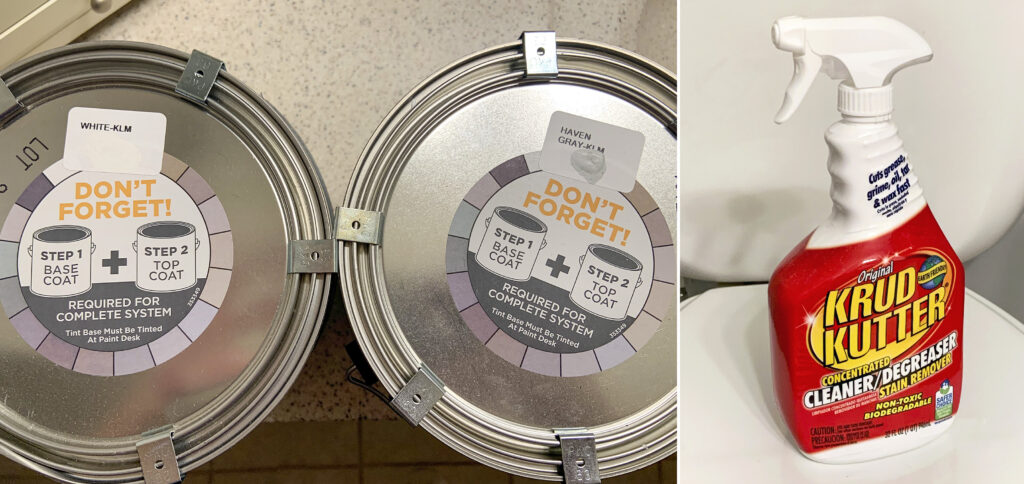
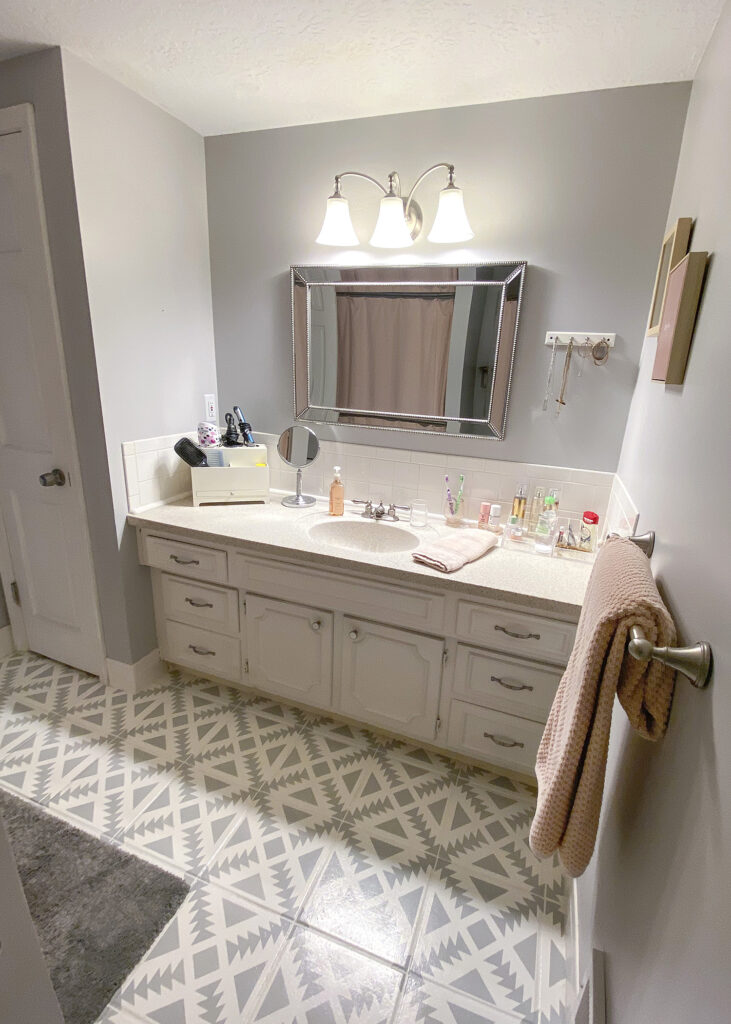
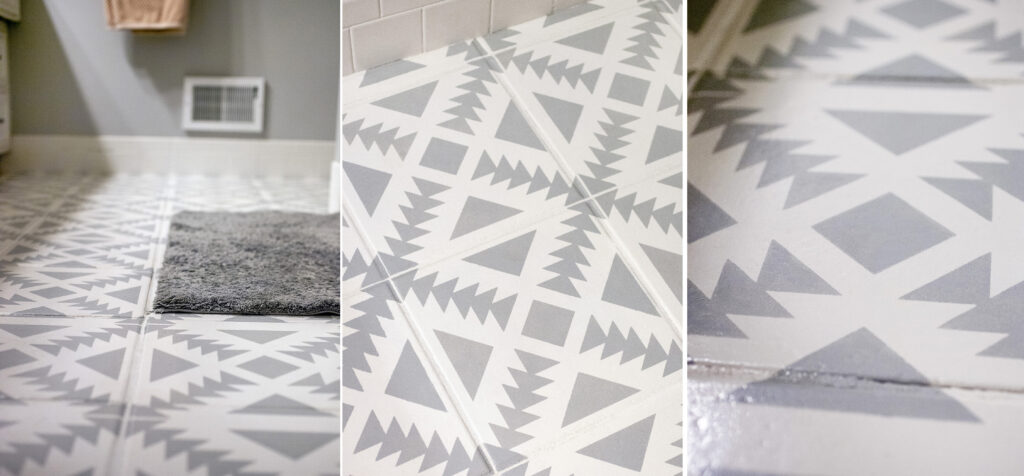
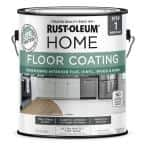
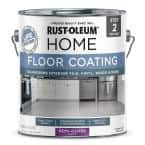
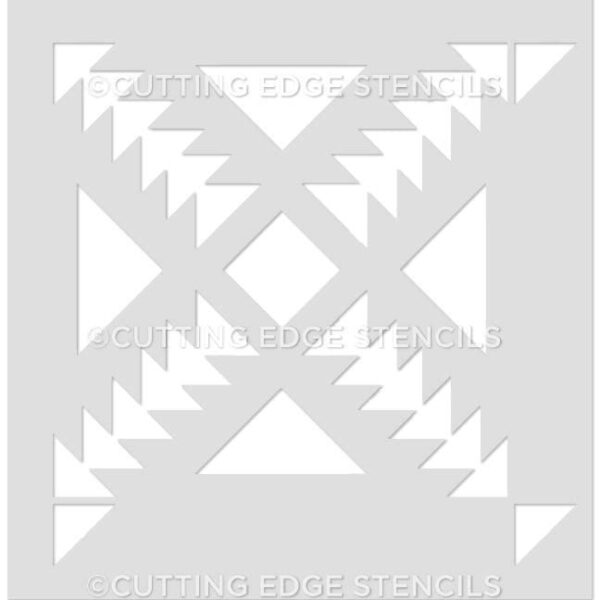
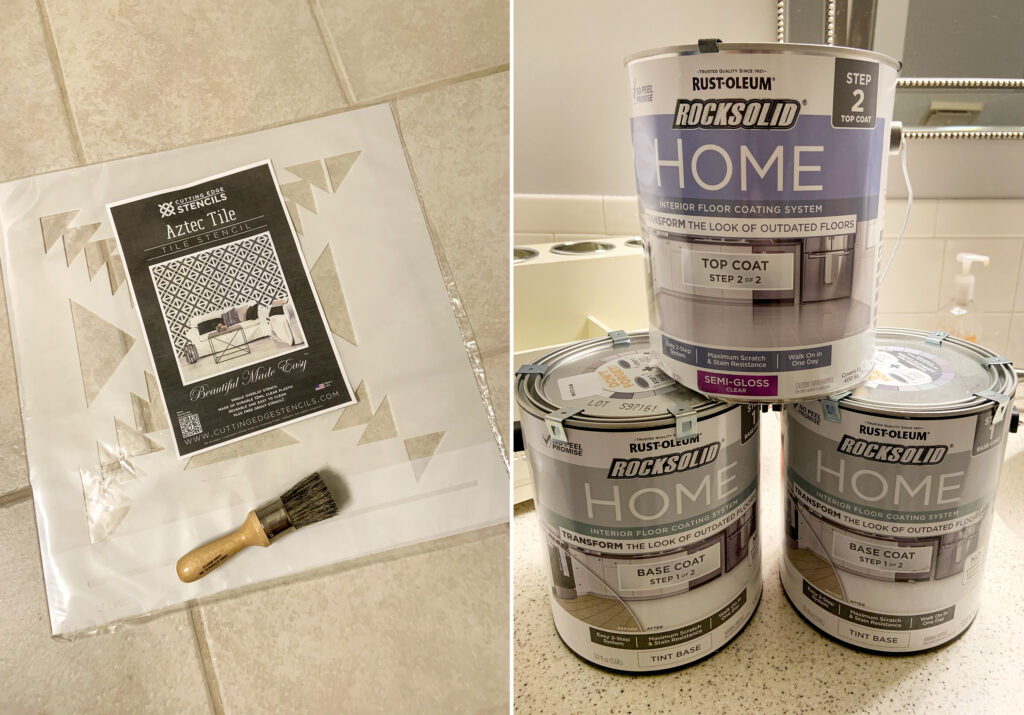
To paint the floors, I went with Rust-Oleum Floor Coating System using a white base coat and Haven Gray for the stencil. Then I sealed everything with four coats of the clear semi-gloss top coat. After all of that work, I wanted to make darn sure the paint didn’t chip or scratch. There are many different stencil options to choose from. I went with the pattern “Aztec”.
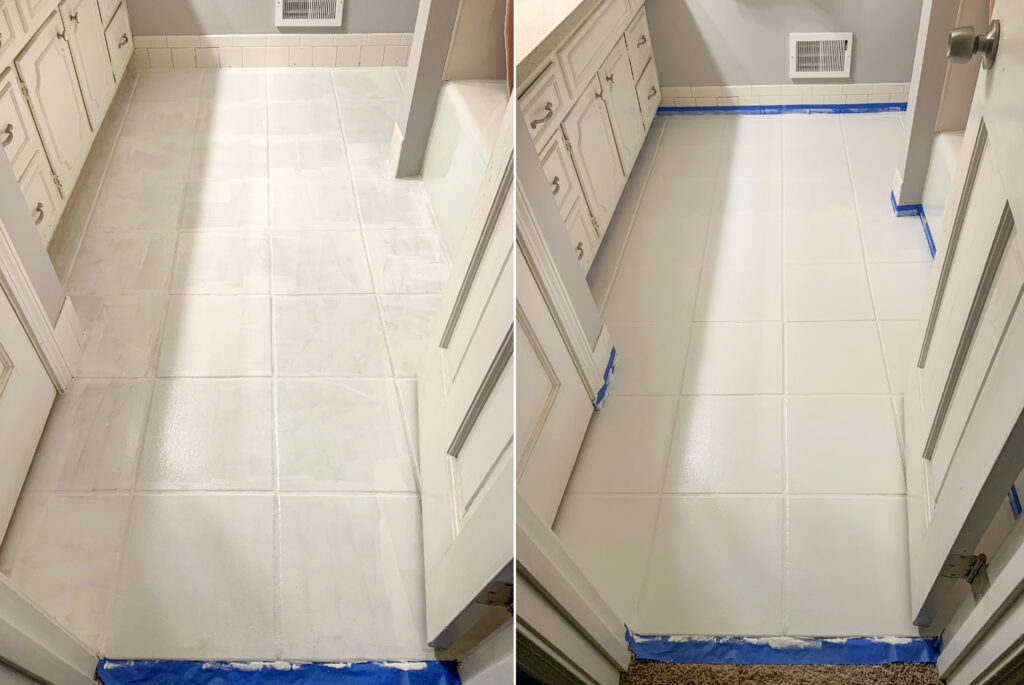
I taped around the edges so I could quickly cut in with a mini foam brush and then rolled the rest of the floor. This took three coats of the white base coat. I let it fully dry overnight.
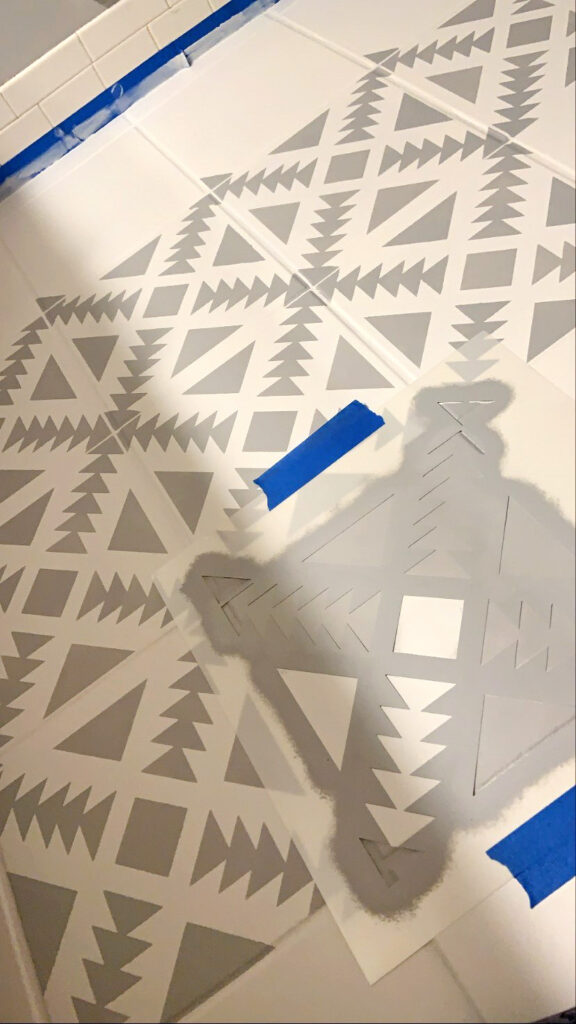
Then is was time for some painstaking, grueling, intricate “fun”. Okay, the stencil part wasn’t fun at all. But again, I’m a glutton for punishment when the end result it what I picture it will be in my head.
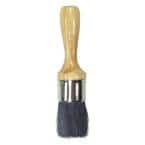
Begin by taping the top and bottom of the stencil in place with painters tape. My tiles were 12×12, roughly the same size as the stencil. I began in a corner spot on a full tile. Don’t worry about the edges yet. Just do full tiles first. Using a stencil brush, dip into the paint and then blot off most of the excess onto a paper towel lined paper plate. You want to use minimal paint to avoid bleeding under the stencil.
Tapping straight up and down, cover the entire stencil. Do not swipe or brush the paint; only tap.
If you use minimal paint, you will be able to pull the stencil straight up and move on to the next spot. Always make sure there is no excess paint on the back of the stencil before placing in the next location.
A few helpful tips:
Start painting at the bottom and move to the top of the stencil. The bottom of will be dry by the time you are done. This will allow you to line up the stencil for the next tile on the bottom triangles without smearing wet paint.
You have to go into stenciling not worrying about being a perfectionist. Otherwise, you might very well go insane. When you step back and look at the entire floor, you aren’t going to notice the slight imperfections. You can always go back afterwards with a small paintbrush and cleanup any bleeding or uneven lines.
If you get a little paint where it shouldn’t be, just use a rag or Q-tip with a little Krud Kutter while the paint is still wet and it will wipe right off.
For the Aztec stencil I used, it was easy to line up each tile by overlapping the triangles. Do not worry about the grout lines if the stencil doesn’t fit perfectly on the tile. You will never notice it when it’s done.
I left the edge pieces for the end because the stencil had to be bent to fit around the edges. To get in tight around the toilet, I saved that for last and cut the stencil. I also painted the tile baseboard the same white base coat and sealed it with two coats of sealer.
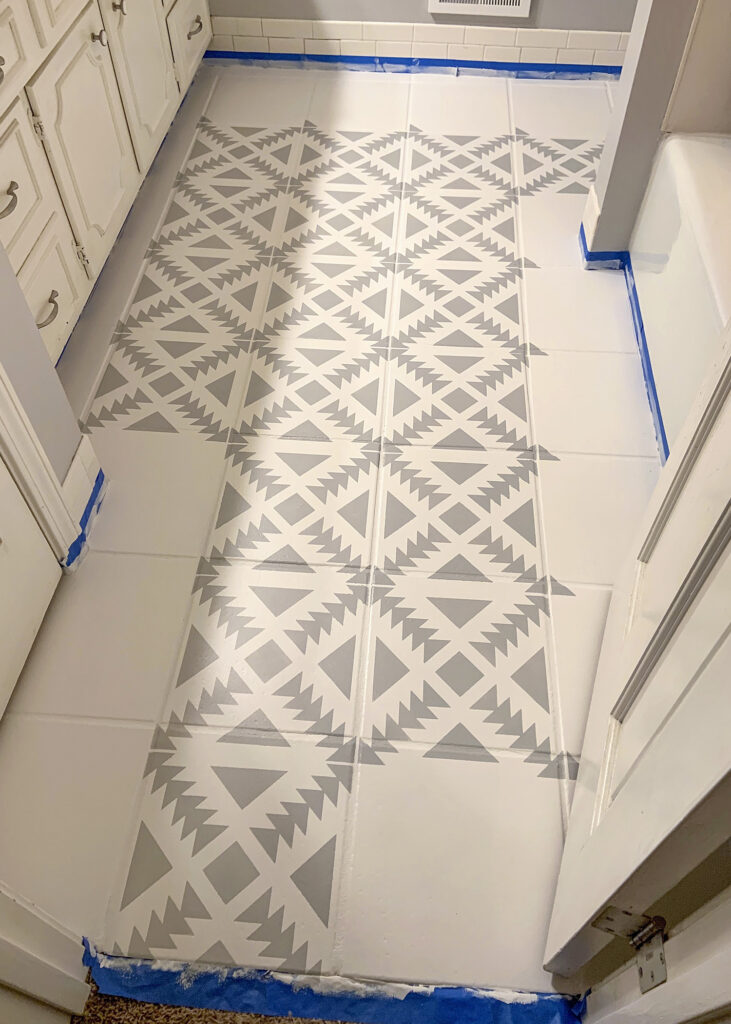
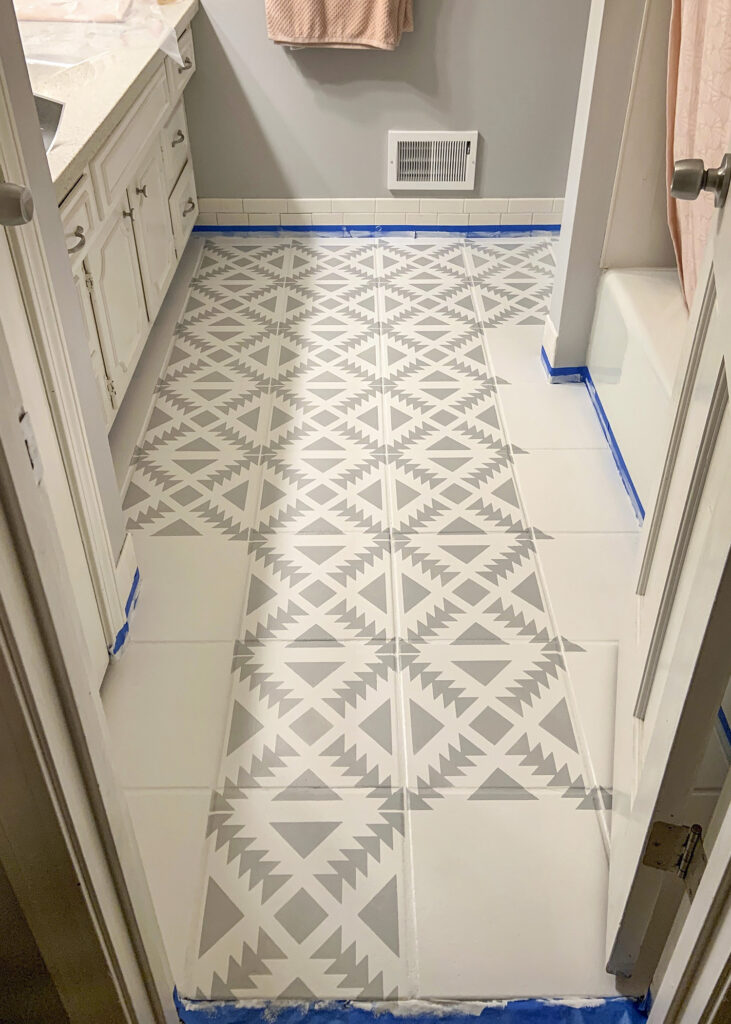
Once all stenciling is complete, let everything dry completely. Be sure the floor is completely clean of dirt and hair. Then roll on two to four coats of top coat. The more the better after you put that much work into the stenciling.
You will ask yourself about a thousand times why you thought stenciling a floor was a good idea. And then you get to the end and it’s just like you birthed a baby. You forget about the pain and realize it was all SO worth it. And unlike birthing a baby, the floor makeover only cost about $150.
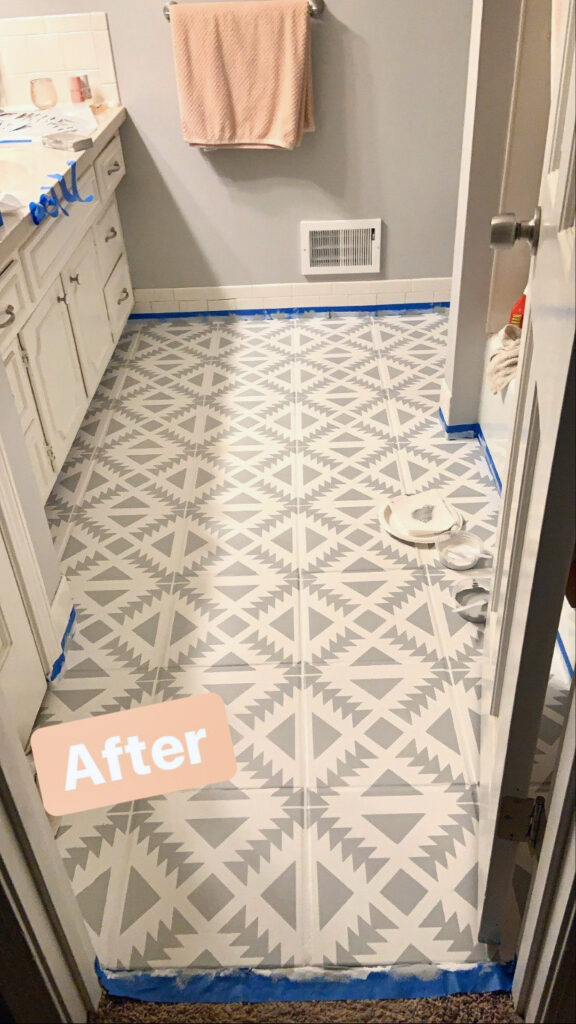
I mentioned above that I painted this floor two years ago. These after photos were taken this week, just over two years later. They still look perfect. I would absolutely paint floors again for a quick, inexpensive makeover.
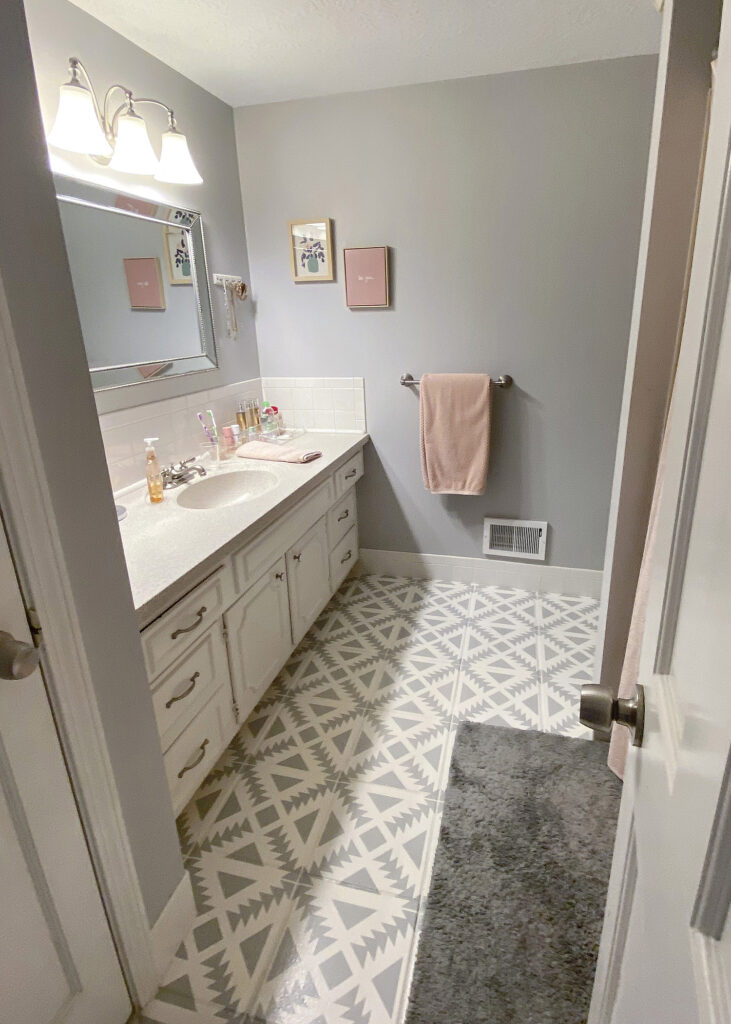
Someday in the future I’ll tackle the countertop and cabinets. But for now it’s a perfectly cute bathroom for our daughter.
