
HOW WE DIYed OUR PINE WOOD FLOORS
01/19/2022It was January 1, 2020. I was still putting away Christmas decorations. We had been secluded in the house for almost a year due to COVID and must have all been delirious. What started as “let’s just take down these pony walls for the time being” turned into a complete revamp of the dining room, front room, entryway and family room. HALLELUJAH!!
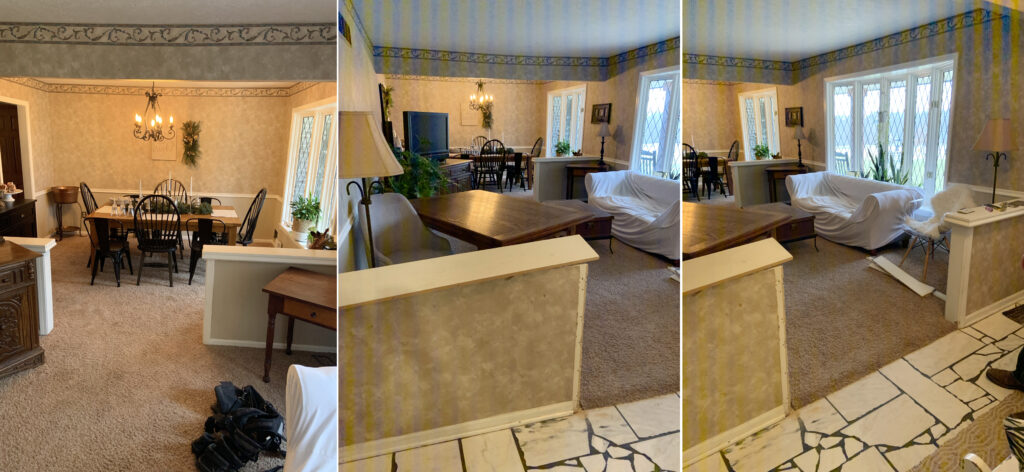
Carpet and tile were ripped out, walls were removed, soffits were taken down, popcorn ceilings were de-popcorned. It was glorious to see the changes taking place. Don’t get me wrong, the changes didn’t happen overnight. The entire process took us 11 months. We did everything ourselves other than hire out the drywall finishing. But it was so worth it! I’ll share each room’s before and afters in full in the future. For now I want to share how we installed our distressed pine wood floors that I had first seen done on Deb and Danelle’s Blog.
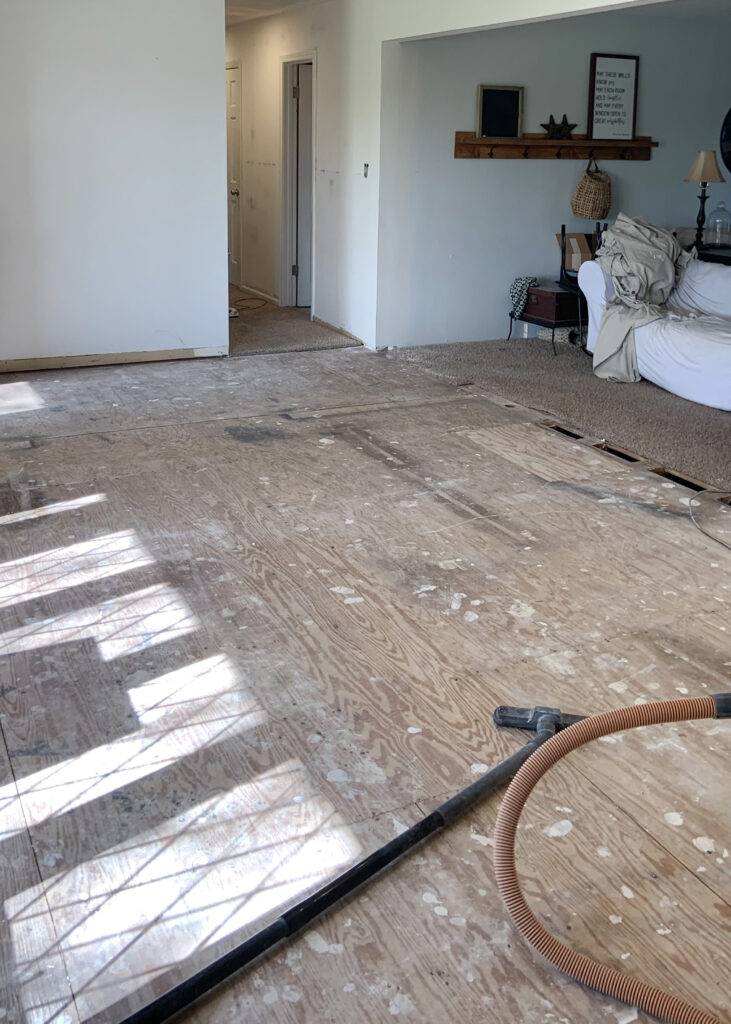
We stared with a clean, smooth subfloor making sure all raised nails and staples from the old carpet were removed. Then we rolled out a layer of 30 pound asphalt felt paper for the underlayment.
We opted for a mix of 1″x4″, 1″x6″ and 1″x8″ #2 knotty pine boards from our local lumberyard.
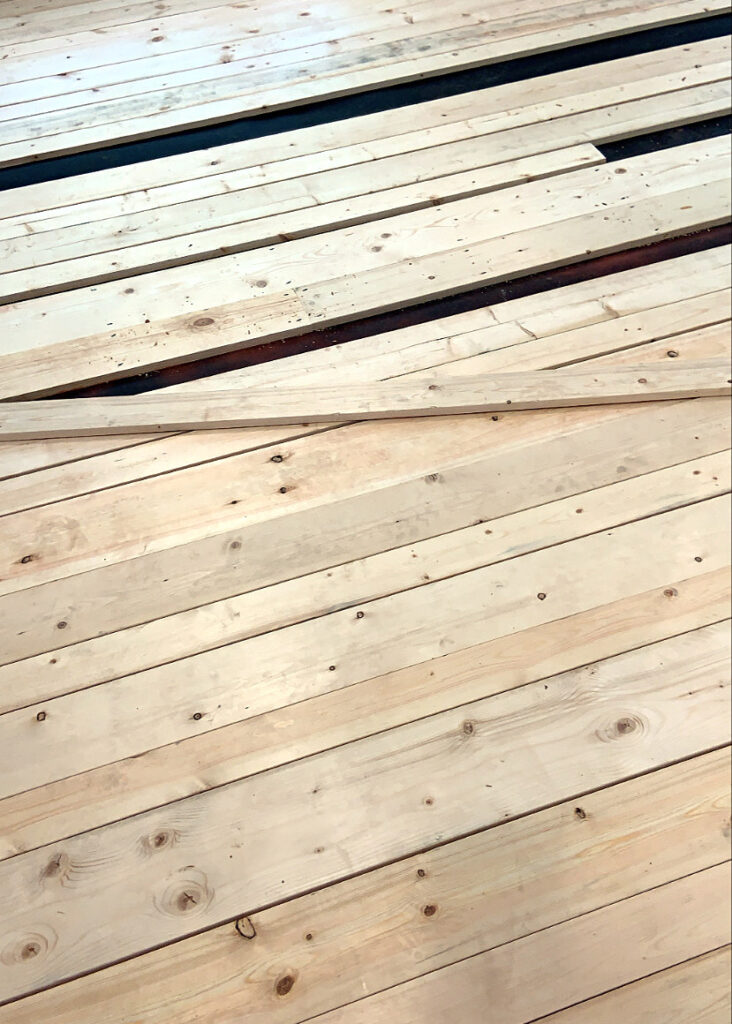
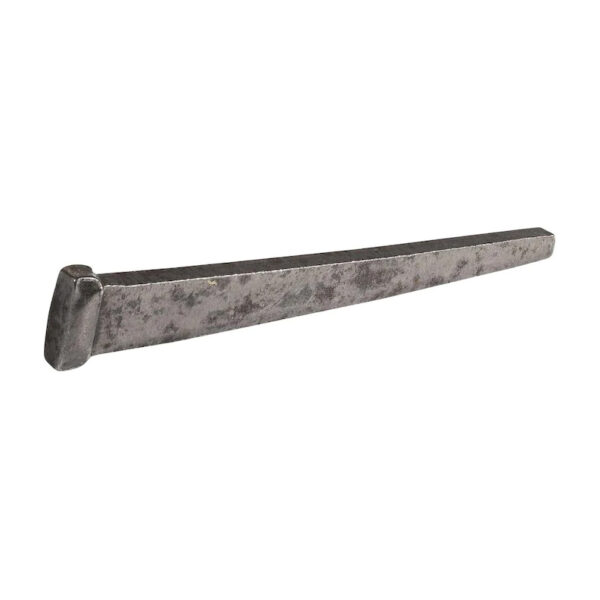
After laying out the boards in our chosen pattern over the felt paper, we (as in not really me) predrilled holes and then nailed the boards down with 2 1/2″ steel cut masonry nails.
It’s really nice having a son that is capable and willing to help with house projects now!
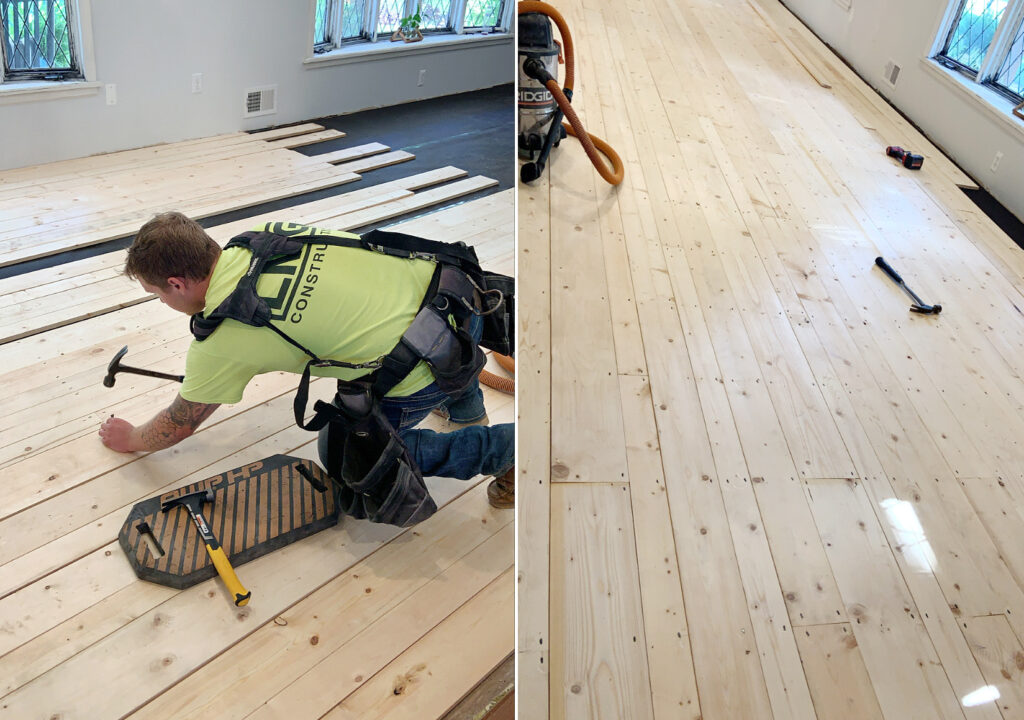
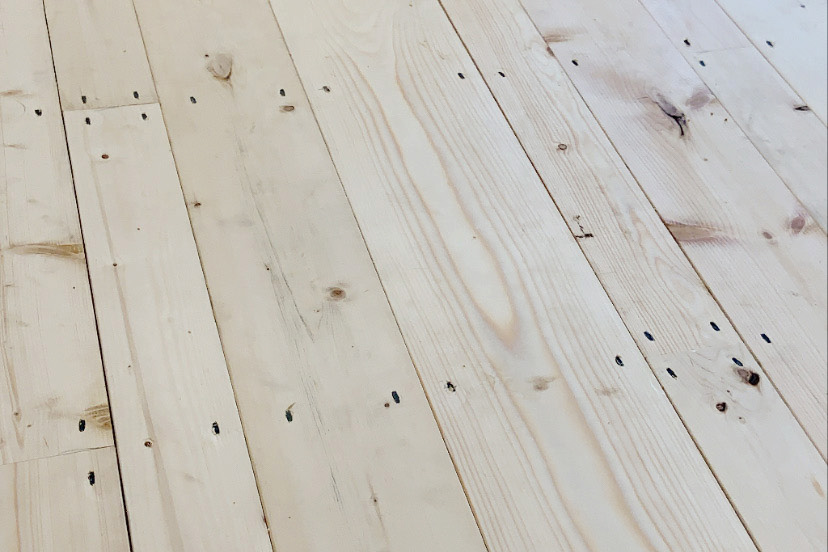
Keep in mind, pine wood is soft. If you use it for flooring, it will scratch and distress from normal wear and tear. The idea for our floors were rustic wood floors – scratches and dents welcome. After the floor was initially installed, we lived with it for a month not worrying about the dogs running around or general traffic on the unstained floors.
This is where I took over the rest of the process. Using a hammer, an old chain, a meat mallet and a ball peen hammer, I took out all my pent up aggression on the wood floor to further distress.
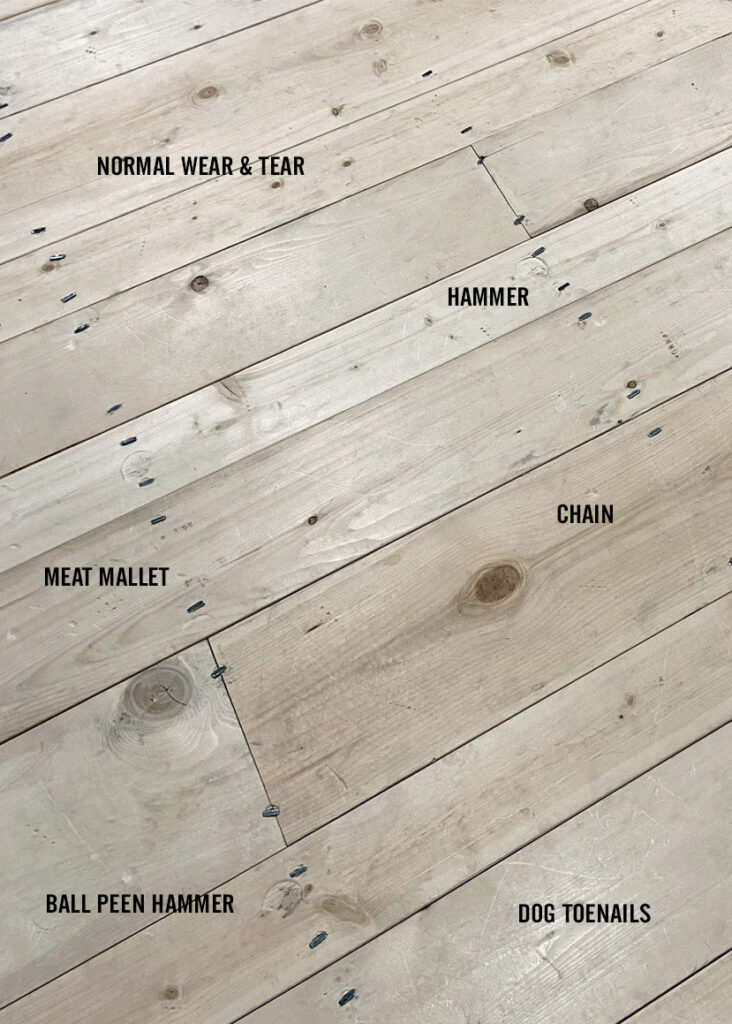
Next I used a palm sander and lightly sanded the entire floor to knock off any rough spots. I tried a belt sander and didn’t like it as well so I really did crawl around and sand everything with a palm sander. It actually wasn’t that bad.
I read that mopping the floors before staining opens up the wood pores to allow the stain to soak in better so I used a little dish soap and water to clean the floors right before I started staining.
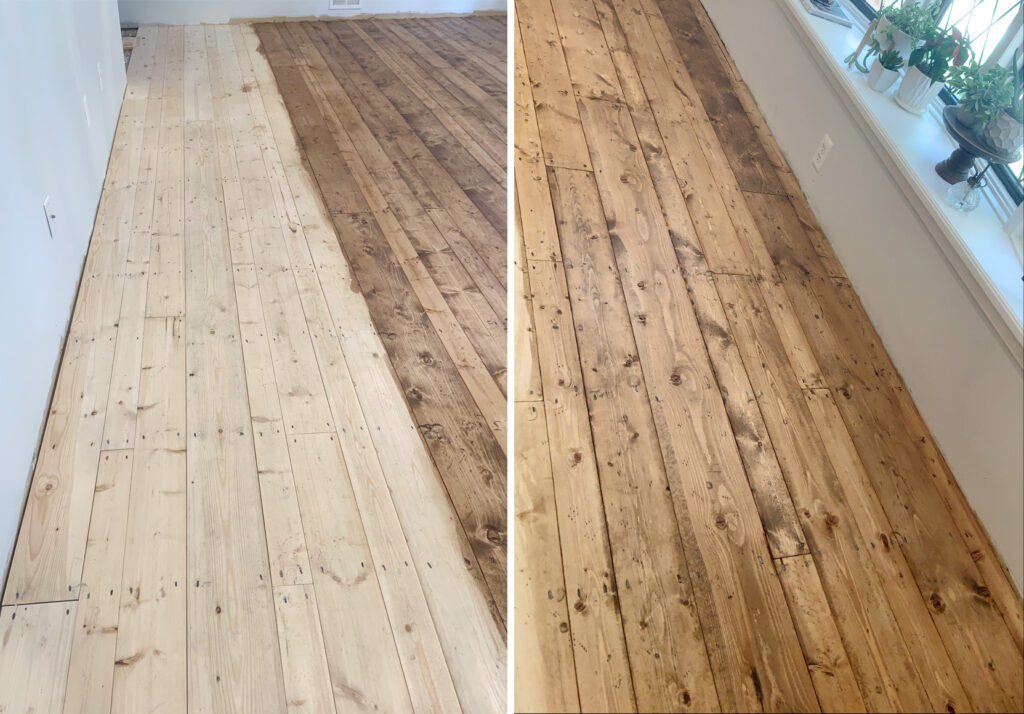
Look at how awesome those distress marks come out when the stain was applied. My favorite were the divots from the meat mallet.
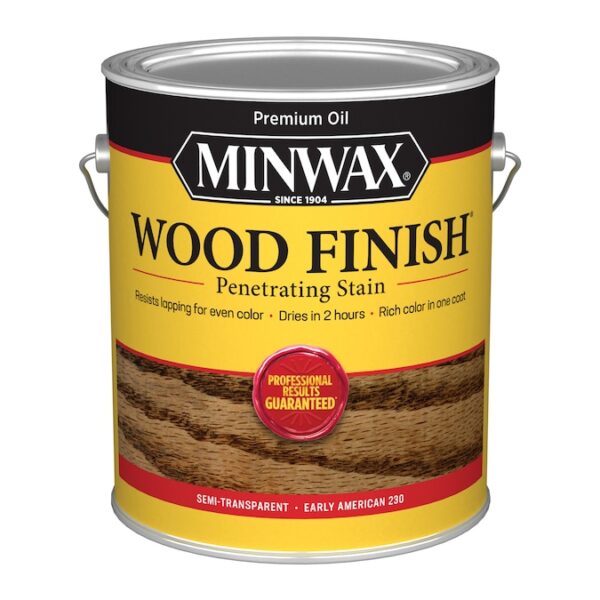
I used a paint brush to apply the stain and then wiped off the excess with an old t-shirt. I probably could have used a roller to apply the stain and it would have been faster. But I opted for a brush so I could stay on the floor for both applying and wiping off instead of getting up to roll and back down on the floor to wipe off repeatedly. I’m no spring chicken. I wasn’t sure I could get back up once I got down on the floor. Staining wood floors isn’t for sissies, that’s for sure. I just did one coat of stain because I didn’t want the floors to get any darker in color.
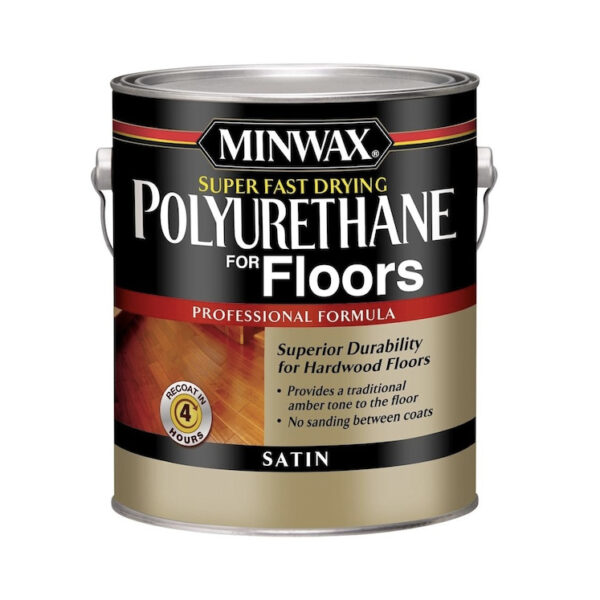
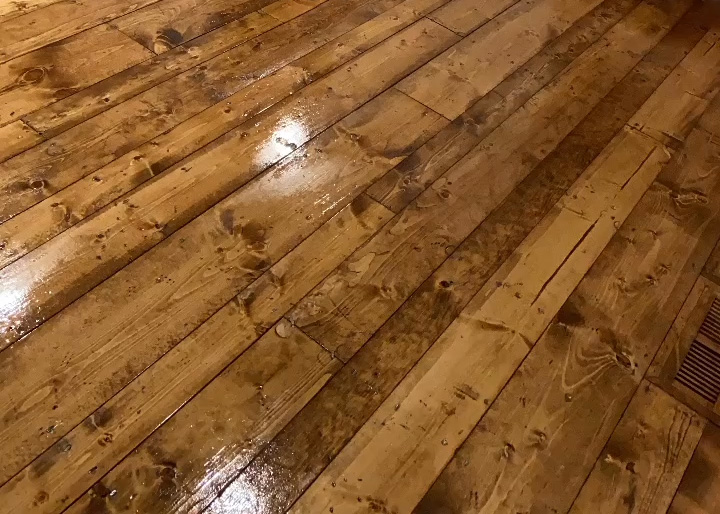
The final step was to apply three coats of super fast drying polyurethane for wood floors. I used a foam roller for this process. The key is to start early in the morning so you can apply one coat, let dry for about four hours, repeat, dry another four hours and then apply the third and final coat before passing out for the night. Waiting anymore than twelve hours between coats will cause you to have to sand after each application. I preferred to kill myself all in one day to apply all three coats rather than sanding between each coat. Don’t skimp on the coats of sealer. It really needs three coats for maximum durability.
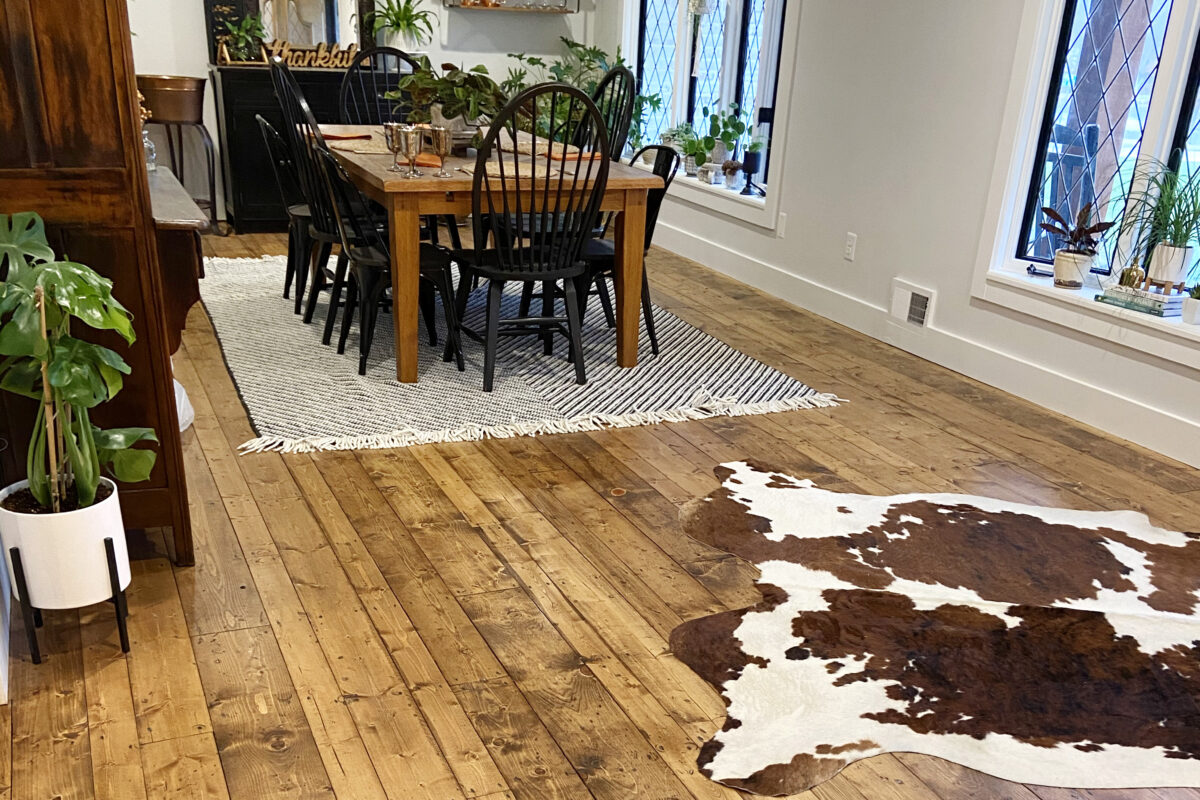
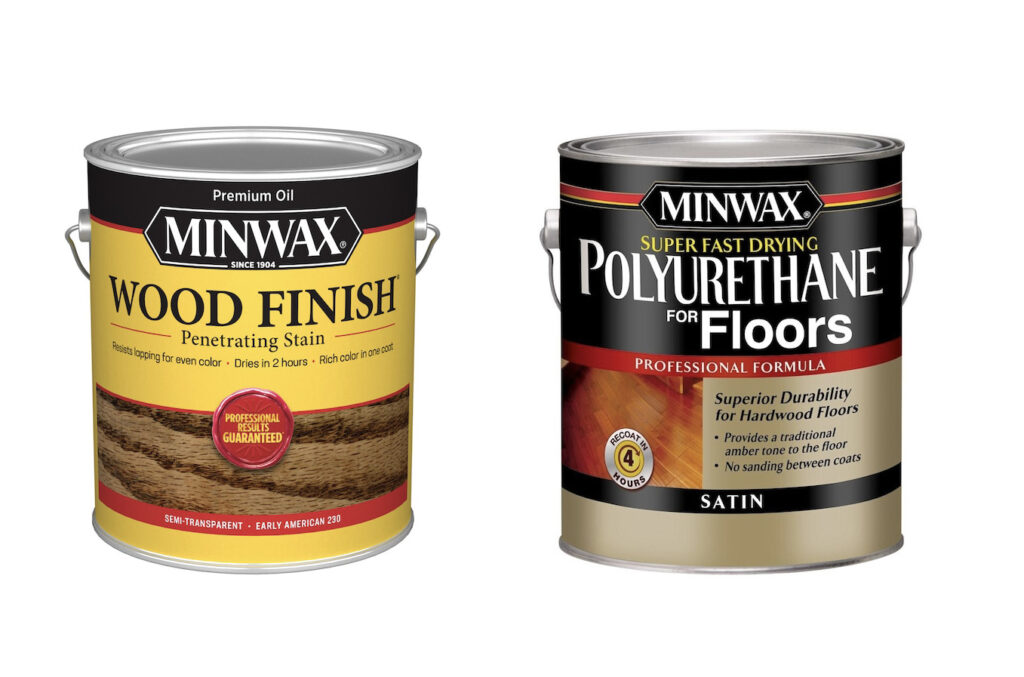
I used Minwax stain in the color in Early American and Minwax Super Fast Drying Polyurethane for Floors in a satin finish.
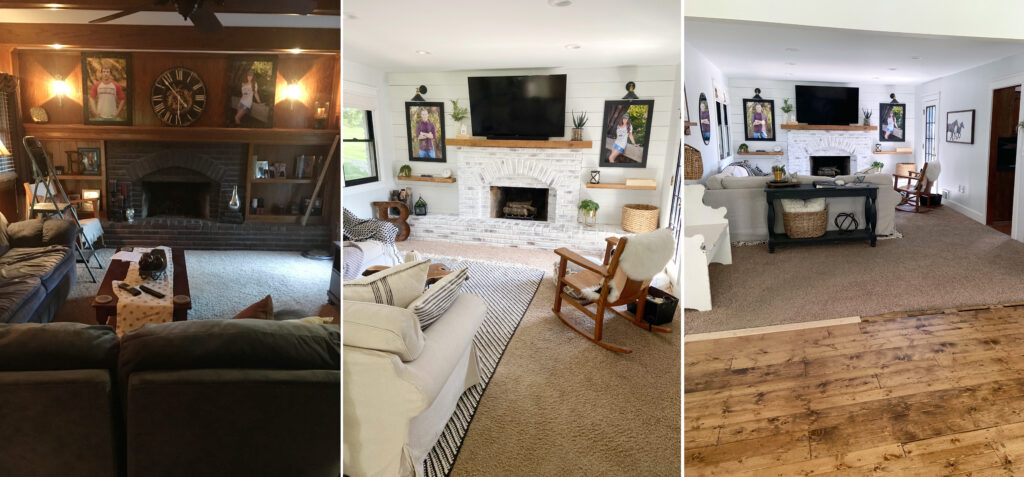
We started with the dining room / front sitting room / entryway and waited a week before putting any furniture back in the rooms. Then we repeated the floor process in the adjoining family room.
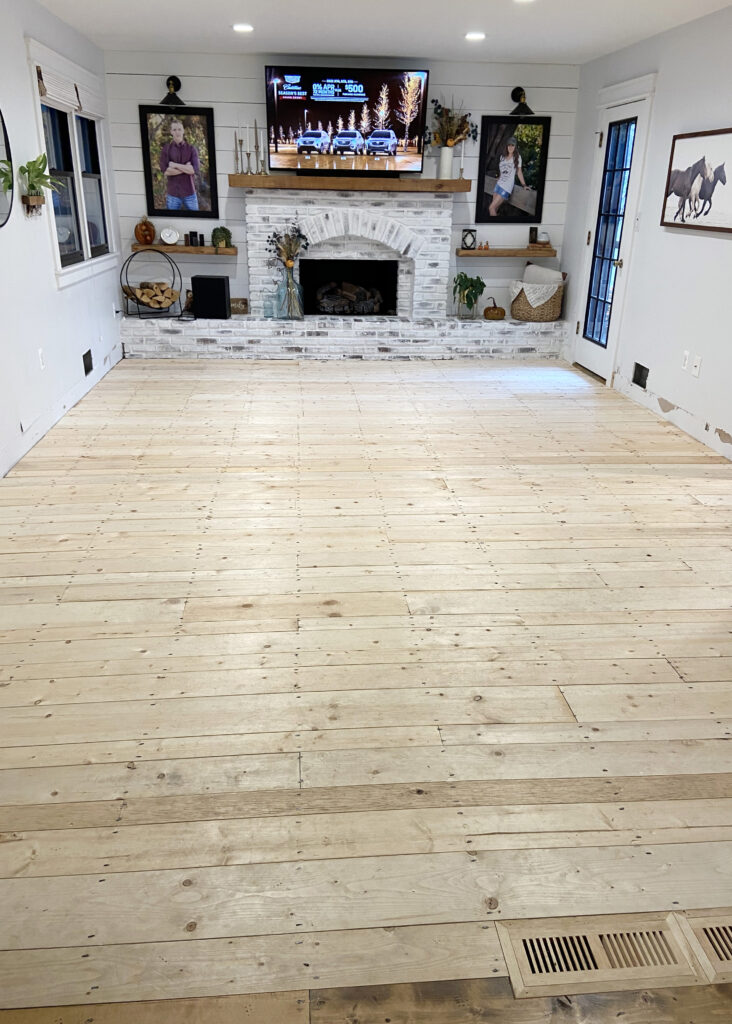
Because we took out a well between the two rooms, we had to put the return air vents in the floor. We ordered unfinished pine vents and distressed and stained them just as we did the floor.
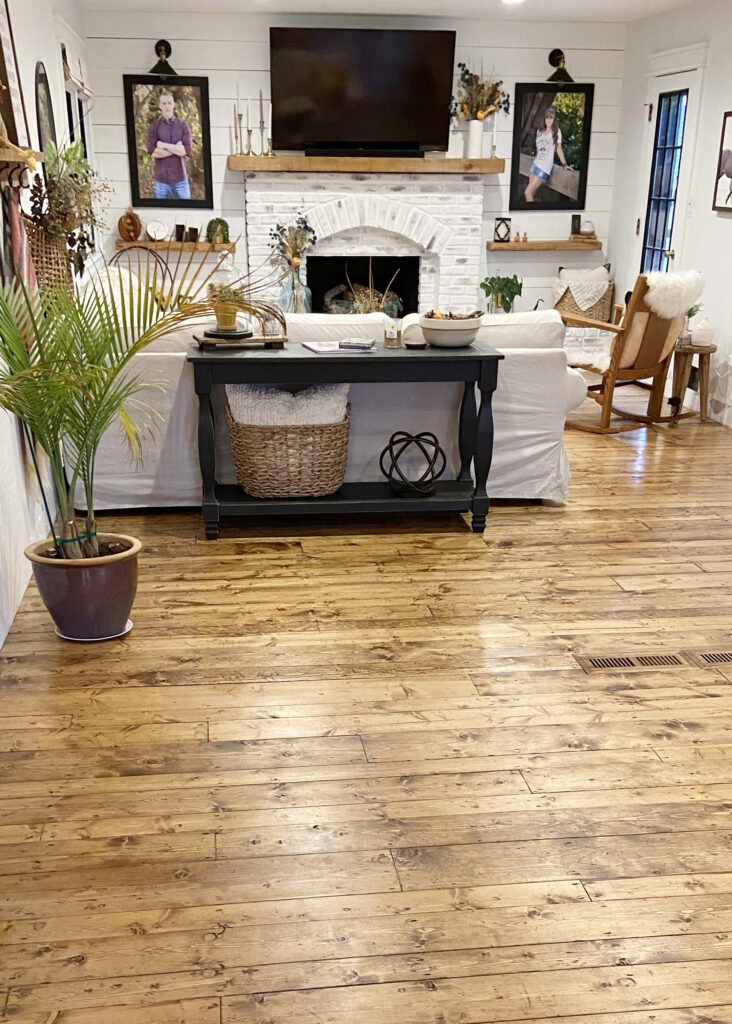
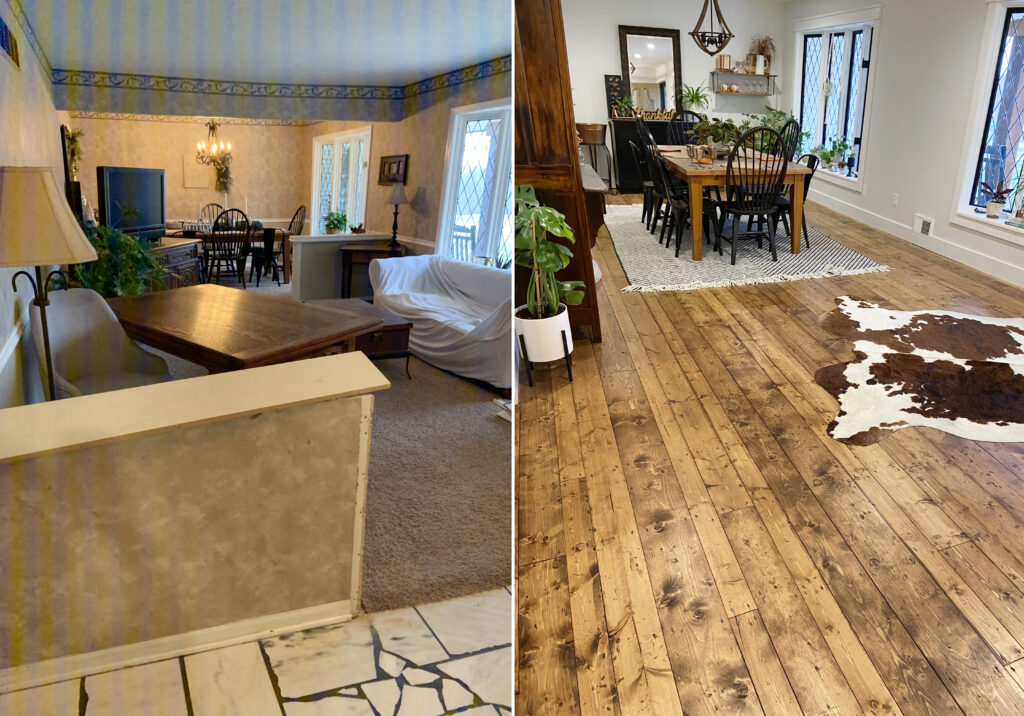
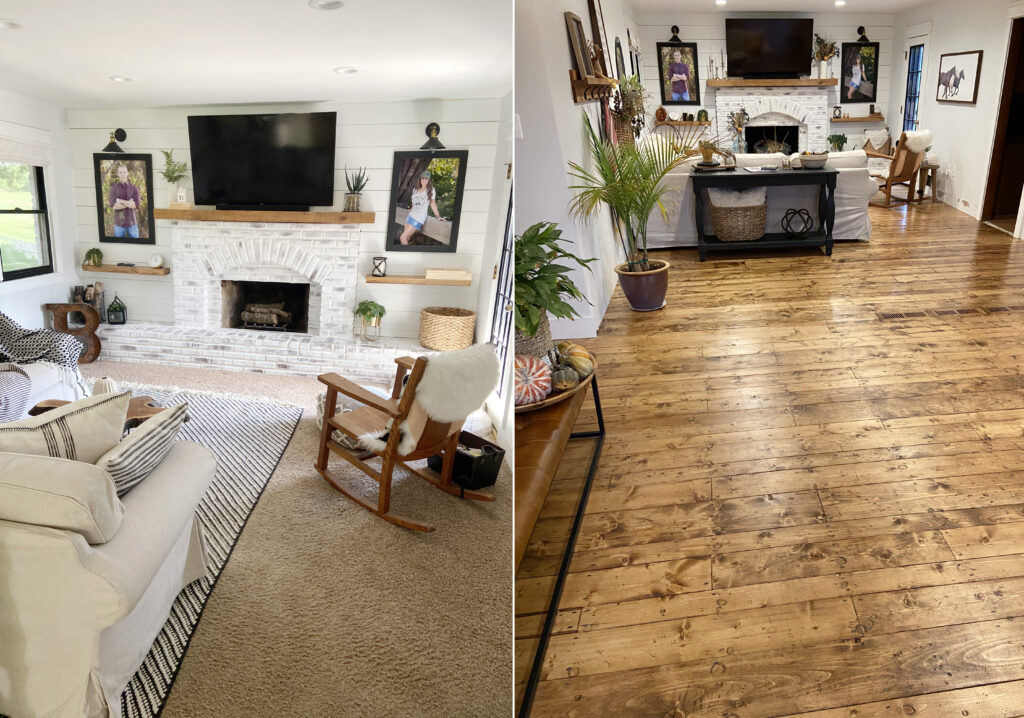
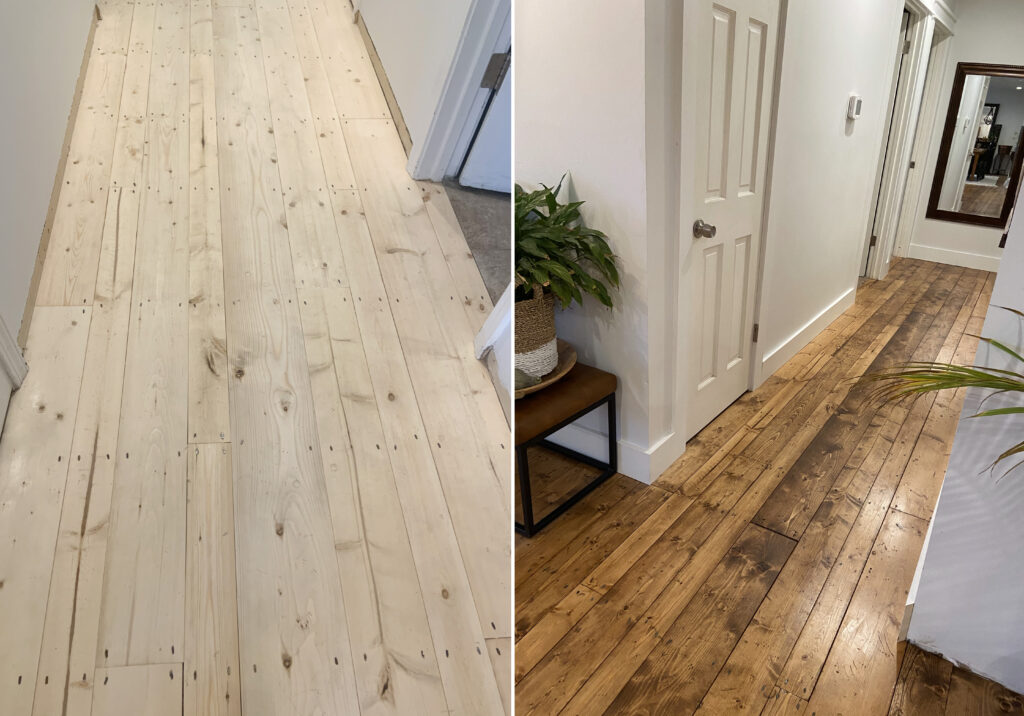
It was a lot of work but about as cost effective for real wood floors as you can get. Yes, they do get scratches from time to time but I simply rub the scratches with a little stain on a Q-tip and they are back to looking brand new. I love them so much!
