
DIY Concrete Pumpkin Planter
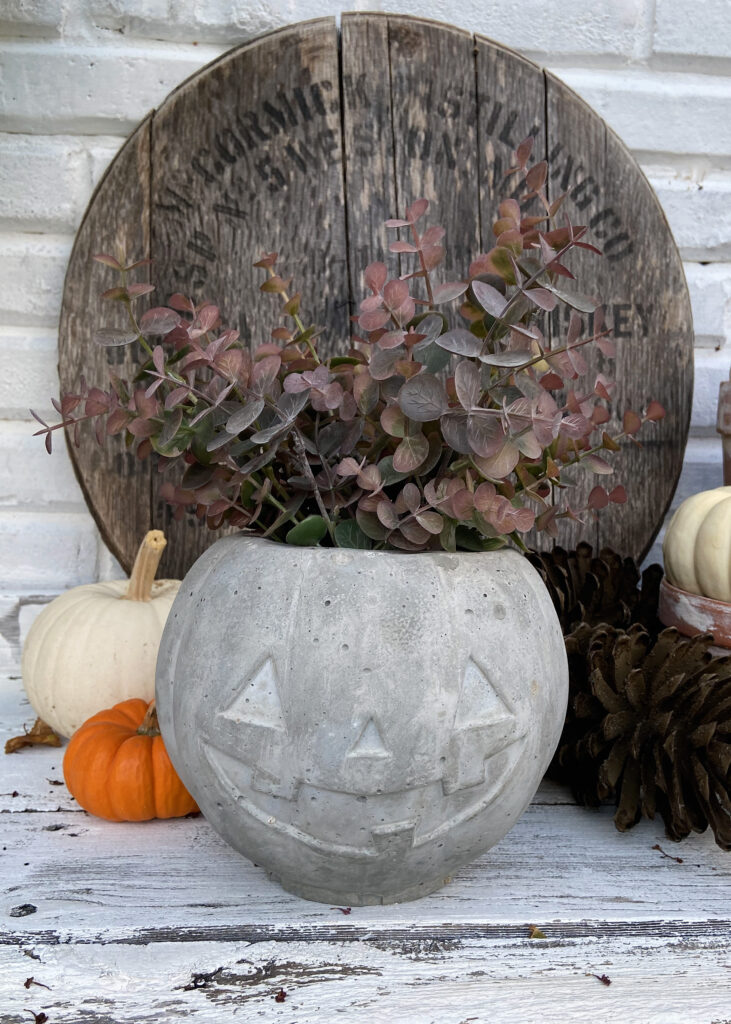
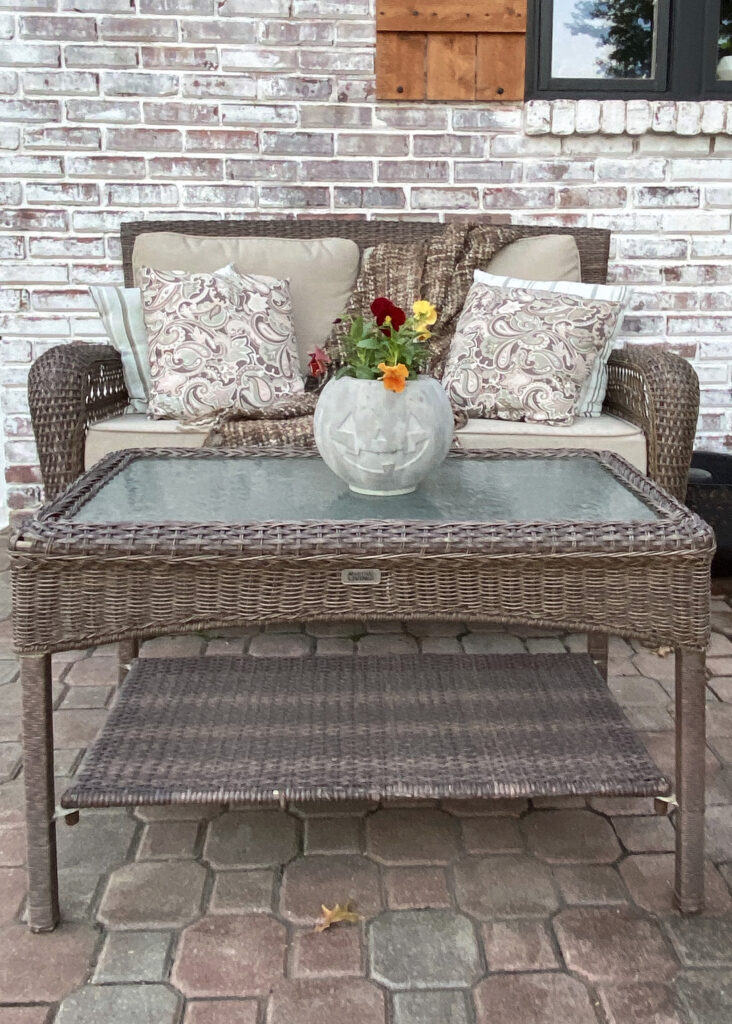
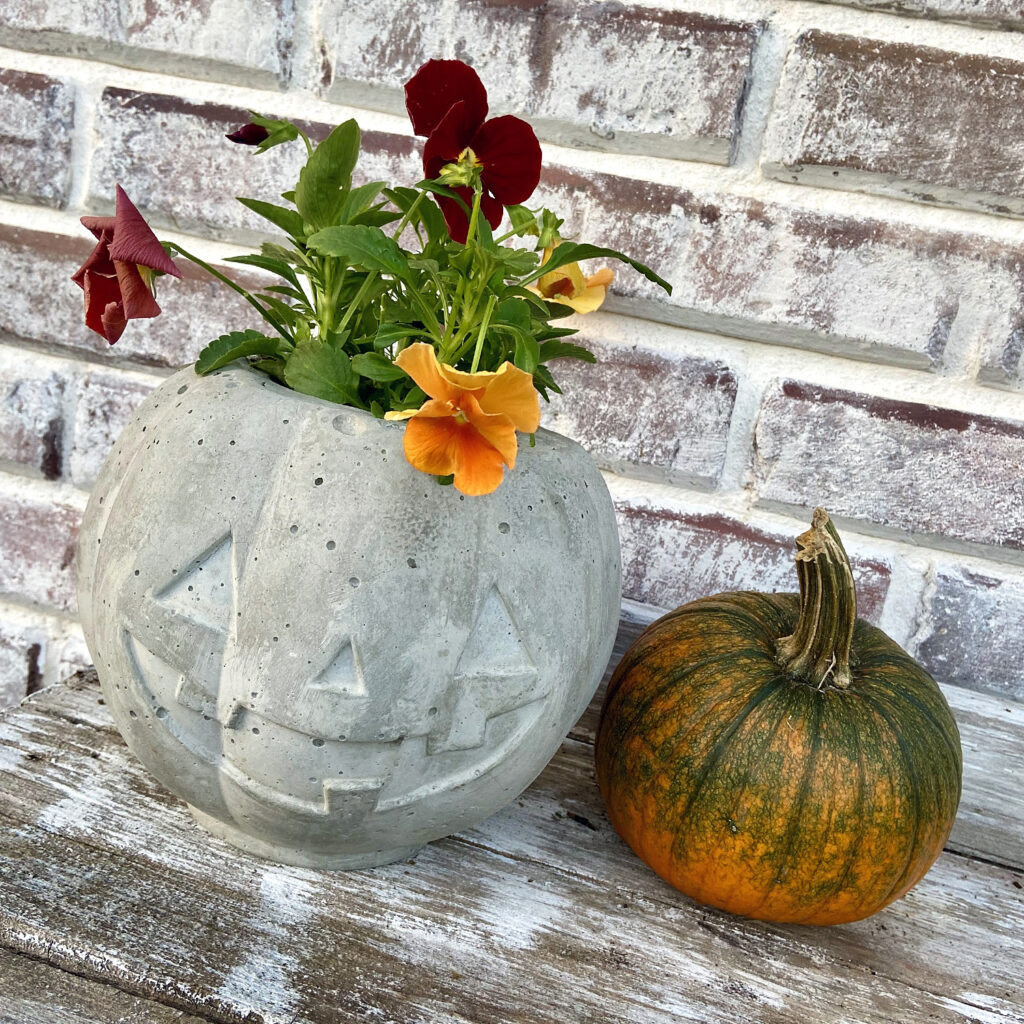
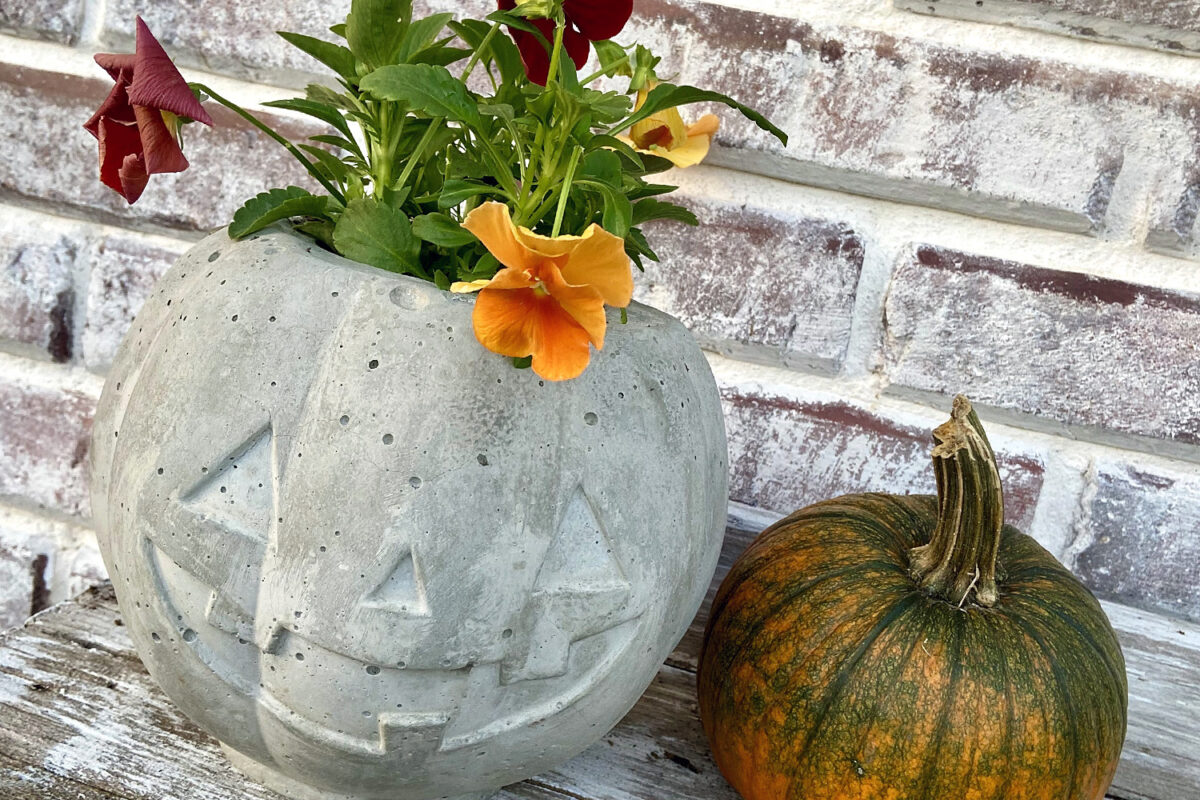
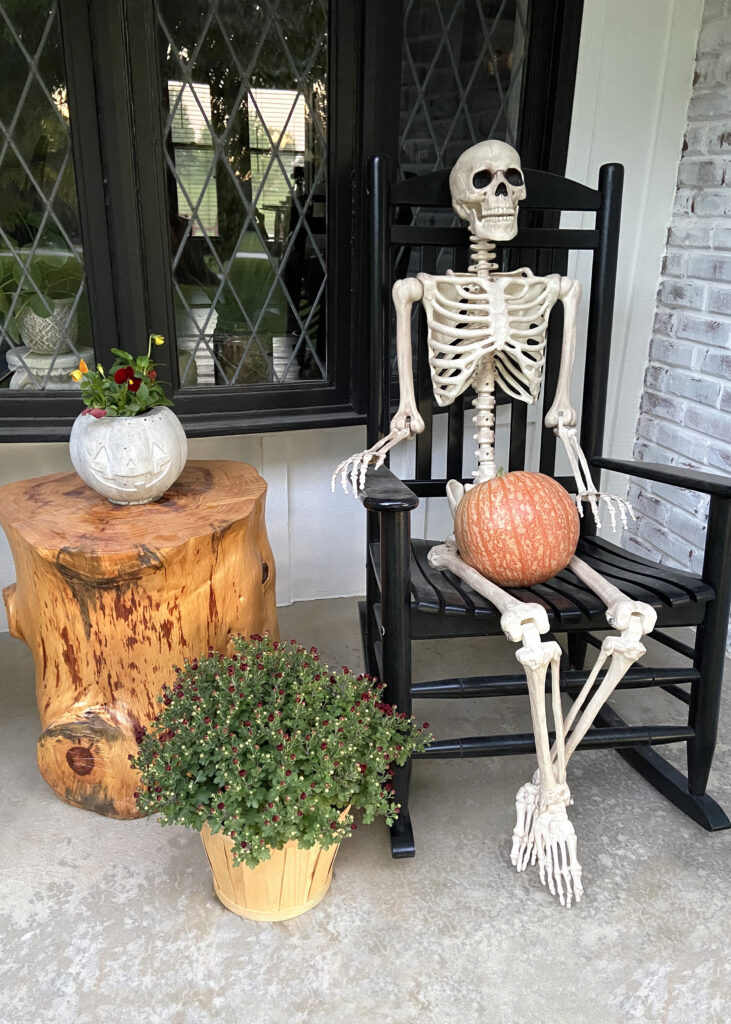
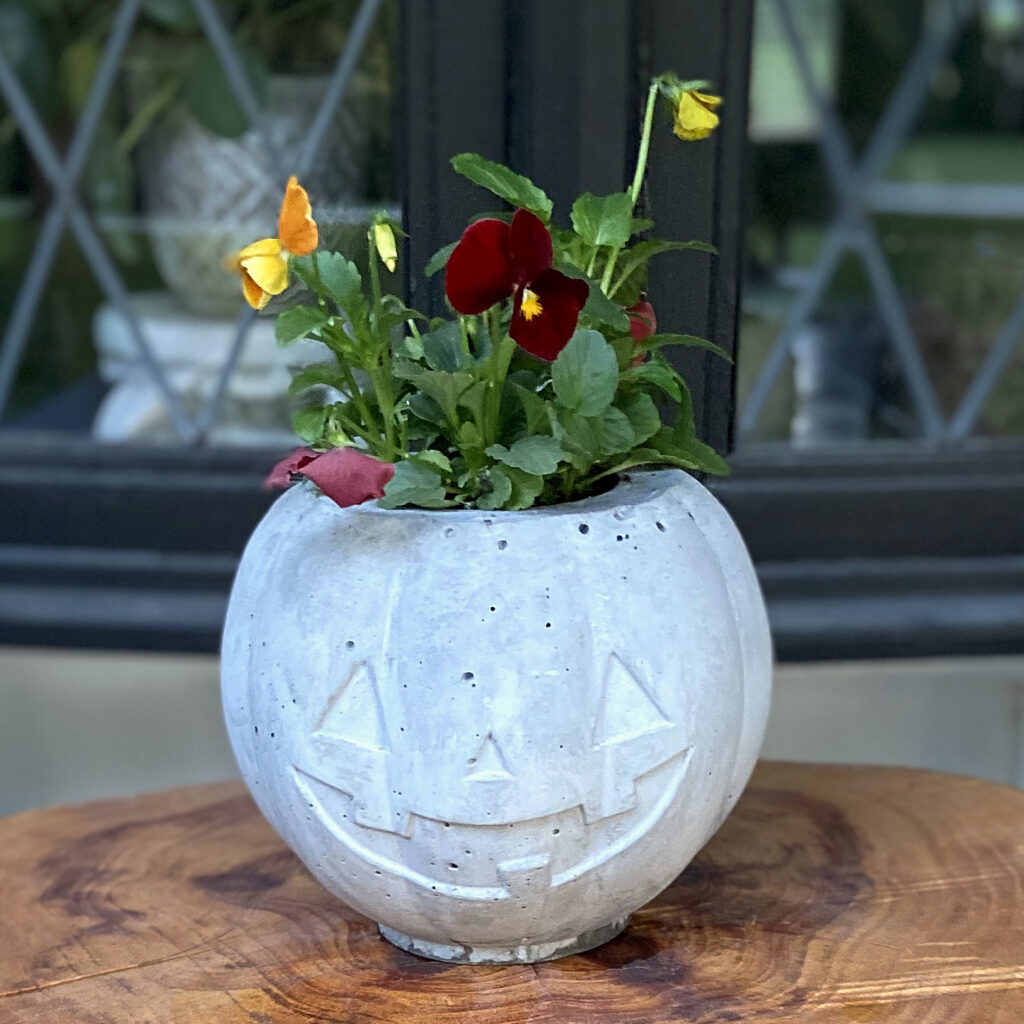
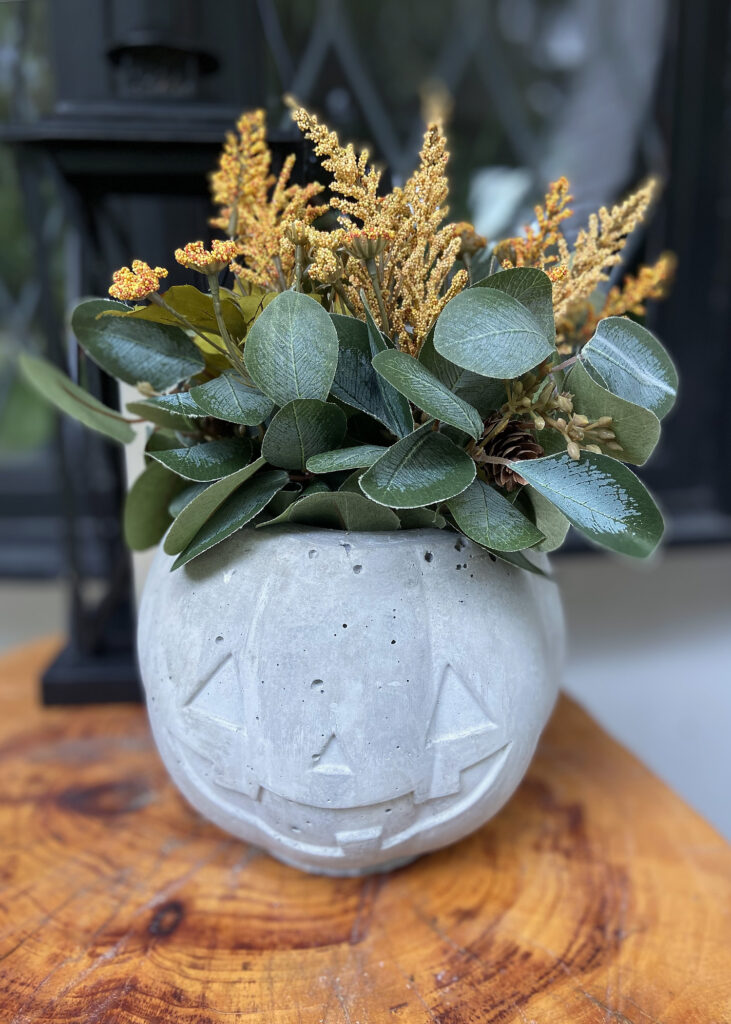
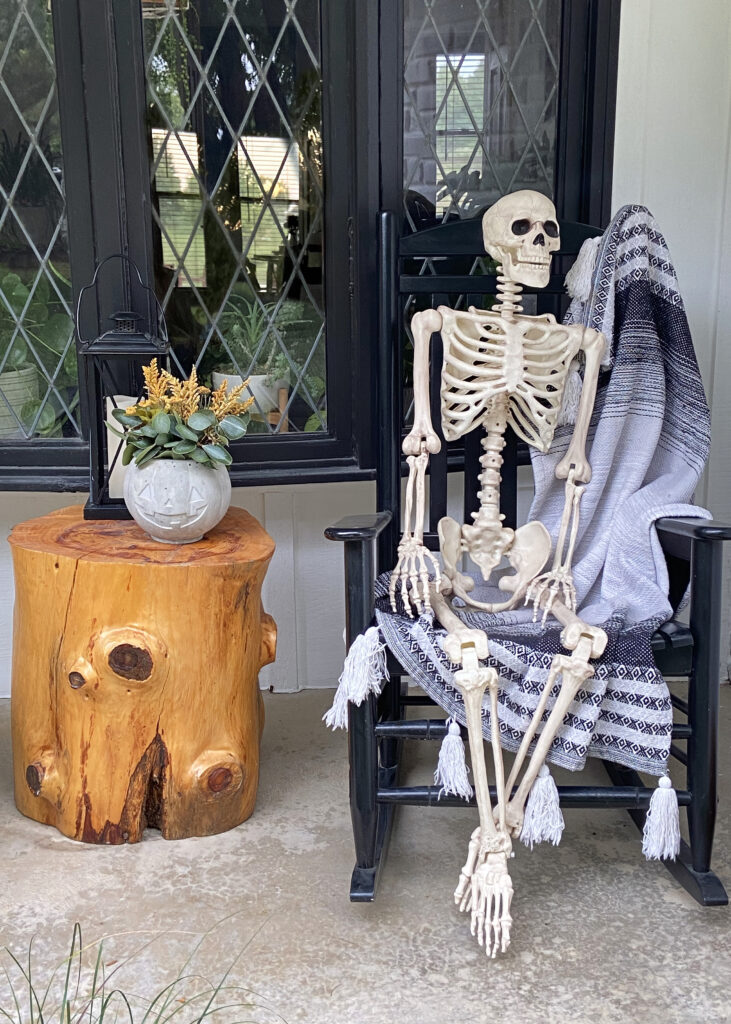
10/05/2021Last year when the DIY concrete pumpkin planters were all the rage, I jumped on the bandwagon and made two of my own. They turned out so stinking cute! The first year I filled them with fall colored pansies. This year I opted to go the lazy, no-water route and went with faux flowers. Either way, I just love them. And when Halloween is over, just spin it around to the back to hide the jack-o-lantern face and it works through Thanksgiving.
SUPPLIES NEEDED:
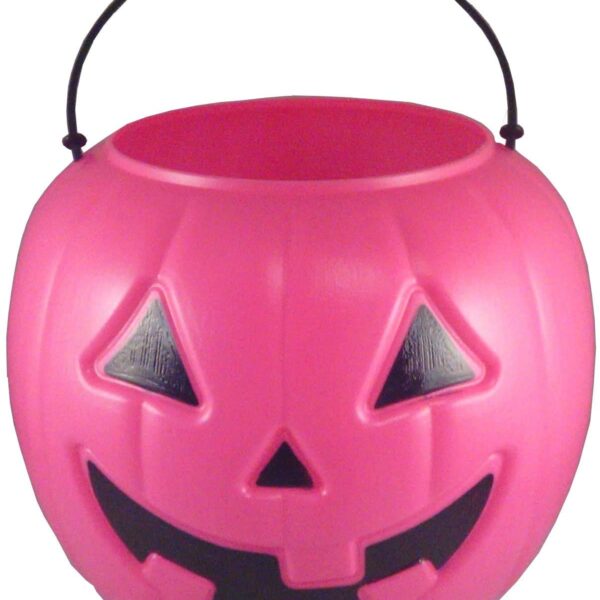
10″ plastic pumpkin candy bucket (or similar size)
Vegetable oil or vegetable spray
Solo cup
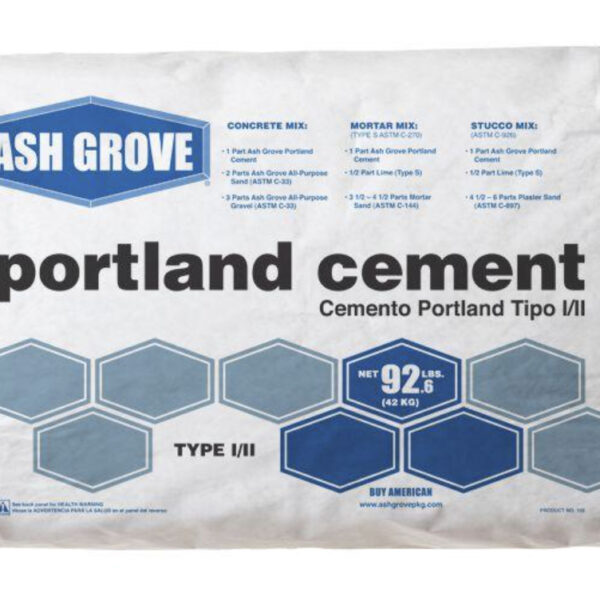
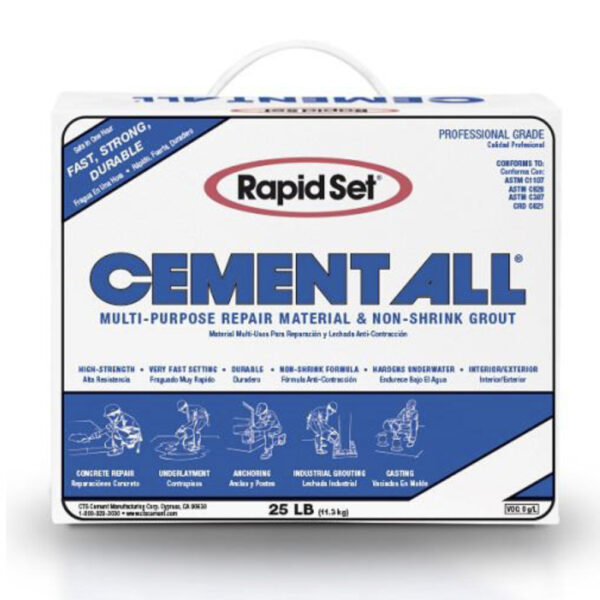
Cement – Rapid Set or Portland Cement
Rocks
Clear spray sealer, optional
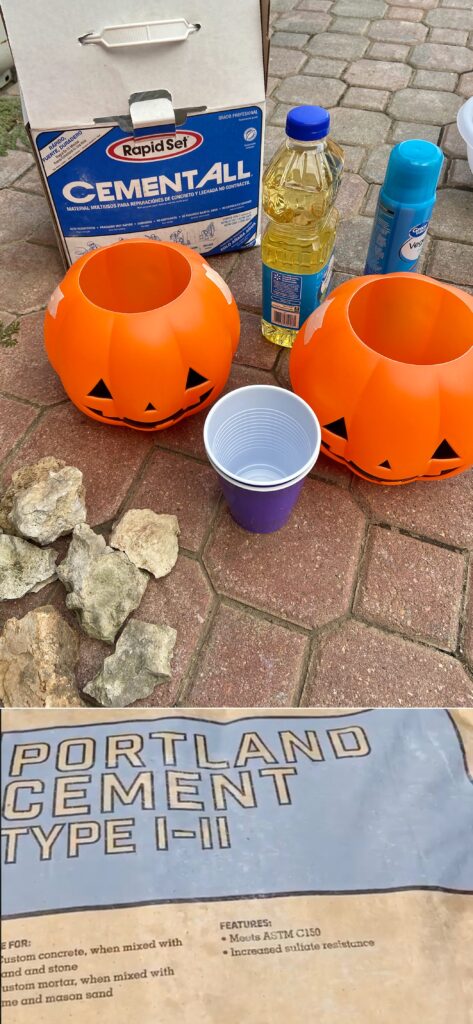
I learned the old school pumpkin candy buckets are getting harder and harder to find these days. I found mine at Target early in the season last year but they sold out quick and I wasn’t able to get anymore. You can also try Amazon. Just make sure you get around a 10″ or larger pumpkin and don’t mistakingly order the mini 2″ pumpkins.
Remove the handles and tape over the holes in the pumpkins to keep cement from oozing through. You won’t be able to reuse the pumpkin bucket.
Spray the inside of the pumpkin generously with vegetable oil spray or wipe down with vegetable oil and a paper towel. Do the same to the outside of a solo cup. The cup will be placed inside the pumpkin to make the space for plants.
Mix your cement to a pasty consistency. If it is too watery, it will cause your pumpkin to crack. I tried both Rapid Set and Portland cement. I preferred Portland cement because it didn’t set up as quickly and allowed more time for filling the mold and vibrating/tapping to remove air bubbles before it sets.
Scoop the cement mixture into the greased pumpkin mold, about 3/4 full. Place the solo cup in the middle of the pumpkin mold and push down to disperse concrete until it almost reaches the top of the mold. Be sure the cup is centered in the pumpkin so the rim is even when the molds are removed. Remove cup and add additional concrete mixture, if needed, until it is almost to the top with the cup inserted in the middle.
Place rocks or heavy items in the cup to keep it weighted down while the concrete dries.
Wait at least 24 hours until concrete is completely dry. Pop out the solo cup from the center. Use a box cutter to carefully cut apart the plastic pumpkin mold to reveal your new cement pumpkin planter.
If you choose, you can seal the cement pumpkin with clear spray sealer.
If you make a pumpkin planter of your own, be sure to tag me on Instagram or Facebook. I want to see what you put in your planter.
